How to Make a Laser Cut Map: The Free Way and the Fast Way
This is how to make a laser cut map that holds together, reads at a glance and sells. We cover the free manual route with OpenStreetMap and vector software, the faster route in MappSmith, and everything after the file: crop, layers, wood, settings, glue and finishing. Use whichever route fits your shop. The craft is the same.
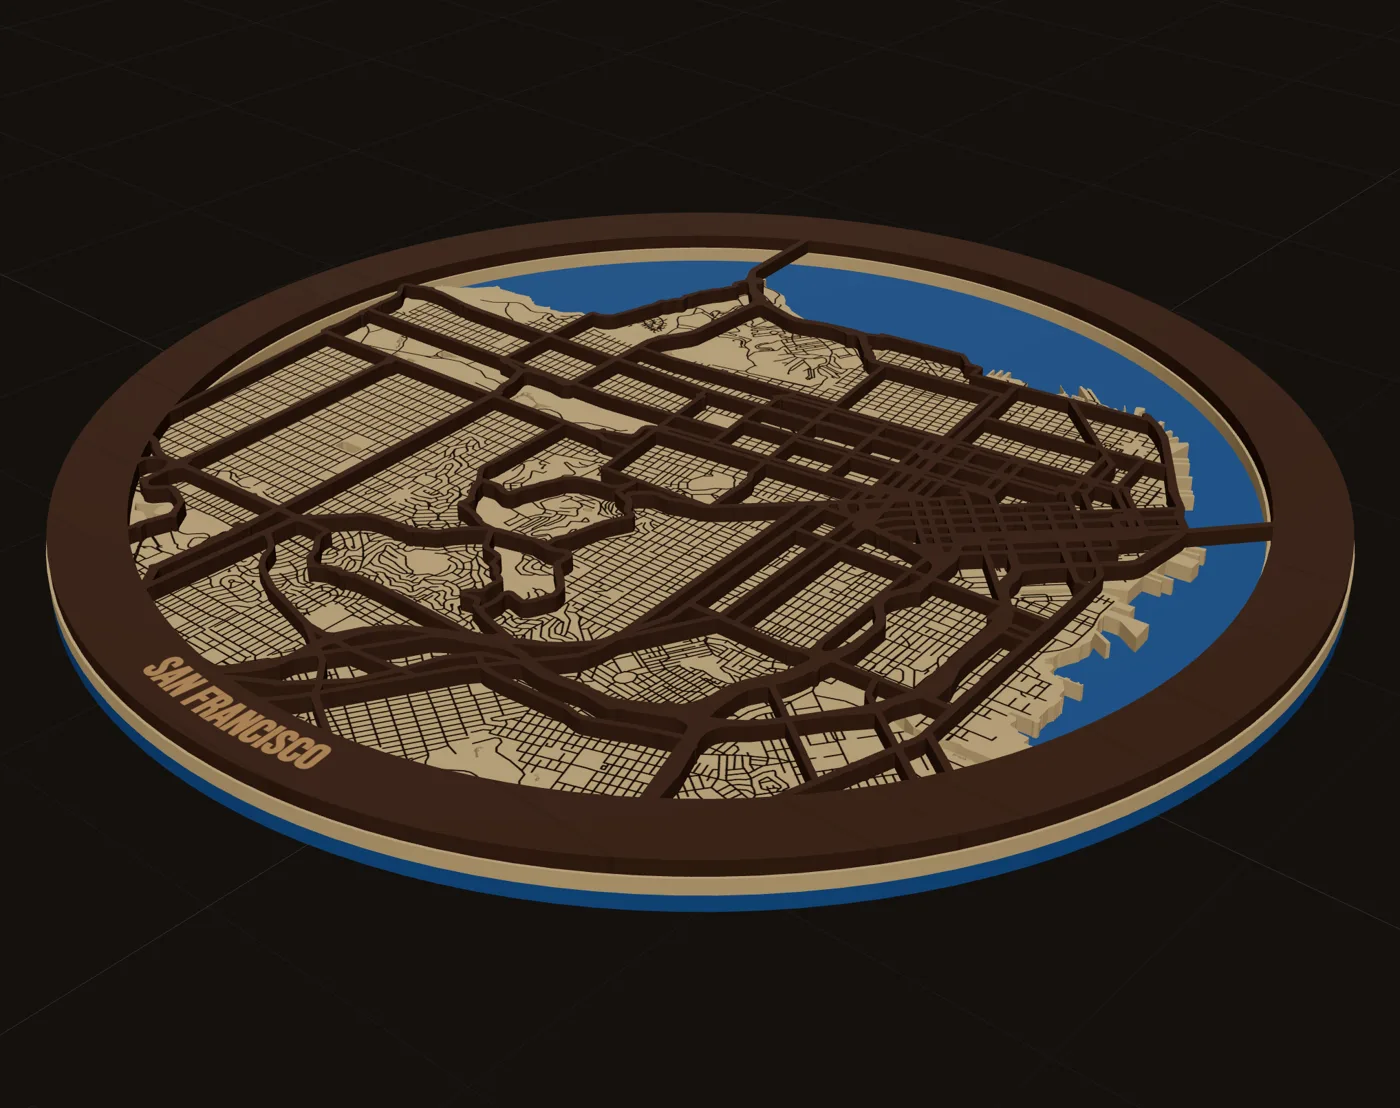
What a layered laser map actually is
Most laser maps you see for sale are a stack of three thin sheets. Each sheet does one job. Once you understand the stack, every other decision (crop, detail, settings, glue) gets easier, because you are always asking the same question: which sheet does this belong on, and what does the laser do to it?
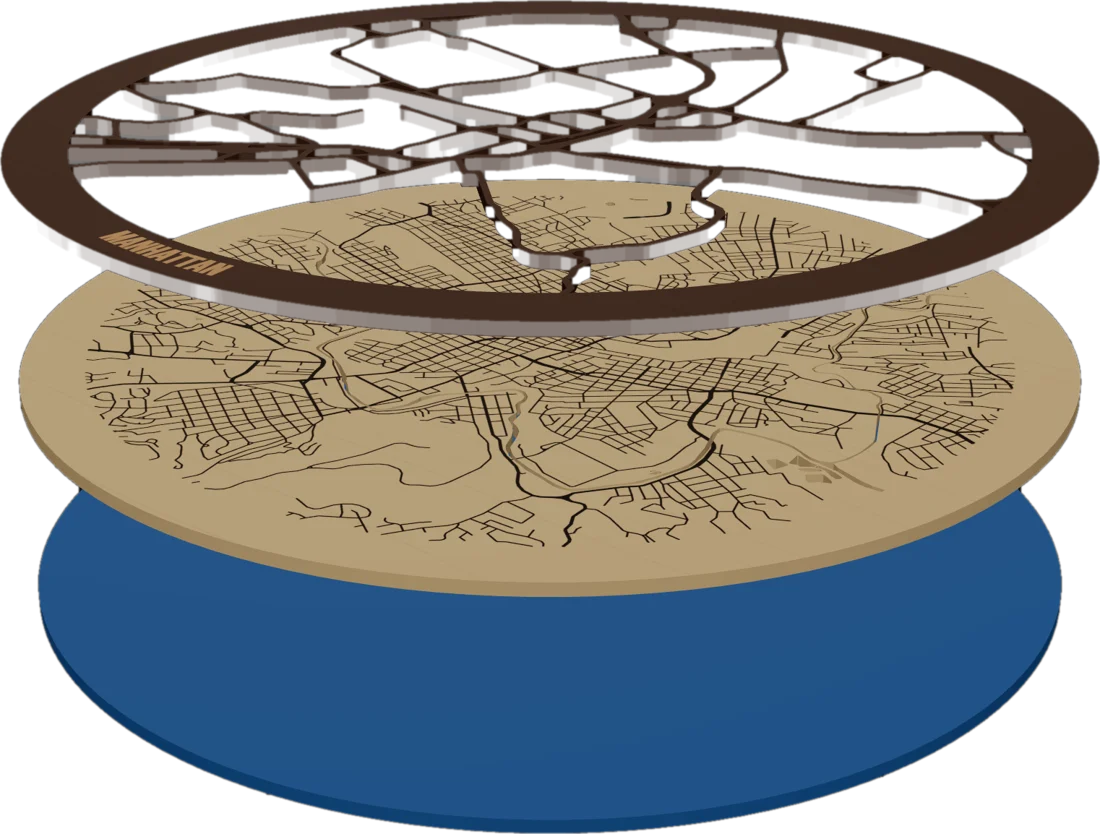
- Bottom: the water backer. A solid sheet, painted or colored blue, or a blue material. It shows through wherever the land plate has water cut out of it.
- Middle: the land plate. A solid sheet with the water cut away. Minor streets are engraved or scored into its surface so the neighborhood texture shows without adding pieces.
- Top: the major streets. A pieces-only layer. Highways and main roads are cut out as raised strips and glued on top. They are held together by a frame band, a solid ring around the edge that every road end joins to.
That last point is the one beginners miss. A street layer on its own is a pile of loose strips. One maker who built a city map this way called the bare road layer "too floppy," and the pieces at the edge became islands that fell off. The fix was to merge the road ends into an outer frame, the same trick paper shadowbox makers use.
Two ways to make laser maps: manual or generator
There are two honest routes to a cut file. The manual route costs nothing but software you may already own and your evenings. A generator like MappSmith costs a subscription and gives you the file in a browser tab. Here is how they compare on the parts that matter in a shop.
| Step | Manual route | MappSmith route |
|---|---|---|
| Map data | Export from OpenStreetMap, or screenshot a styled web map | OpenStreetMap data, already vector |
| Separate layers | Trace images or ungroup the export, then sort features by hand | Pick a map style; features land on their own layers |
| Road hierarchy | Sort big roads from small roads yourself | Road groups (highways, major, minor, service, paths) each get one setting |
| Frame band | Draw it and weld every road end to it | Built in; the download refuses to export loose pieces |
| Text | Type and place it in your vector editor | Name on the band, straight or curved, plus extra lines |
| Output | Save SVG, set colors, import to your laser software | Layered SVG per sheet, plus LightBurn, xTool and DXF files |
| Cost | Free software, your time | 7-day free trial, then $12/month or $99/year, or 10 maps for $10 |
If you make one map a year for your own wall, go manual. You will learn a lot. If you take custom orders, every order means a new file, and the file is where the hours go. Read both routes below and decide for yourself.
The free manual route, step by step
Makers use three common starting points. All of them end in the same place: a vector file with one layer per sheet, cleaned up in your laser software.
Option A: OpenStreetMap export into Inkscape or Illustrator
- Export the areaOn openstreetmap.org, zoom to your area and use Export to get the data or an SVG of the view. Keep the area small. One maker cropping Manhattan got "the entire state of NJ" along with it.
- Open it and waitLarge exports open slowly. In the same Manhattan build, the file held 146,696 objects to ungroup, and the ungroup ran overnight.
- Sort features into layersMake a layer for water, one for major roads and one for minor roads. Delete everything else: labels, buildings you will not use, stray paths. The standard OSM SVG export creates more layers than Inkscape handles comfortably.
- Build the frame bandDraw a circle or rectangle band and union the major roads into it so nothing floats.
- Set colors and saveGive cut, score and engrave their own colors so your laser software puts them on separate layers. Save an SVG per sheet.
Option B: a SnazzyMaps style traced in LightBurn
- Style the mapPick a high-contrast SnazzyMaps style (one tutorial uses a style built for laser maps) so water, highways and arterials are easy to separate. Do not move the map between exports, or the layers will not line up.
- Export each layer as an imageOne tutorial exports water, then highways, then arterials as separate 1000x1000 PNGs and scales them up 3x before tracing.
- TraceUse Image Trace in LightBurn (or Illustrator), then smooth the result to remove tiny cuts like on-ramps.
- Color, frame and exportAssign each traced layer a color, build the frame, and export the SVG to your laser software.
Option C: QGIS with the QuickOSM plugin
QGIS lets you pull only streets or only buildings, label streets, and export a PDF with simplified geometry. You then open the PDF in Inkscape and sort roads into big and little by hand. The maker who documented this called that step "quite a lot of manual labor." It gives the cleanest data of the three options and has the steepest learning curve.
I know HOW to cut them into layers but I have no idea how to make each layer or what to use… I was told GIS software but that doesn't help me a whole lot.
A maker asking for help on the Glowforge community forum
Nobody has published a clean hours-per-map figure for the manual route, and we will not make one up. The evidence is in the build logs: an overnight ungroup, a road sort by hand, and one hobbyist topo map that took "about 3 weeks of evenings" from start to finish.
The MappSmith route, step by step
MappSmith runs in the browser. Street data comes from OpenStreetMap and is already vector, so there is nothing to trace or ungroup. Here is the same three-layer map, start to finish.
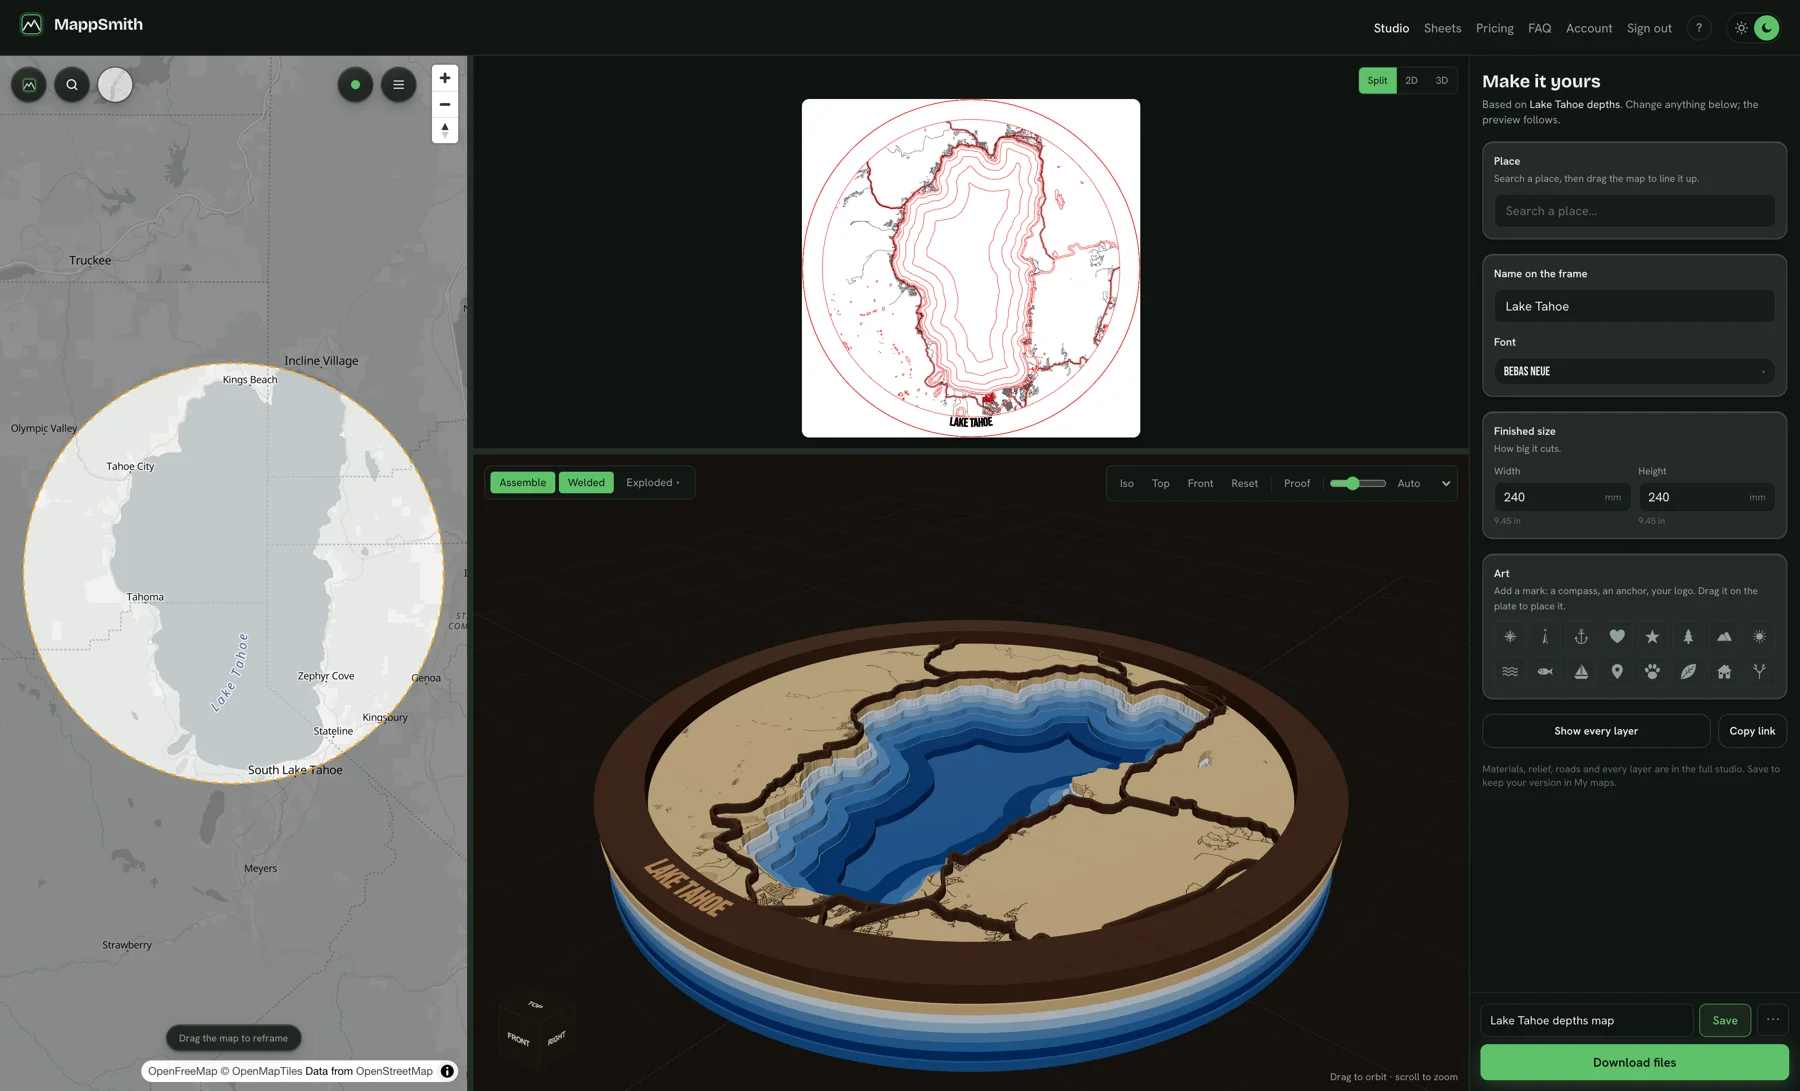
- Search the placeType a city, lake or landmark. The map flies there and the first part of the name goes on the frame band.
- Pick the productChoose 3D Layered for the classic stack. Other products include engraved only, memory poster, love story, lake depths, map clock, ornament, key holder, coasters and map tiles.
- Frame itDrag and zoom until the outline covers what you want, then press Apply changes. Choose a circle, rectangle, heart, star, hexagon and more, any US state outline, or your own SVG outline. Set the finished size in mm or inches.
- Pick a map styleClassic gives the three-layer model: blue base, land with engraved minor streets, and cut major streets on top. Other styles add parks, buildings, elevation contours or lake depth bands.
- Tune the layersEach layer is one sheet. Set its material and thickness, and for each feature choose cut, score, engrave, fill or off, with a line width from 0.05 mm to 3 mm.
- Set the band and wordsPick the band width, type the name, choose from 28 fonts, and curve it on a circle if you like. Add a second line for coordinates or a date.
- Check the 3D previewLook at it assembled and exploded, in real material colors. The welded view shows the street layer exactly as it will cut and flags any piece attached to nothing.
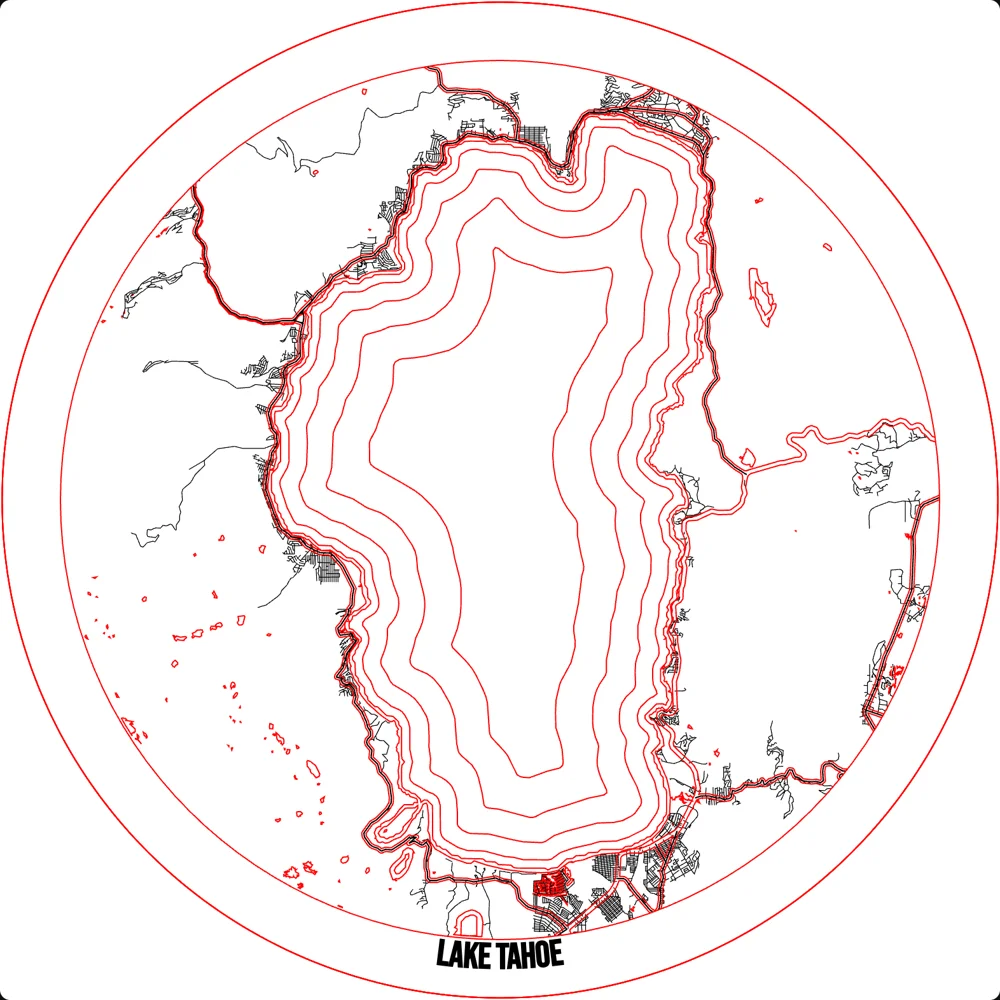
- DownloadYou get a layered SVG per physical sheet, plus native LightBurn (.lbrn2), xTool (.xs) and DXF files if you tick them. Engrave is black, score is blue and cut is red.
Choose the place and the crop
The crop decides whether a stranger recognizes the map from across the room. A buyer should see the shape before they read the name.
- Center on something with a shape. A shoreline, a river bend, a lake, a bay or a distinctive grid. Water carries recognition better than streets do.
- Keep it tight. The more ground you fit, the thinner every road gets at the finished size. A neighborhood at 12 inches reads; a whole metro at 12 inches turns to lace.
- Leave room for the band. The map stops at the inner edge of the frame band, so whatever is near the edge of your crop gets covered.
- Match the shape to the story. Circles read as classic wall art. Hearts suit anniversaries. A state outline suits a hometown or lake-state gift.
- Far-apart places get separate windows. Where we met, got engaged and married rarely fit one crop. Use tiles or several windows instead of one zoomed-out map.
There is more on this in designing maps that sell, including road hierarchy and what to leave out.
Plan the layers before you touch the laser
Write the stack down. For each sheet, name the material, the thickness, and what the laser does to every feature on it. Here is the classic three-layer plan.
| Sheet | Body | Water | Major roads | Minor roads | Frame band |
|---|---|---|---|---|---|
| Top: streets | Pieces only | Not on this sheet | Cut out as strips | Not on this sheet | Solid ring, carries the name |
| Middle: land | Solid plate | Cut away | Optional light score as a guide | Engraved or scored | Part of the plate |
| Bottom: water | Solid plate | Shows through | Not on this sheet | Not on this sheet | Part of the plate |
- Pieces only means the frame holds everything. Every strip on the top sheet must touch another strip or the band.
- Solid plate means a full sheet. Engraving lands on it cleanly, so put text and art on solid sheets, not on the street layer.
- One material and thickness per sheet. If two features need different stock, they go on different sheets.
- Add sheets only for a reason. Lake depth bands, parks in a second color, or a raised highway layer are all good reasons. "More layers looks fancier" is not.
Lake maps follow a different stack, with the lake cut down in bands under the land. That is covered in lake depth maps explained.
Materials and thickness
For most wall maps and ornaments, 3mm (1/8") stock is the standard. It cuts in one pass on most machines, stacks to a nice depth in three layers, and is cheap. xTool's hometown ornament project uses 3mm basswood plywood for both base and top layers.
| Material | Good for | Watch out for |
|---|---|---|
| Baltic birch plywood, 3mm | Land plate and street layer; takes stain evenly in BB grade | Voids in cheaper grades; char on cut edges |
| Basswood plywood, 3mm | Light, easy cutting, clean engraving | Soft surface dents |
| MDF, 3mm | Painted water backer; stays flat when painted on one side | Heavier smoke; edges look brown |
| Maple or cherry ply | Contrast: a maple front over a cherry backer | Cost |
| Cast acrylic | Water layer, edge-lit pieces, ornament faces | Different settings from wood; plan kerf for inlays |
For cost, one supplier sells a pack of 20 sheets of 3mm Baltic birch at 12x20 for $61.19, about $3.06 a sheet (our math, from the listed pack price). Wood is rarely the expensive part of a map. Design time and machine time are.
Cut, score and engrave settings: principles, not magic numbers
We will not give you power and speed numbers. They depend on your tube or diode, your lens, your air assist and the exact sheet in front of you, and a number copied from someone else's machine is a guess. Instead, here is how to find yours in one afternoon.
- Run a test grid on the real stockCut a small grid of squares across a range of speed and power on the same sheet you will use. Note the lowest power that cuts cleanly through every square, then add a small margin for variation across the sheet.
- Measure your kerfCut a 1" test square and measure it. If it comes out at 0.990", your beam is removing about 0.010". Slower speed or more power widens the kerf.
- Find a score that readsScore is a light vector line on the surface. Go just deep enough to read from a few feet away. Too deep and it starts to weaken the sheet.
- Find an engrave that does not charEngrave a block of minor streets at a few settings. Pick the one with contrast and no heavy smoke halo. Mask if you need it (see below).
- Prove the file on cardboardRun the whole map once on chipboard or cardboard first. One maker dialed in a London map this way before spending good plywood.
- Cut order: inside first. Cut the inner shapes and road gaps before the outer outline, so the sheet does not shift once the piece is free.
- Score streets instead of engraving them when time matters. One maker found scoring faster than engraving and said the roads stood out more.
- Mask before you engrave and cut to keep char off the surface. Press the mask down firmly so it does not lift into the head.
- Air assist and a honeycomb bed help on thin stock. xTool's ornament project recommends both.
For files, layer colors and kerf in more depth, read cutting a map file. For your specific software, see LightBurn maps, xTool maps or Glowforge maps.
Assembly and glue
- Finish before you gluePaint or stain the water backer and any colored layers first. It is much harder to get paint into a channel once a street layer sits on top.
- Dry-stackLay the sheets up without glue and check that the outlines line up and nothing is missing.
- Glue the land to the waterBrush yellow wood glue thinly on the back of the land plate, kept away from the cutouts so it does not squeeze into the water.
- Glue the streetsPut small dots of thick CA glue on wide intersections and on the frame band, so it does not drip. Better still, put double-sided adhesive on the board before you cut the street layer.
- Press flatWeight it under wax paper rather than clamping hard. As one builder warned, "clamps squeeze out more glue than you think."
Finishing
Finishing is where a good map becomes a gift someone pays for. The short version: mask before cutting, clean smoke off with a light sand or rubbing alcohol, put painted water on MDF, test every stain on scrap, and frame it. The full set of techniques, including stain versus dye, epoxy lakes, acrylic water and edge lighting, is in premium map finishing.
Selling your laser maps
Finished layered wood maps sell well above flat prints. On listings in our research, a personalized wood map started at $89, a Lake Vermilion 3D map started at $179.95 in sizes from 11x14 up, and another layered map started at $199 across 11 sizes. Those are other sellers' prices, not a promise, but they show what buyers pay for depth and real wood.
- Price by size and layers. Extra stained water layers, a frame and personalization each earn their own line.
- Proofing is part of the product. One scaled map maker built an automated email-and-text proof approval system. Names and dates must be right before the laser fires.
- Credit the data. If the map uses OpenStreetMap data, the OSM Foundation asks for "© OpenStreetMap contributors" with openstreetmap.org/copyright on the packaging, at the point of sale, and where possible on the item. See map attribution.
- Watch the platform fees. On Etsy, a $100 sale costs about $9.95 in fees without Offsite Ads, and about $21.95 with a 12% Offsite Ad.
Channels, bundles and a realtor program are covered in adding laser maps to your offerings.
Questions makers ask
What software do I need to make a laser cut map?
For the manual route: a map data source (OpenStreetMap export or QGIS), a vector editor such as Inkscape or Illustrator, and your laser software such as LightBurn, xTool Creative Space or the Glowforge app. With MappSmith you only need a browser and your laser software.
How many layers should a laser map have?
Three is the standard: a water backer, a land plate with engraved minor streets, and a top layer of cut major streets held by a frame band. Add layers only for a reason, such as lake depth bands or parks in a second color.
What thickness of wood is best for laser maps?
3mm (1/8") plywood is the common choice for wall maps and ornaments. Use 1/8" MDF for a painted water backer so it does not warp.
Why do the street pieces fall out of my map?
Because they are not joined to anything. Every cut road on a pieces-only layer has to connect to another road or to a solid frame band around the edge. Smooth out tiny cuts like on-ramps and make sure each road end reaches the band.
Can I sell maps made from OpenStreetMap?
Yes. OpenStreetMap allows commercial use. The OSM Foundation guideline asks for attribution on the packaging, at the point of sale and, where possible, on the item itself. Read map attribution for the exact wording.
Updated 2026-10-17
Sources (20)
- The Handyman's Daughter: How to make a laser cut city map
- Glowforge community: Layered NYC map + tutorial
- Glowforge community: GIS software or tips on making layered maps
- NYC Resistor wiki: Bridge Street neighborhood map (QGIS workflow)
- OpenStreetMap community: OSM SVG export and simplified lines
- OMTech: How to create a 3D laser cut map
- The Shamblog: Making a laser cut topo map, the build phase
- LightBurn forum: measuring beam width with a 1 inch test square
- Glowforge community: Using chipboard to dial in a London map
- xTool projects: Personalized layered hometown map ornament
- Wood Art Supply: 3mm Baltic birch plywood, 12x20, pack of 20
- Graphics Pro: Try this laser, a lake relief map
- Dallas Makerspace show and tell: etching the next layer outline
- Glowforge community: 3D relief map with dowel alignment holes
- CityWood: personalized custom wood map listing
- Etsy listing: Lake Vermilion MN 3D laser cut wood map
- Etsy listing: layered wood map in 11 sizes
- Akron Life: Place maker (MapCuts profile)
- OSMF Attribution Guidelines
- Marmalead: Etsy fees explained 2025
Read next
 GuideCutting a Map File: Layers, Kerf, Cut Order and FixesCutting a map file is where good designs go wrong. Roads snap, pieces fall through the honeycomb, layers do not line up. This guide covers what is inside a layered map SVG, how line width relates to kerf, when to cut, score or engrave, and how to fix the common failures.
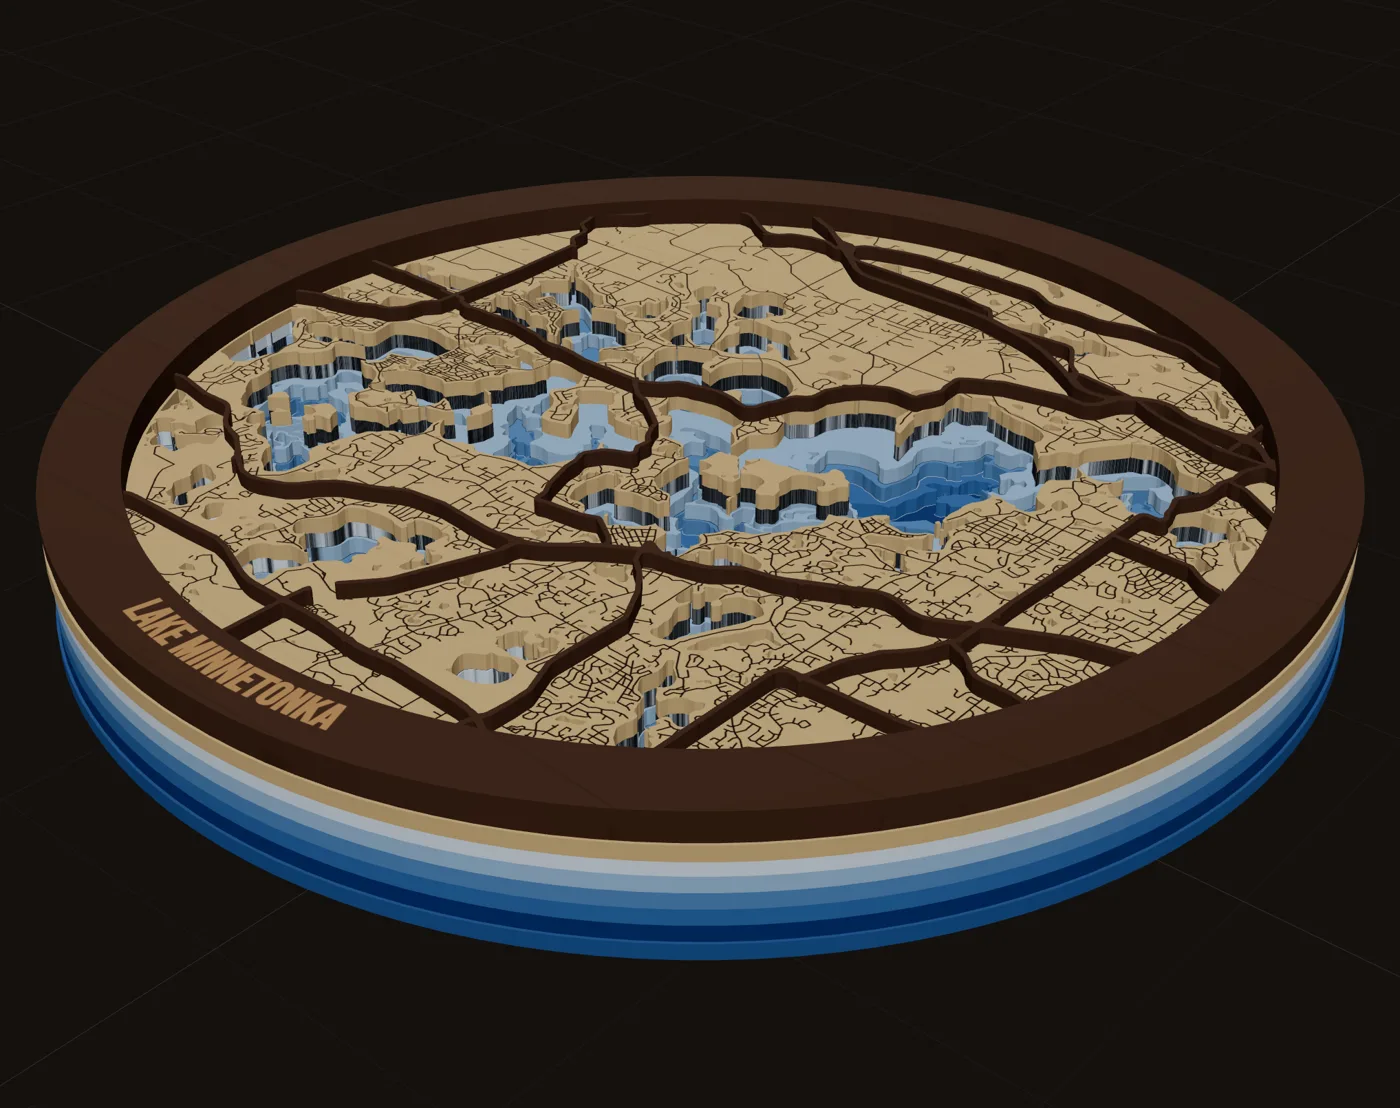 GuideDesigning Maps That Sell: Crop, Water, Roads and WordsDesigning maps that sell is mostly about leaving things out. A buyer has to recognize the place from across a room, then read the name, then notice the detail. This guide walks through the choices that get you there: crop, water, roads, words, shape, contrast and size.
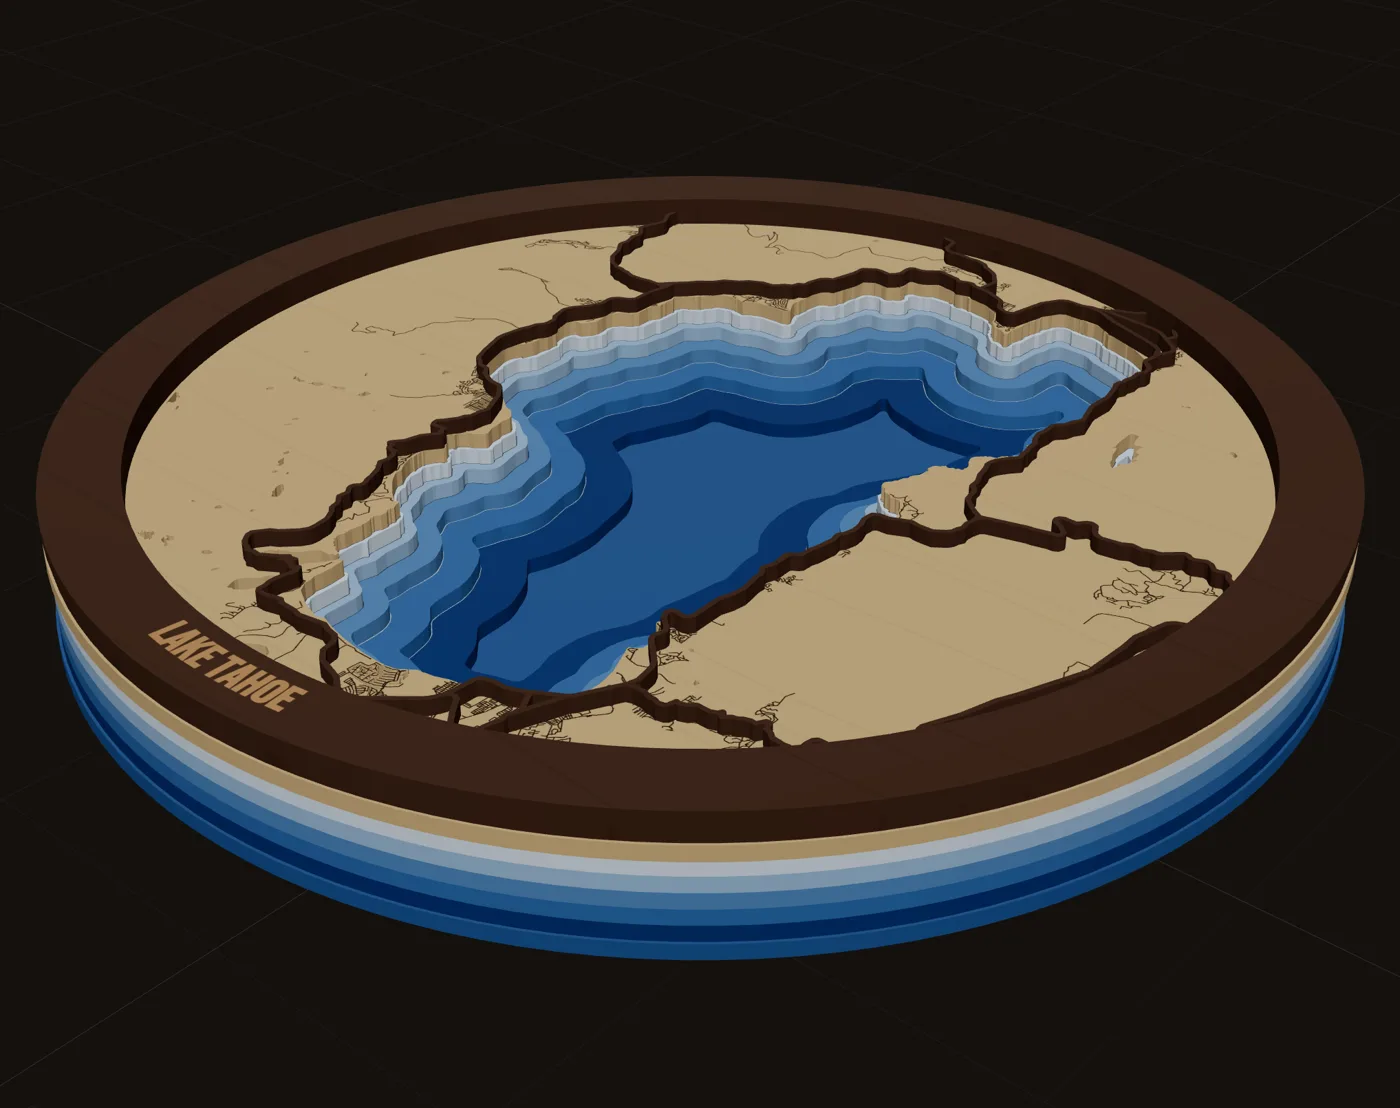 GuidePremium Map Finishing Techniques for Laser Cut MapsThese map finishing techniques are what separate a craft-fair map from one that sells framed. Masking, color, water, glue, edges and lighting each add a little. Some advice here comes from published tutorials, some from forum makers; we mark which is which. Test everything on scrap first.
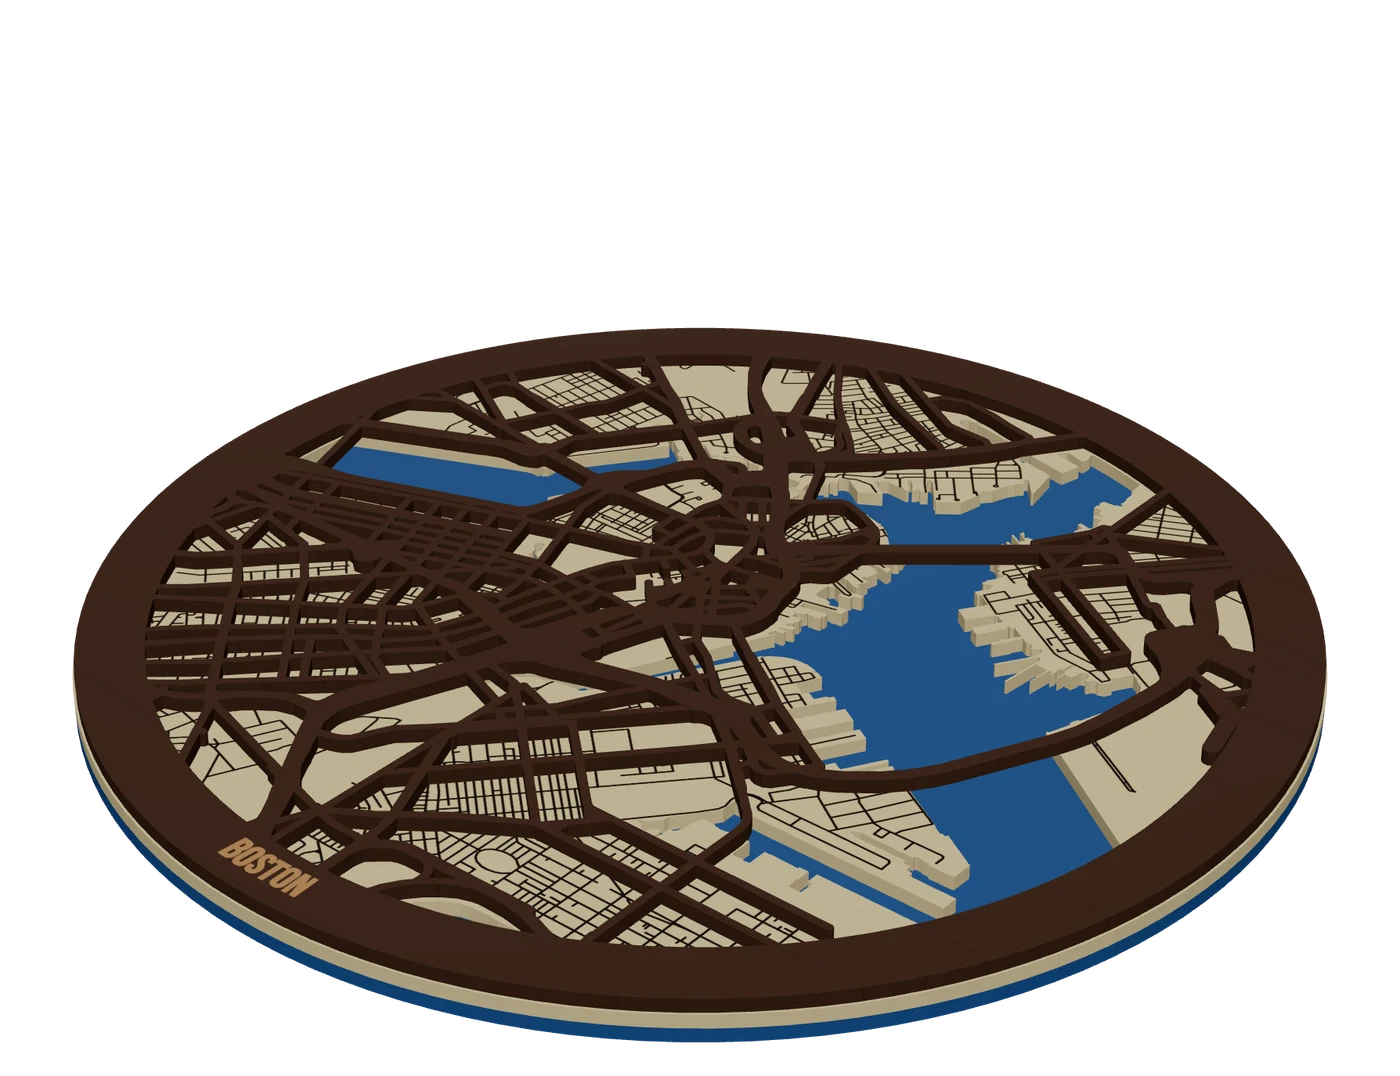 Selling mapsMap making for laser engraversHow makers build map files by hand today, where it hurts, and the shorter route.
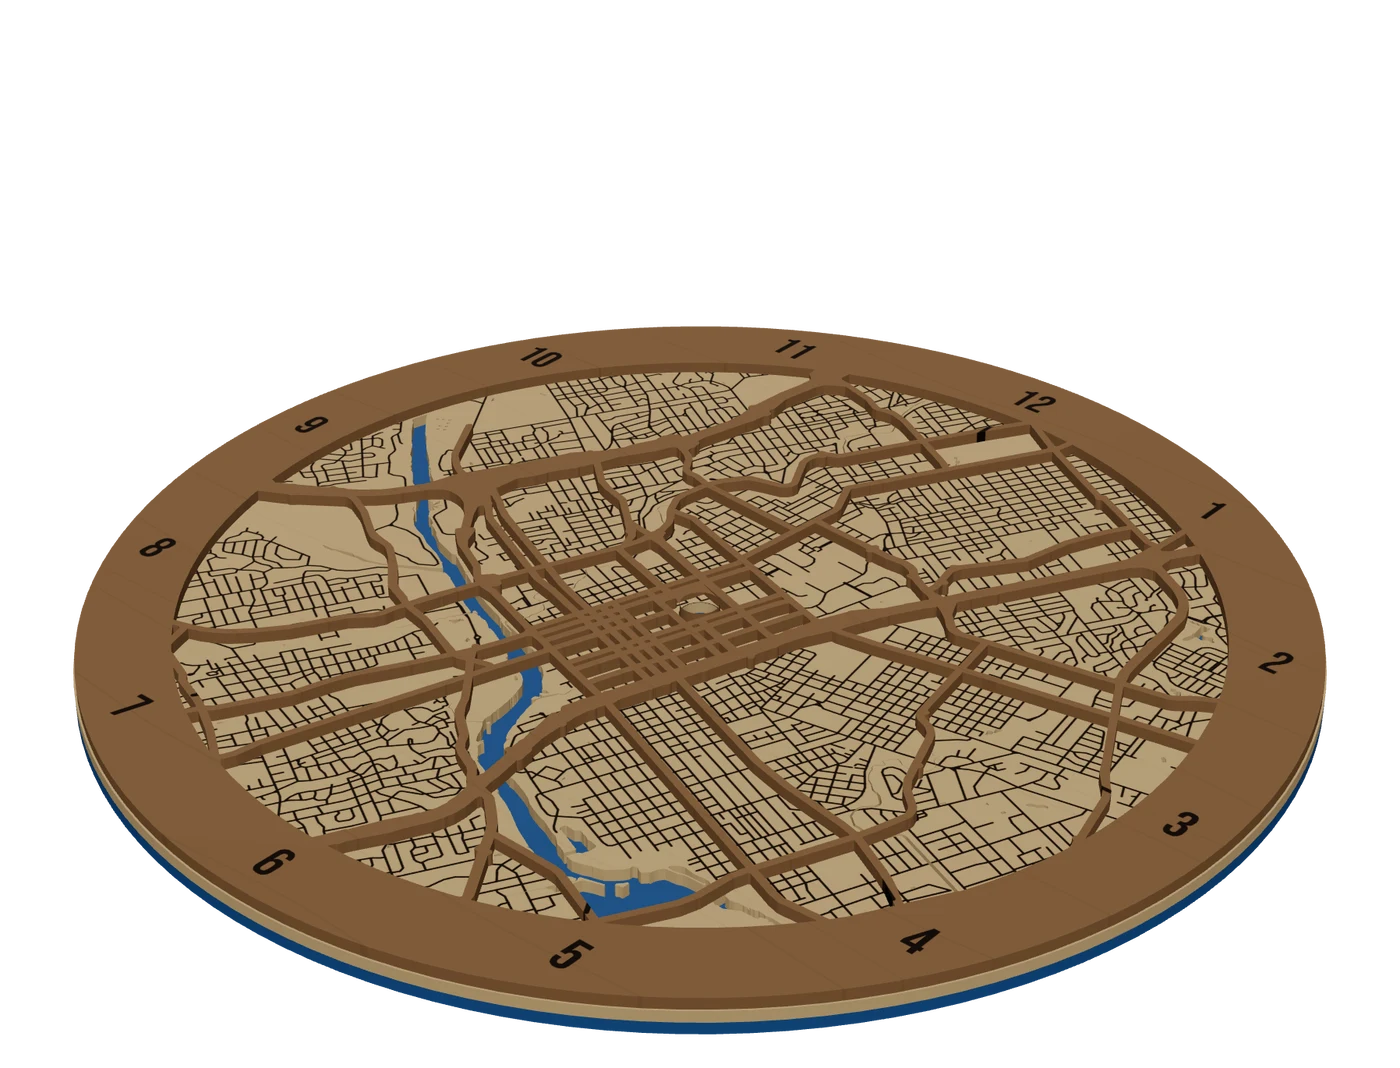 Selling mapsAdding laser maps to your offeringsWhere to sell laser maps, a starter product ladder, pricing, turnaround and upsells.
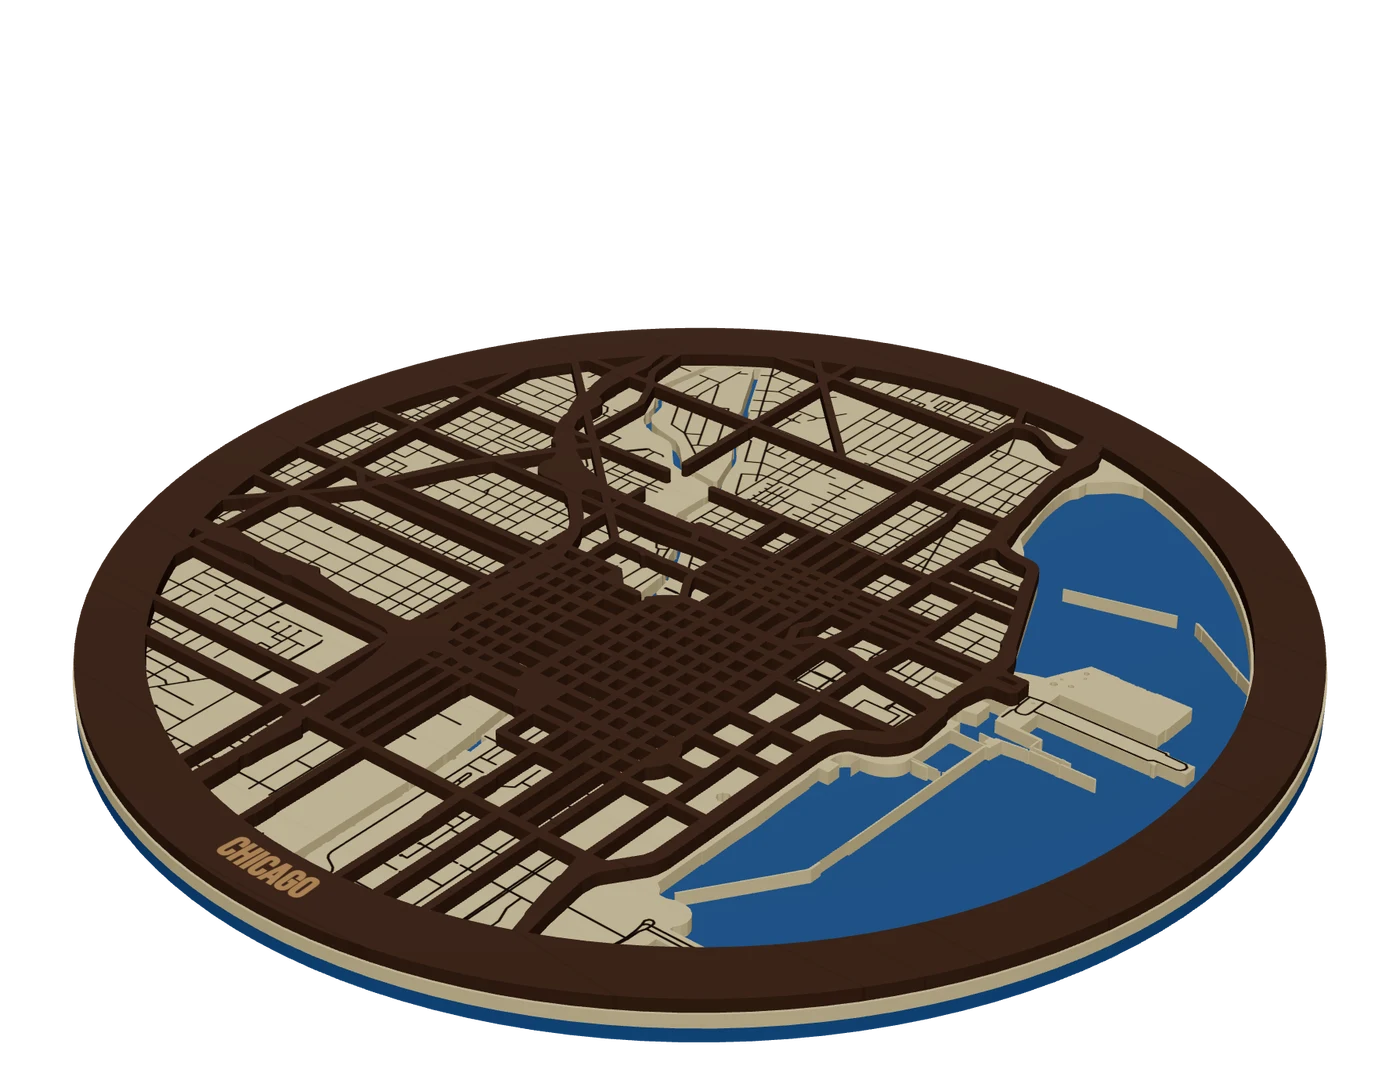 Places to mapCity street mapsLayered city maps with real street hierarchy, water showing through and streets that never fall out.
Turn this into a file you can cut.
Every step above happens in one browser tab. Try it on your own hometown.
7 days free, then $12 a month. Cancel anytime. Or 10 maps for $10.
— more from MappSmith
Everything else this app gives you.
Free tools, libraries and guides — most of it works before you pay for anything.