Map making for laser engravers
Map making for laser engravers usually means a chain of tools that were never built for lasers: a styled web map, a tracing step, a vector editor, then hours of cleanup in LightBurn. It works, and plenty of makers sell beautiful maps that way. This page lays out that workflow honestly, what goes wrong, the file prep that matters either way, and what MappSmith does instead.
7 days free, then $12 a month. Cancel anytime. Or 10 maps for $10.
- Data
- OpenStreetMap streets, real elevation, lake depth surveys
- Exports
- Layered SVG, LightBurn .lbrn2, xTool .xs, DXF
- Opens in
- LightBurn, xTool Creative Space, Glowforge
- Print + cut
- CutContour PDF with registration marks
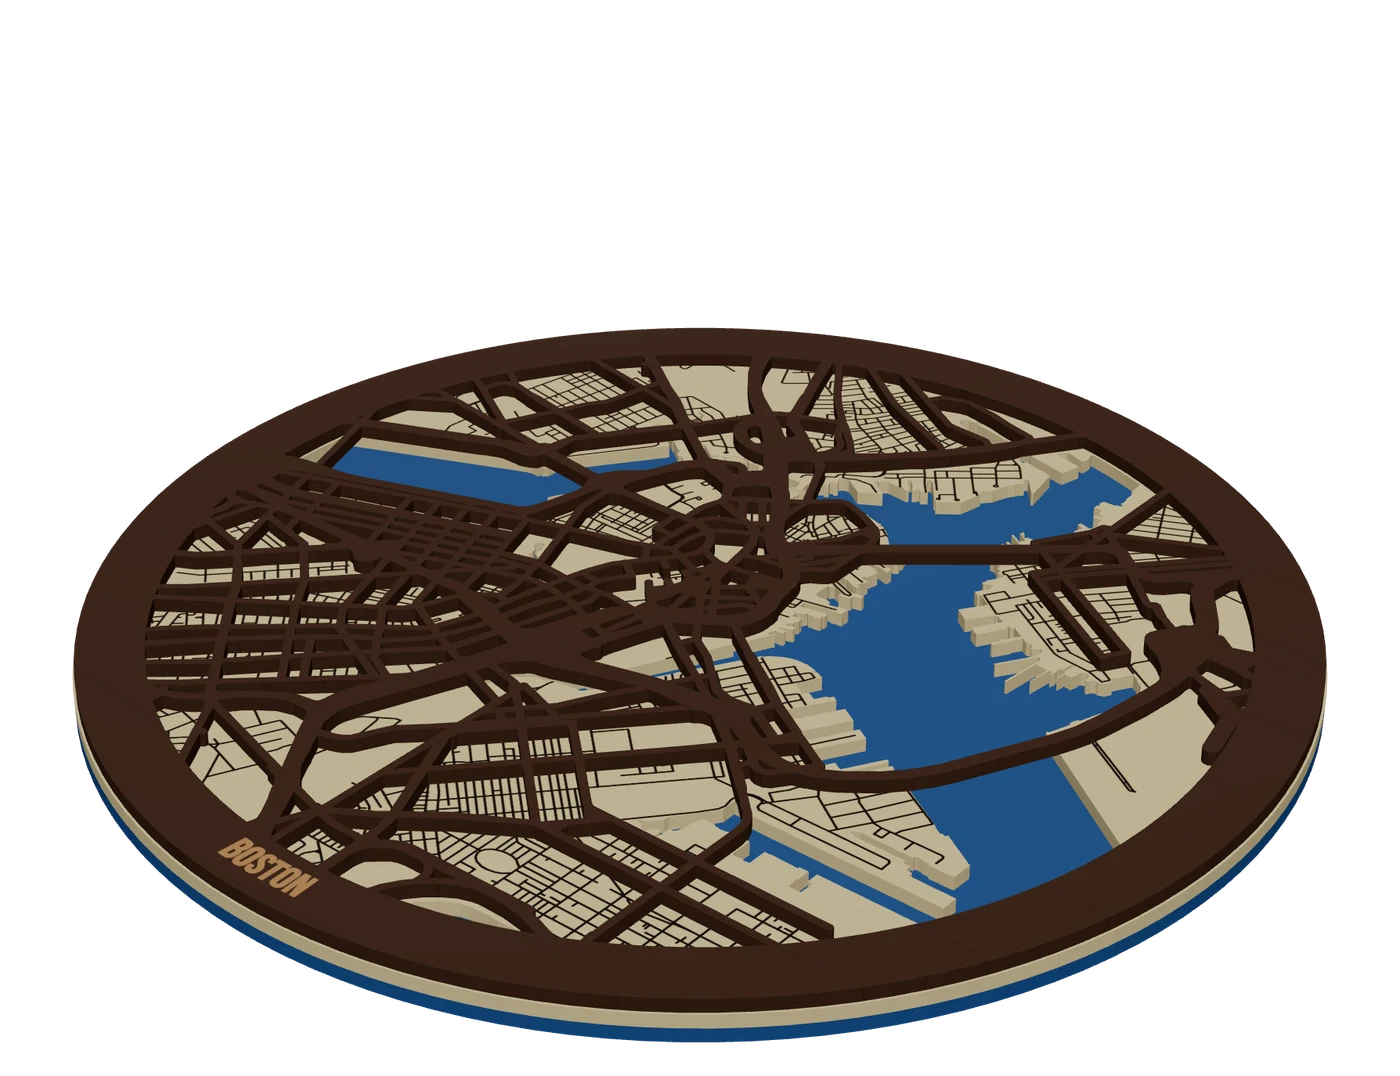
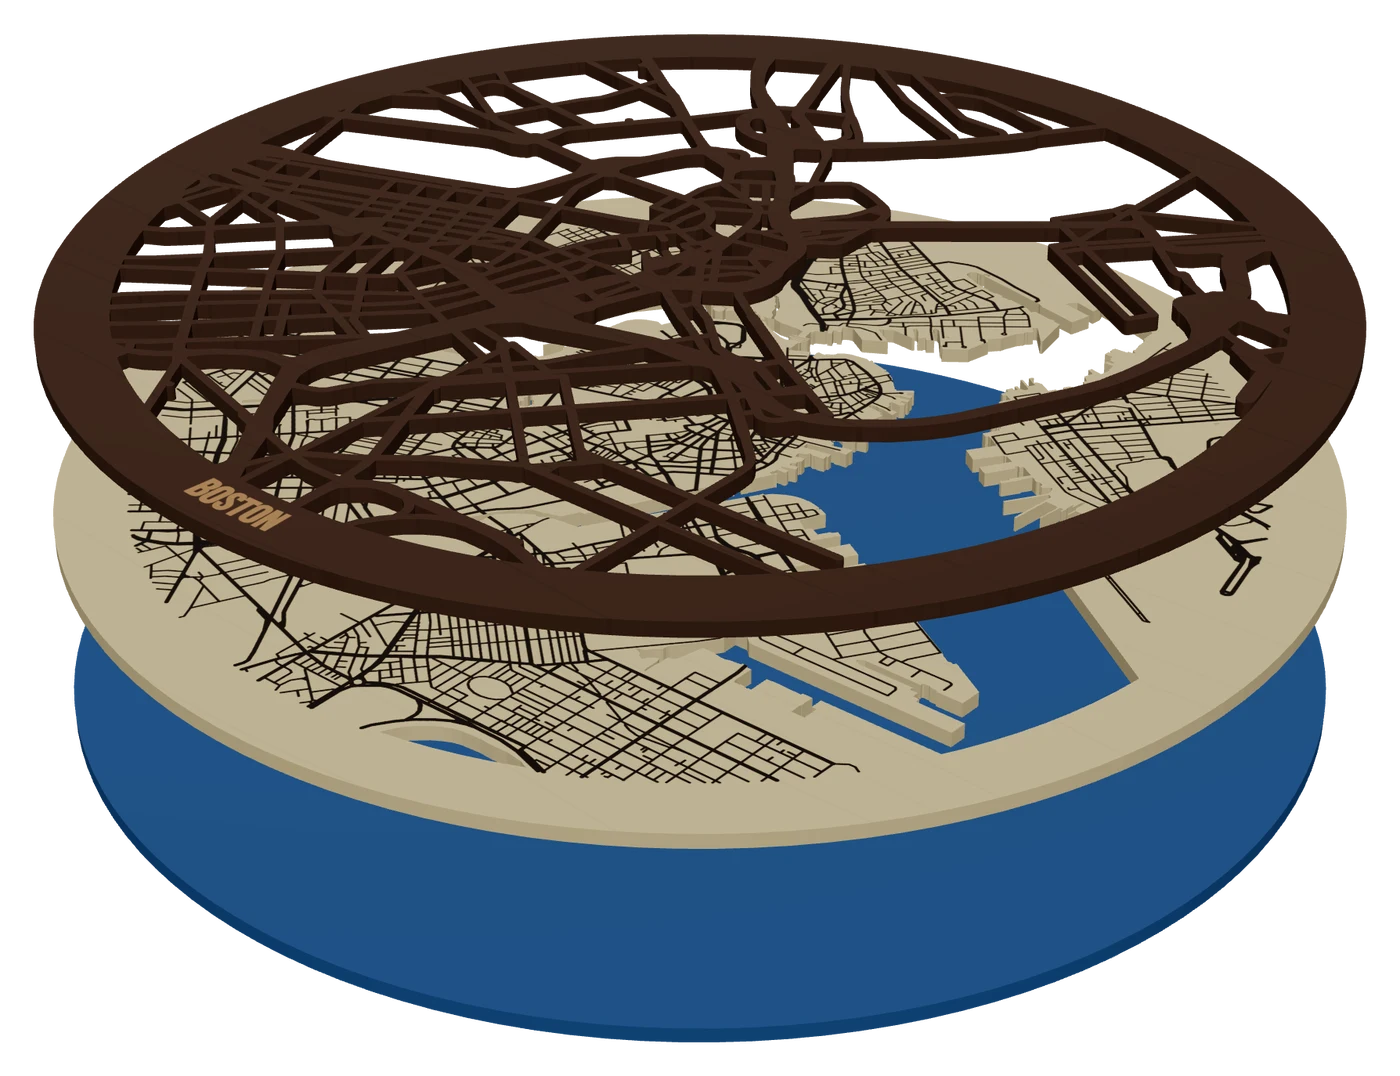
How map making for laser engravers works today
Most published tutorials teach one of these routes:
- Styled web map, then trace in LightBurnStyle a map with a laser-friendly theme. Export water, highways and arterials as separate PNGs without moving the map between exports. Image Trace each one in LightBurn, color the layers, build a frame, then send the SVG to your machine software.
- Styled web map, then trace in IllustratorSame export, but Image Trace in Illustrator, then ungroup and sort the paths by color into layers.
- OpenStreetMap SVG into InkscapeExport the area from OpenStreetMap as SVG, open it in Inkscape, ungroup everything, then build feature layers by hand.
- QGIS with QuickOSMPull only streets or buildings, label them, export a simplified PDF, open it in Inkscape, then sort roads into big and little by hand and delete the rest.
Where the manual route hurts
You do not have to take our word for it. Here is what makers wrote while doing it:
I know HOW to cut them into layers but I have no idea how to make each layer or what to use… I was told GIS software but that doesn’t help me a whole lot.
Glowforge community forum
One Manhattan export from OpenStreetMap pulled in “the entire state of NJ”: 146,696 objects to ungroup, and the ungroup ran overnight.
quite a lot of manual labor
NYC Resistor wiki, on sorting roads by hand after a QGIS export
Then the cut itself. A road layer on its own was “too floppy”, and edge pieces became islands that fell off until the road ends were merged into an outer frame. Tiny bits like on-ramps had to be smoothed out of the trace. One maker’s first topo map took “about 3 weeks of evenings”.
What MappSmith does instead
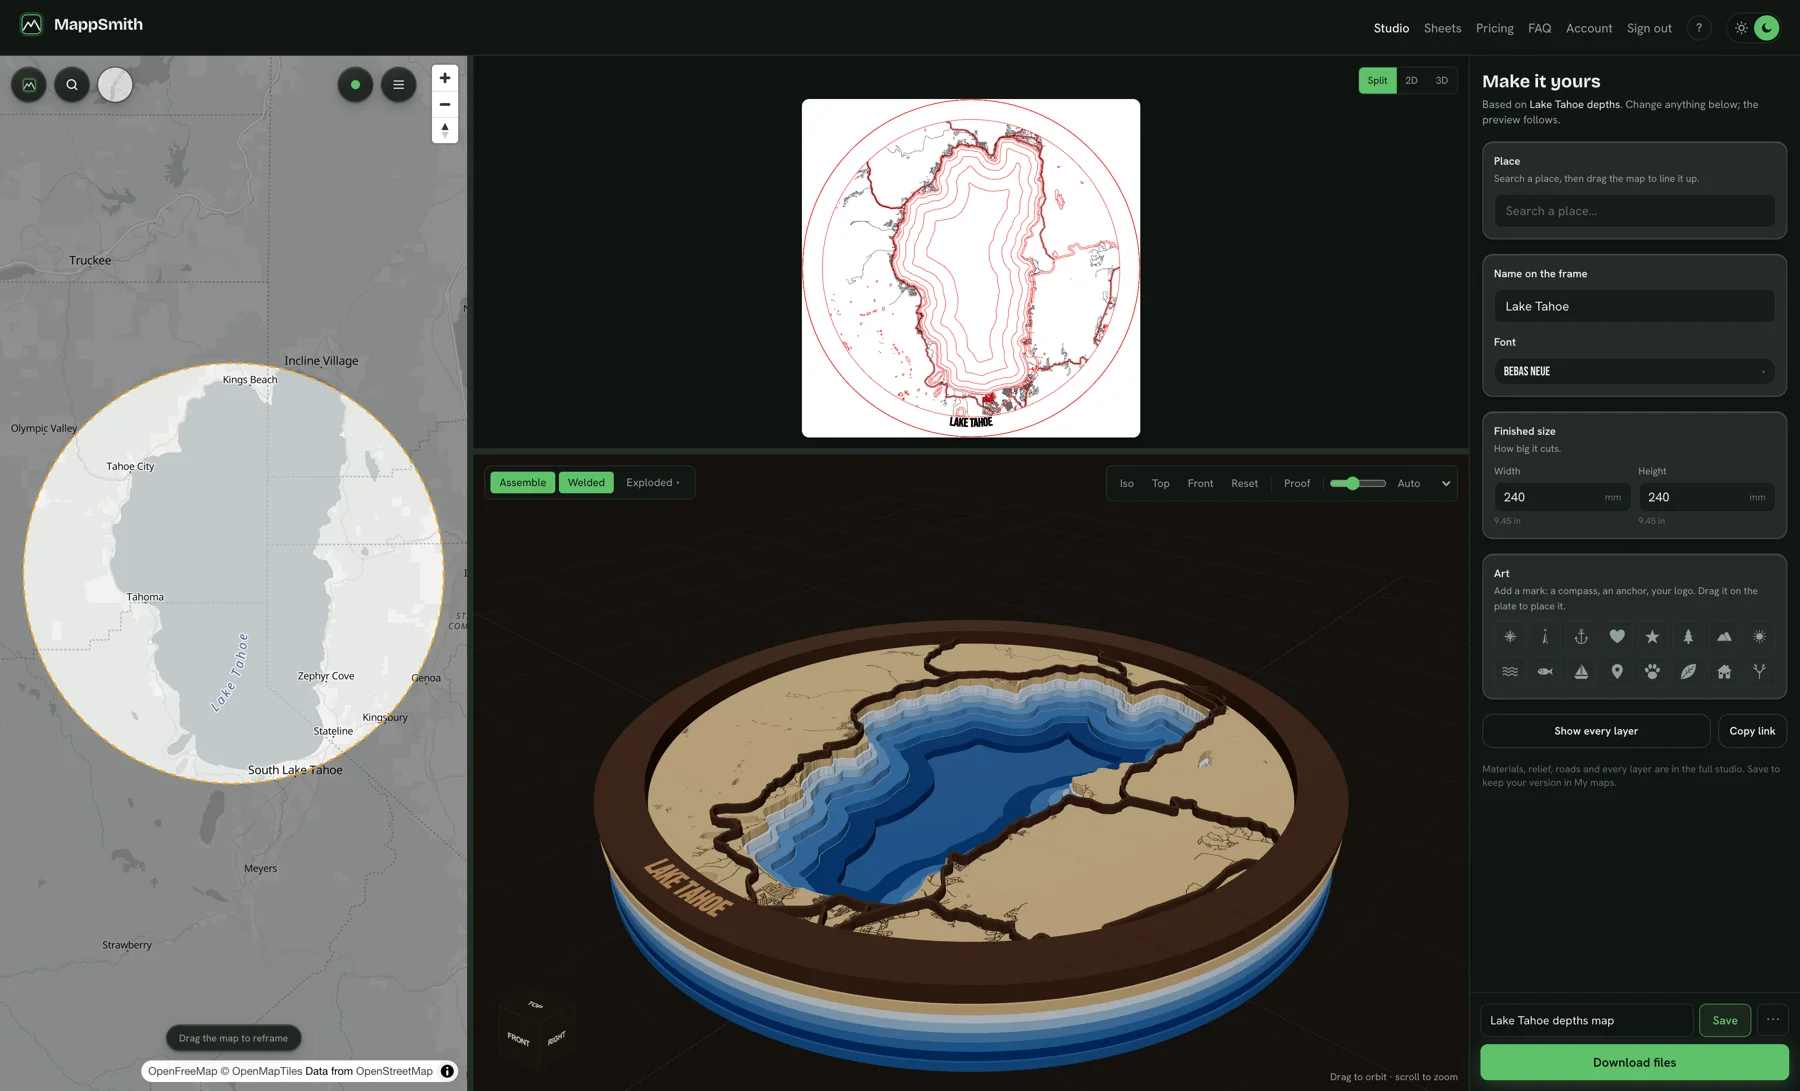
MappSmith is a browser app built for this one job. No tracing, because the data starts as vectors.
- Search any place on Earth and frame it: circle, square, heart and other shapes, or a US state outline
- Street data from OpenStreetMap, already vector, sorted into highways, main roads and local streets
- Real elevation data and lake depth surveys, split into levels you can stack
- Cut, score and engrave on their own registered layers, and each physical layer as its own file
- A frame band that holds the streets, so nothing floats, with a curved or straight name in the band
- Live 3D preview in real materials, plus an exploded view of the stack
- GPX import for routes and trails
File prep that cuts clean, whatever tool you use
- One file per layer or material. Each sheet of wood or acrylic is its own job.
- Closed paths for every cut. Open paths cut as lines, not shapes.
- Cut inner shapes before outer ones, so parts do not shift once they are free.
- Check your kerf. It runs from about 0.2 to 1 mm depending on process and material. Cut a 1 in test square: if it measures 0.990 in, your beam takes 0.010 in. Features thinner than your kerf burn away.
- Bridge islands to the frame. Any piece of road that touches nothing will fall out.
- Add alignment help: keys, dowel holes or the next layer’s outline lightly etched on the one below.
- Test on chipboard first before you spend good wood.
The full walkthrough is in cutting a map file and the pillar guide, how to make a laser cut map.
Machines and software supported
| Your setup | What you download |
|---|---|
| LightBurn | Native .lbrn2, layers already split |
| xTool Creative Space | Native .xs file |
| Glowforge | Layered SVG |
| Anything else | Layered SVG or DXF |
| UV printer + cutter | Print file plus cut file with CutContour PDF and registration marks |
Bed size still matters. One tutorial notes a city map “just barely” fit its machine. For bigger pieces, the map tiles format splits one map across boards that hang side by side, each with its own frame band. Machine pages: LightBurn, xTool, Glowforge.
The products you can offer
- Map ornaments: 4 in, two layers
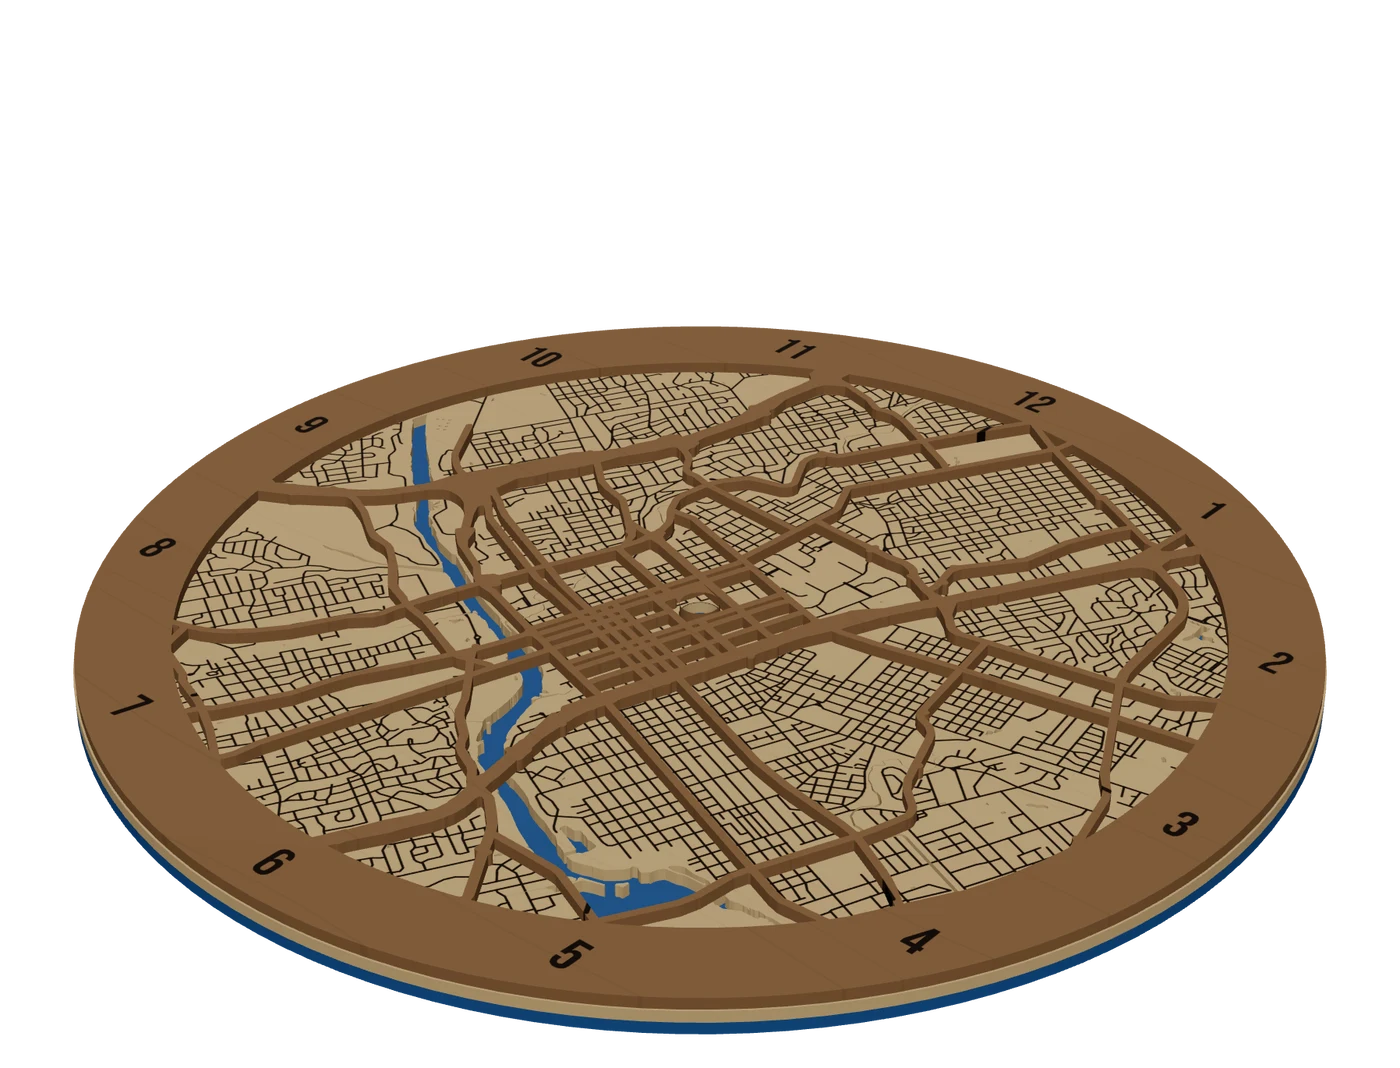
- City street maps: 3D layered, engraved only, or streets cut out
- Lake depth maps: stacked depth bands
- Topographic maps: real elevation in levels
- Golf course maps: raised or carved
- Love story maps: several windows on one board
- Route maps: races and trails from GPX
- Map clocks, key holders, coaster sets and map tiles
Questions makers ask
How do I make a layered map file for LightBurn?
By hand: export map images, trace them, sort the paths into layers and add a frame. With MappSmith: frame the place, pick a style, and download a native .lbrn2 file with cut, score and engrave already split.
Can I export OpenStreetMap to SVG for a laser?
Yes, but the raw export is heavy. One Manhattan export held 146,696 objects. You then have to sort and simplify by hand. MappSmith uses the same OpenStreetMap data but hands you laser-ready layers.
How thin can a laser cut road be?
No thinner than your kerf, and in practice wider. Kerf runs from about 0.2 to 1 mm. Measure yours with a 1 in test square.
How do I make a map bigger than my laser bed?
Split it into tiles. MappSmith’s map tiles format splits one map across boards that hang side by side, each with its own frame band.
What does MappSmith cost?
A 7-day free trial, then $12 a month or $99 a year for unlimited maps, or 10 maps for $10. It is also included in the FoundryPass.
Sources (11)
- The Handyman’s Daughter: LightBurn city map tutorial
- OMTech: how to laser cut a map
- Glowforge community: layered NYC map + tutorial
- NYC Resistor wiki: Bridge Street neighborhood map
- Glowforge community: GIS software or tips on making layered maps
- The Shamblog: making a laser cut topo map, the build phase
- SendCutSend: what is kerf in laser cutting
- LightBurn forum: measuring kerf with a test square
- Glowforge community: using chipboard to dial in a map
- OSMF Licence and Legal FAQ
- OSMF Attribution Guidelines
Keep going
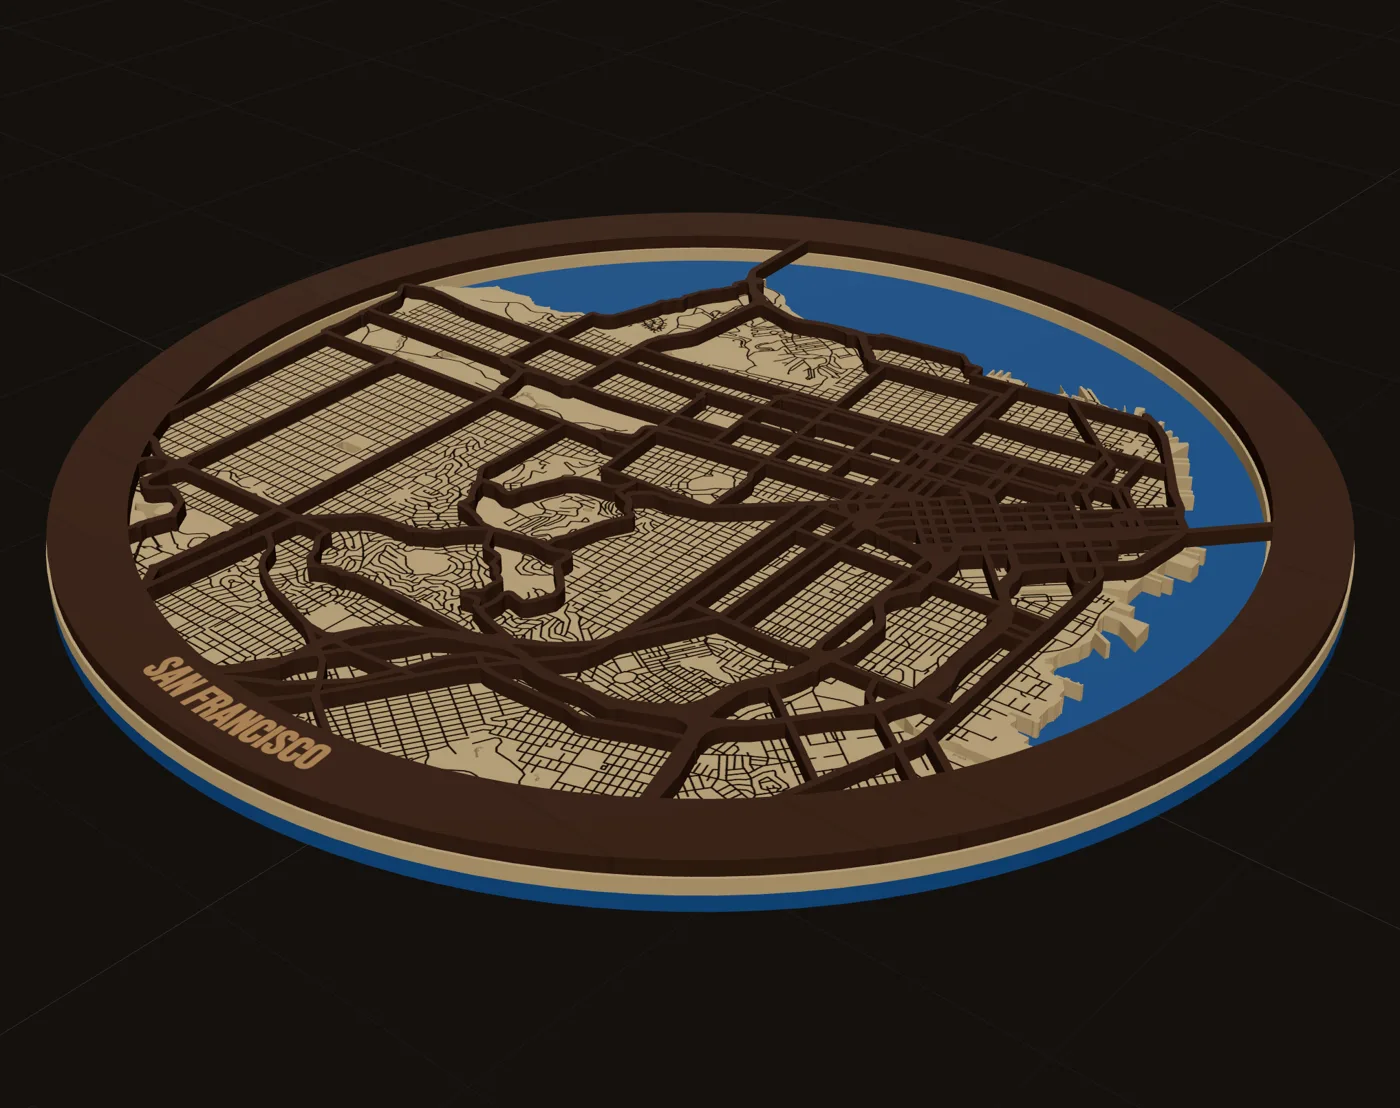 GuideHow to Make a Laser Cut Map: The Free Way and the Fast WayThis is how to make a laser cut map that holds together, reads at a glance and sells. We cover the free manual route with OpenStreetMap and vector software, the faster route in MappSmith, and everything after the file: crop, layers, wood, settings, glue and finishing. Use whichever route fits your shop. The craft is the same.
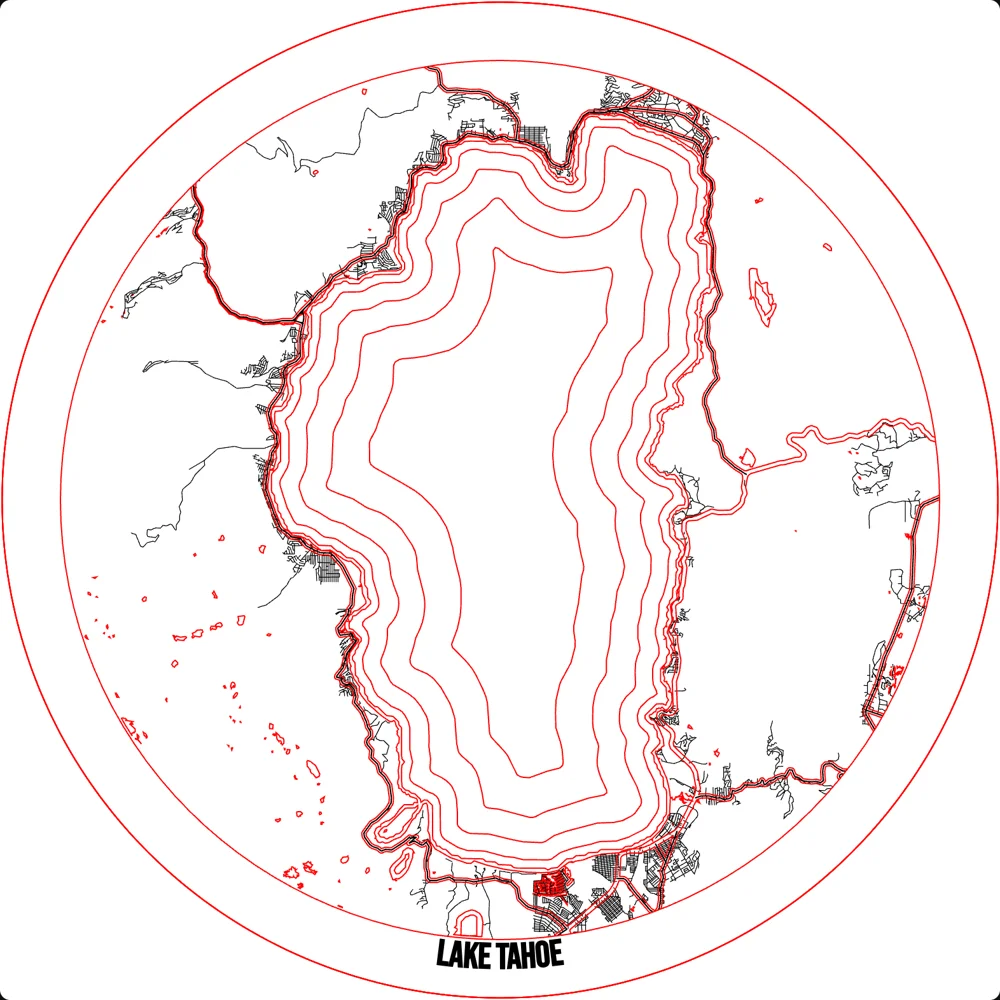 GuideCutting a Map File: Layers, Kerf, Cut Order and FixesCutting a map file is where good designs go wrong. Roads snap, pieces fall through the honeycomb, layers do not line up. This guide covers what is inside a layered map SVG, how line width relates to kerf, when to cut, score or engrave, and how to fix the common failures.Your machineMaps for LightBurnNative .lbrn2 files with cut, score and engrave on separate layers, plus a layered SVG for every sheet.
 Your machineMaps for xToolNative .xs files for xTool Creative Space, one per layer, with cut, score and engrave already separated.
 Selling mapsAdding laser maps to your offeringsWhere to sell laser maps, a starter product ladder, pricing, turnaround and upsells.CompareMappSmith vs Maker Studio vs MaperivoIf you are shopping for a laser map maker alternative, you are probably choosing between three browser tools: MappSmith, Maker Studio (the tool that used to be called Laser Map Maker) and Maperivo. All three turn a place into layered cut files. The differences show up after the download: what your laser opens, what you are allowed to sell, and how many products you can make from one place. That is what this page compares.
Make your first map making for laser engravers file tonight.
Search the place, pick the piece, check it in 3D, download files that open in LightBurn, xTool Creative Space and Glowforge.
7 days free, then $12 a month. Cancel anytime. Or 10 maps for $10.
— more from MappSmith
Everything else this app gives you.
Free tools, libraries and guides — most of it works before you pay for anything.