Glowforge map files that load as clean steps
A Glowforge map is easiest when the SVG is already sorted. MappSmith writes one SVG per physical layer with cut, score and engrave in different colors, so the Glowforge app splits them into separate steps you can set. Plan around the bed, tile anything bigger, and cut.
7 days free, then $12 a month. Cancel anytime. Or 10 maps for $10.
- File
- SVG per layer
- Steps
- Cut red, score blue, engrave black
- Cutting area
- Approx. 11 x 19.5 in
- Tiles
- 1-6 across, 1-4 down
- Tile sizes
- 8, 10, 12, 16 in
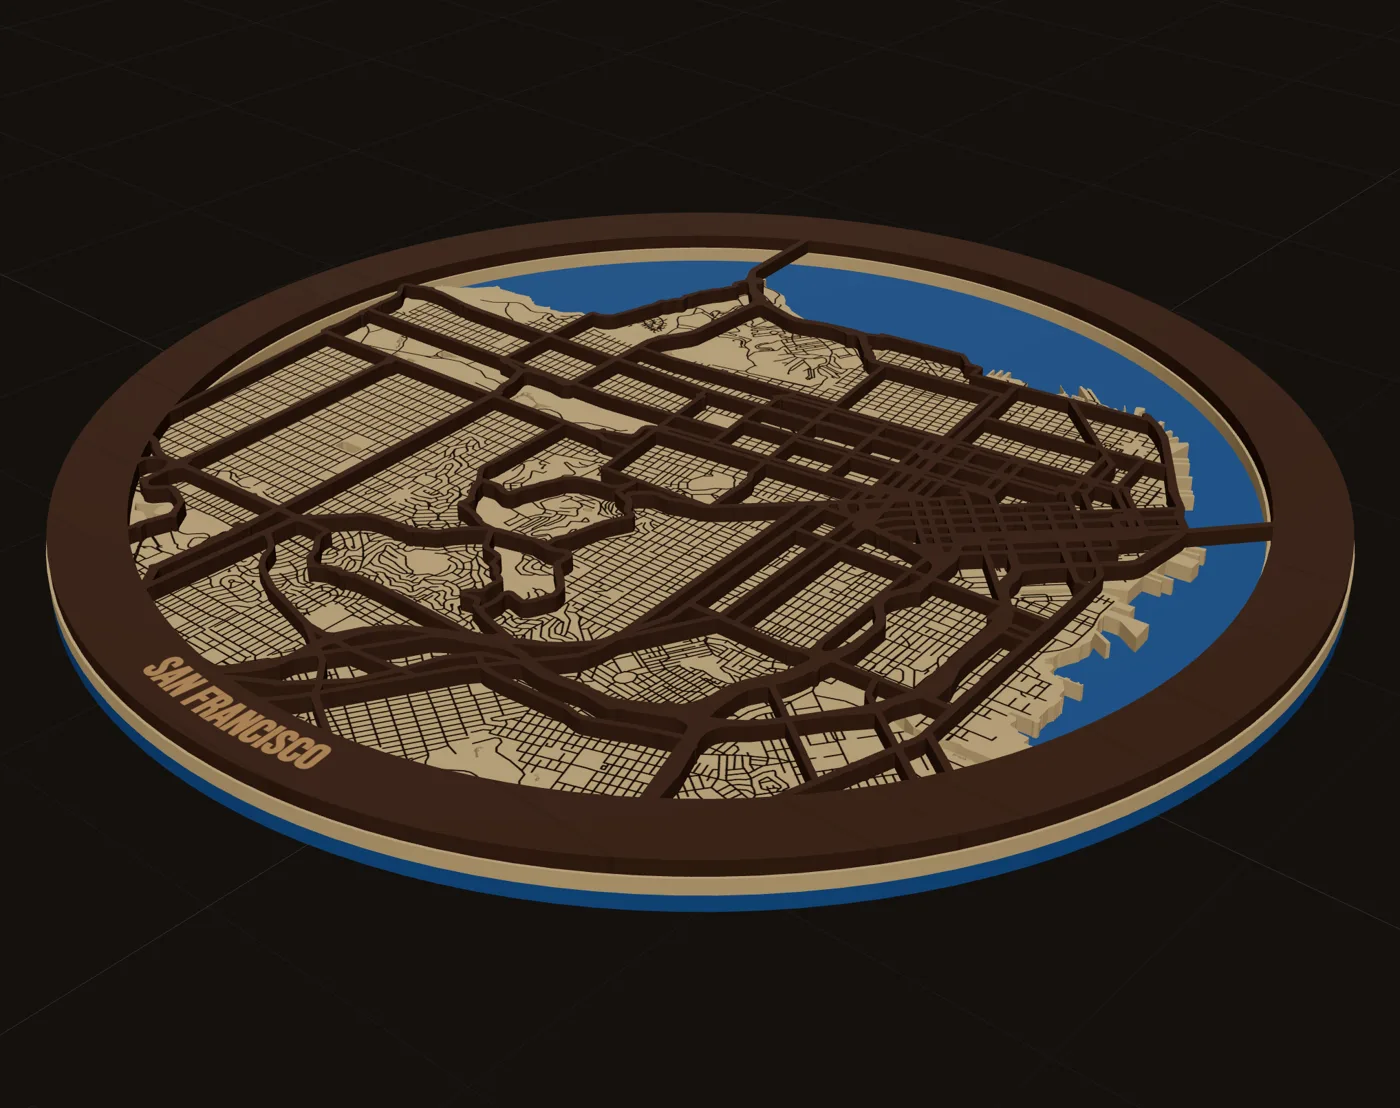
Uploading a Glowforge map SVG
Upload the cut SVG for one layer. Engrave, score and cut are different colors (black, blue and red), so they come in as separate steps. Set each step for your material, then place it on the stock. Do one layer per job: each SVG is one sheet of one material.
- Red (cut): the outline, cut-out water, cut streets.
- Blue (score): glue guides and any scored roads. Keep it a score so it never cuts.
- Black (engrave): local streets, names, depth lines, as filled shapes. Run as an engrave.
If you bought pre-finished plywood, note one forum report that a factory finish can block stain, so stain after cutting.
Plan sizes around the bed
Glowforge lists the cutting area as approximately 11 inches deep and 19.5 inches wide. The Pro's passthrough slot takes material up to 20 inches wide, 1/4 inch thick and as long as you like. Owners report the real usable area is a hair smaller, so leave a margin.
| MappSmith size | Fits in one job? |
|---|---|
| 8 in square | Yes |
| 10 in square | Yes, with a little margin |
| 12 in square | No: deeper than 11 in |
| 16 or 18 in square | No: tile it, or use passthrough on a Pro |
| 16 x 12 golf board | No: 12 in is deeper than 11 in |
A 12 x 20 sheet of Baltic birch is actually 11-7/8 x 19-7/8 inches, which fits the bed nicely for batches of ornaments or coasters.
Splitting big maps across tiles
The forum method for a map bigger than the bed is to intersect it with rectangles in a vector editor and add snap marks so the halves line up. It works, but streets cut at the seams have nothing to hold them.
MappSmith's map tiles do it the other way round. One map is split across separate boards that hang side by side, 20 mm apart. Each tile has its own frame band, so its cut streets hold together. Set Across (1 to 6) and Down (1 to 4), pick a tile size of 8, 10, 12 or 16 inches, and the card shows the total size on the wall. Each tile downloads as its own files.
Dial it in on chipboard
Glowforge owners making city maps cut the first copy on chipboard to find streets that are too thin and settings that char. Then cut good stock. The layered NYC tutorial on the forum puts laser time at "2-60+ minutes per layer," so a test pays for itself.
Design: 30-120+ minutes per map, depending on detail (and skill).
Layered NYC Map + Tutorial, Glowforge Owners Forum
While you test, measure your kerf: cut a 1 inch square and measure it. If it comes out at 0.990 inch, your beam is taking 0.010 inch. Kerf runs about 0.2 to 1 mm depending on material and settings, and any street narrower than that won't survive a cut. Raise that road group's width or engrave it instead.
That design time is what MappSmith replaces. Credit OpenStreetMap on what you sell (how).
Materials and cost on a Glowforge
You don't need fancy stock to sell a map. The layered NYC tutorial was cut mostly from blue and neutral cardstock and set in 11 x 14 float frames. For wood, a 20-pack of 12 x 20 Baltic birch works out to about $3.06 a sheet, and one university makerspace prices maple ply at $0.09 per square inch with an average Glowforge project costing $3.25.
Pre-colored plywood runs about $15 to $16 a sheet in forum reports, which pushes many owners to dye or stain their own. For a layered map, the classic stack is blue acrylic water, light wood land and darker wood streets.
| Layer | Upload | Steps |
|---|---|---|
| Water | Water SVG | Cut (outline) |
| Land | Land SVG | Engrave streets, then cut water and outline |
| Streets | Streets SVG | Cut streets and frame band |
Questions makers ask
Does MappSmith work with a Glowforge?
Yes. Upload the cut SVG for each layer to the Glowforge app. Cut, score and engrave come in as separate steps.
How big a map can I cut on a Glowforge?
The listed cutting area is about 11 x 19.5 inches. A 10 inch square fits. Bigger maps go on tiles, or through the passthrough on a Pro.
How do I split a map larger than my Glowforge bed?
Use map tiles. Each tile is its own board with its own frame band, so nothing falls out at the seams.
Does it include Glowforge settings?
No. Set each step for your material and test on scrap. MappSmith doesn't know your machine or stock.
Can I batch ornaments on one Glowforge sheet?
Yes. Use Sheets with a 12 x 20 stock size and a margin, then upload the one SVG.
Sources (11)
- SendCutSend: what is kerf in laser cutting
- LightBurn forum: measuring kerf with a test square
- Glowforge Shop: Glowforge Pro specs (cutting area, Pro Passthrough)
- Glowforge Owners Forum: big Paris map (splitting across the bed)
- Glowforge Owners Forum: chipboard to dial in a London map
- Glowforge Owners Forum: Layered NYC Map + Tutorial
- Glowforge Owners Forum: painting and staining before cutting
- Glowforge Owners Forum: laser-safe wood dyes and stains
- Wood Art Supply: 3mm Baltic birch, 12x20, pack of 20
- FGCU Makerspace: Glowforge materials pricing
- OSMF Attribution Guidelines
Keep going
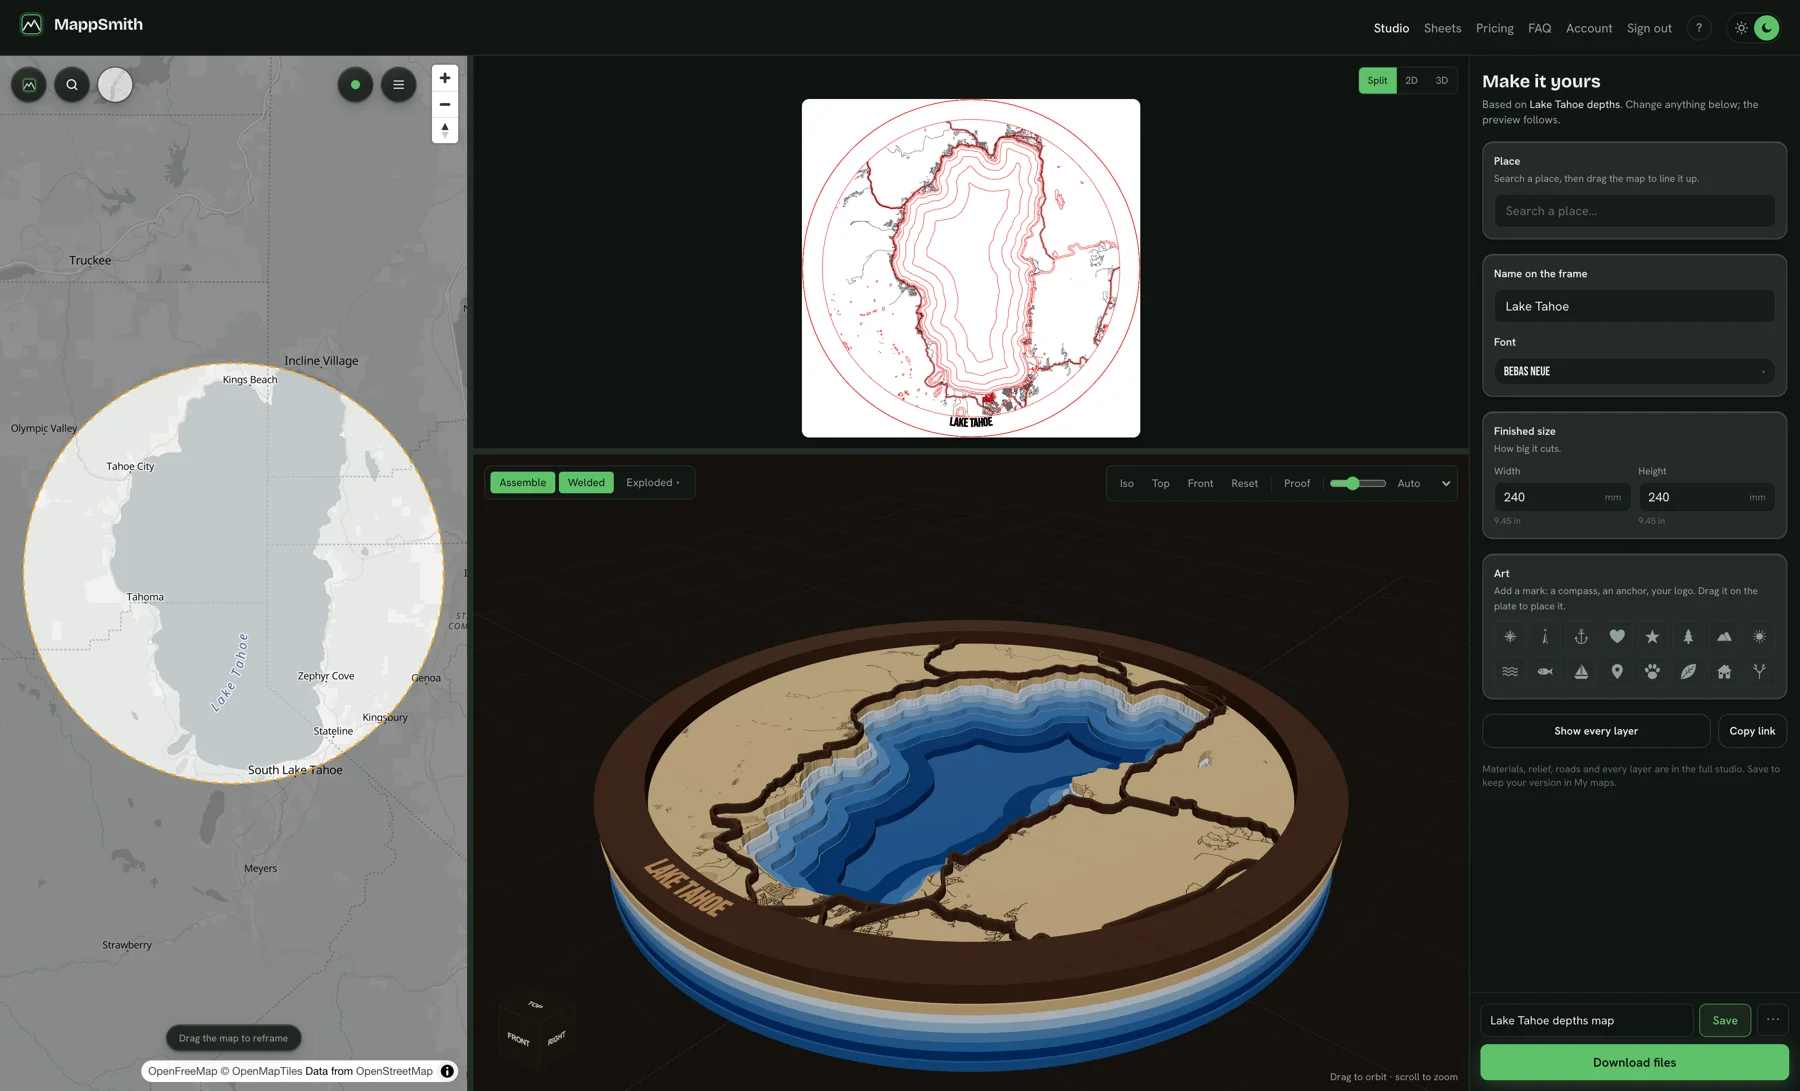 Your machineMaps for xToolNative .xs files for xTool Creative Space, one per layer, with cut, score and engrave already separated.
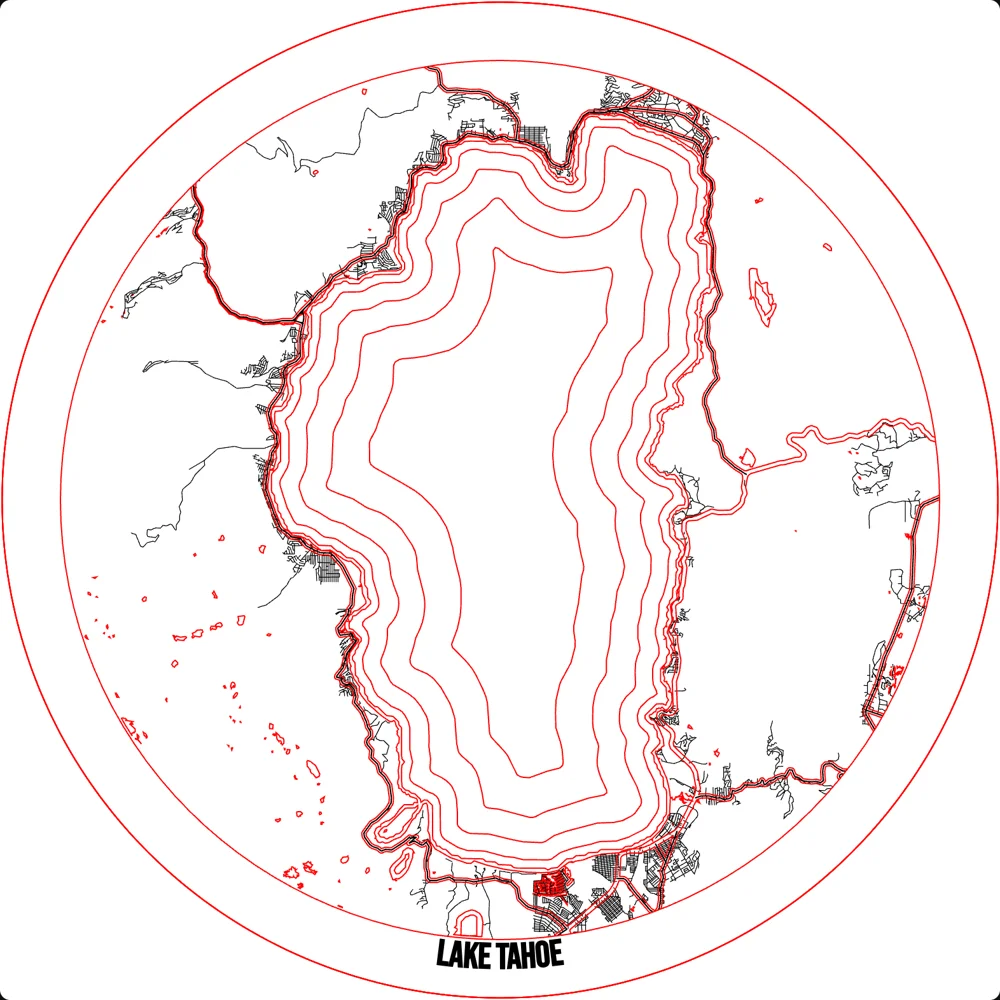 GuideCutting a Map File: Layers, Kerf, Cut Order and FixesCutting a map file is where good designs go wrong. Roads snap, pieces fall through the honeycomb, layers do not line up. This guide covers what is inside a layered map SVG, how line width relates to kerf, when to cut, score or engrave, and how to fix the common failures.
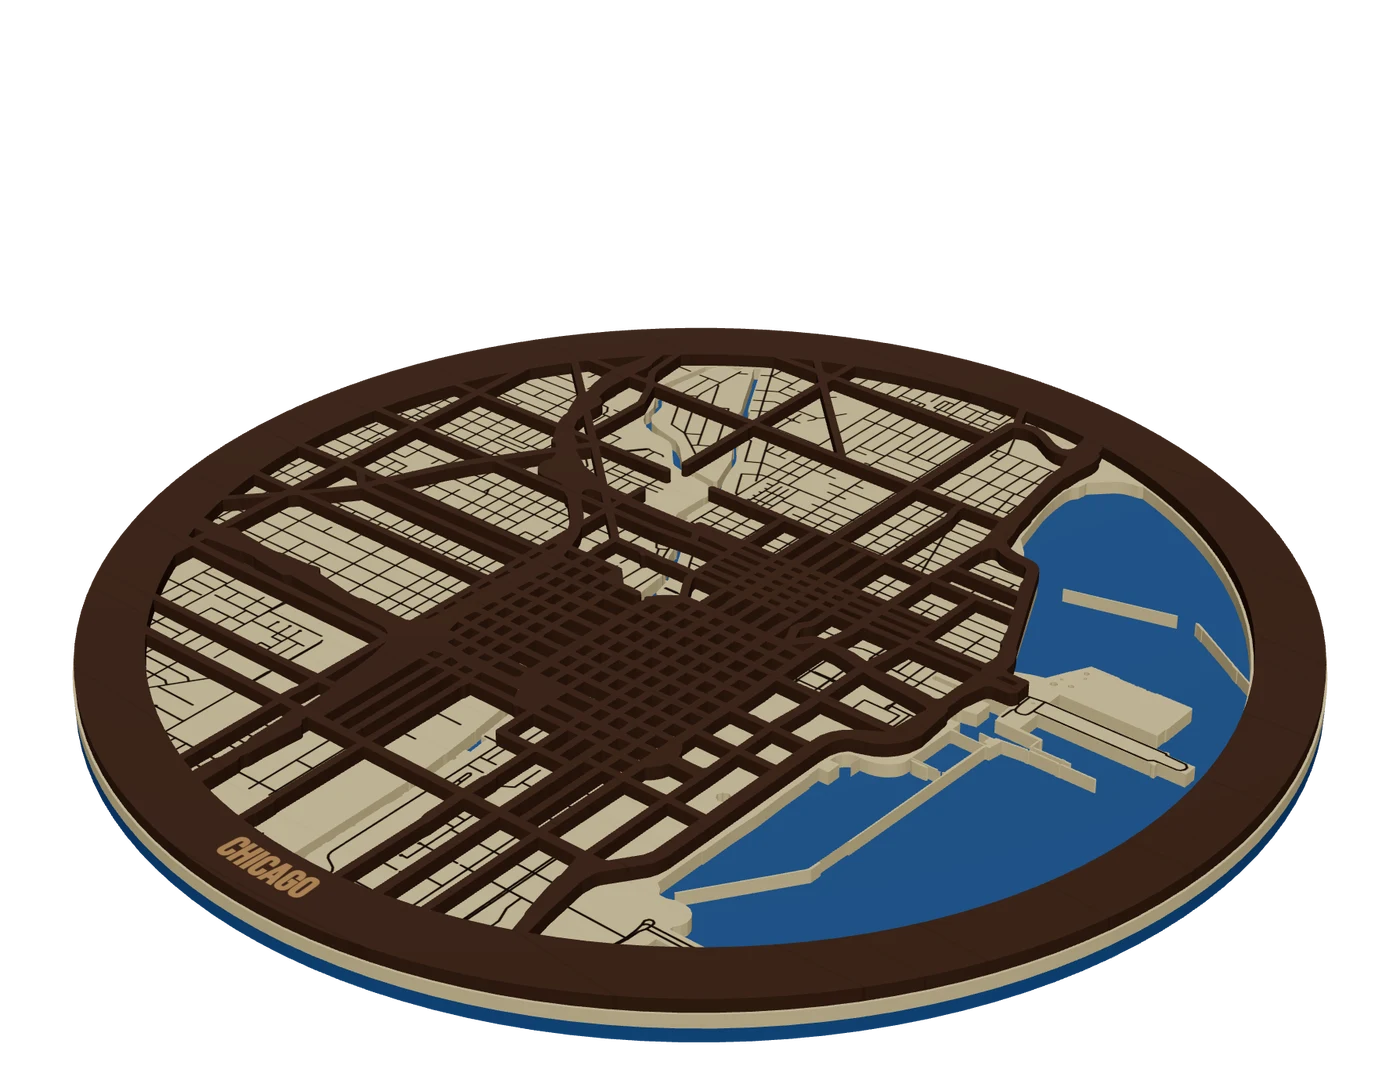 Places to mapCity street mapsLayered city maps with real street hierarchy, water showing through and streets that never fall out.
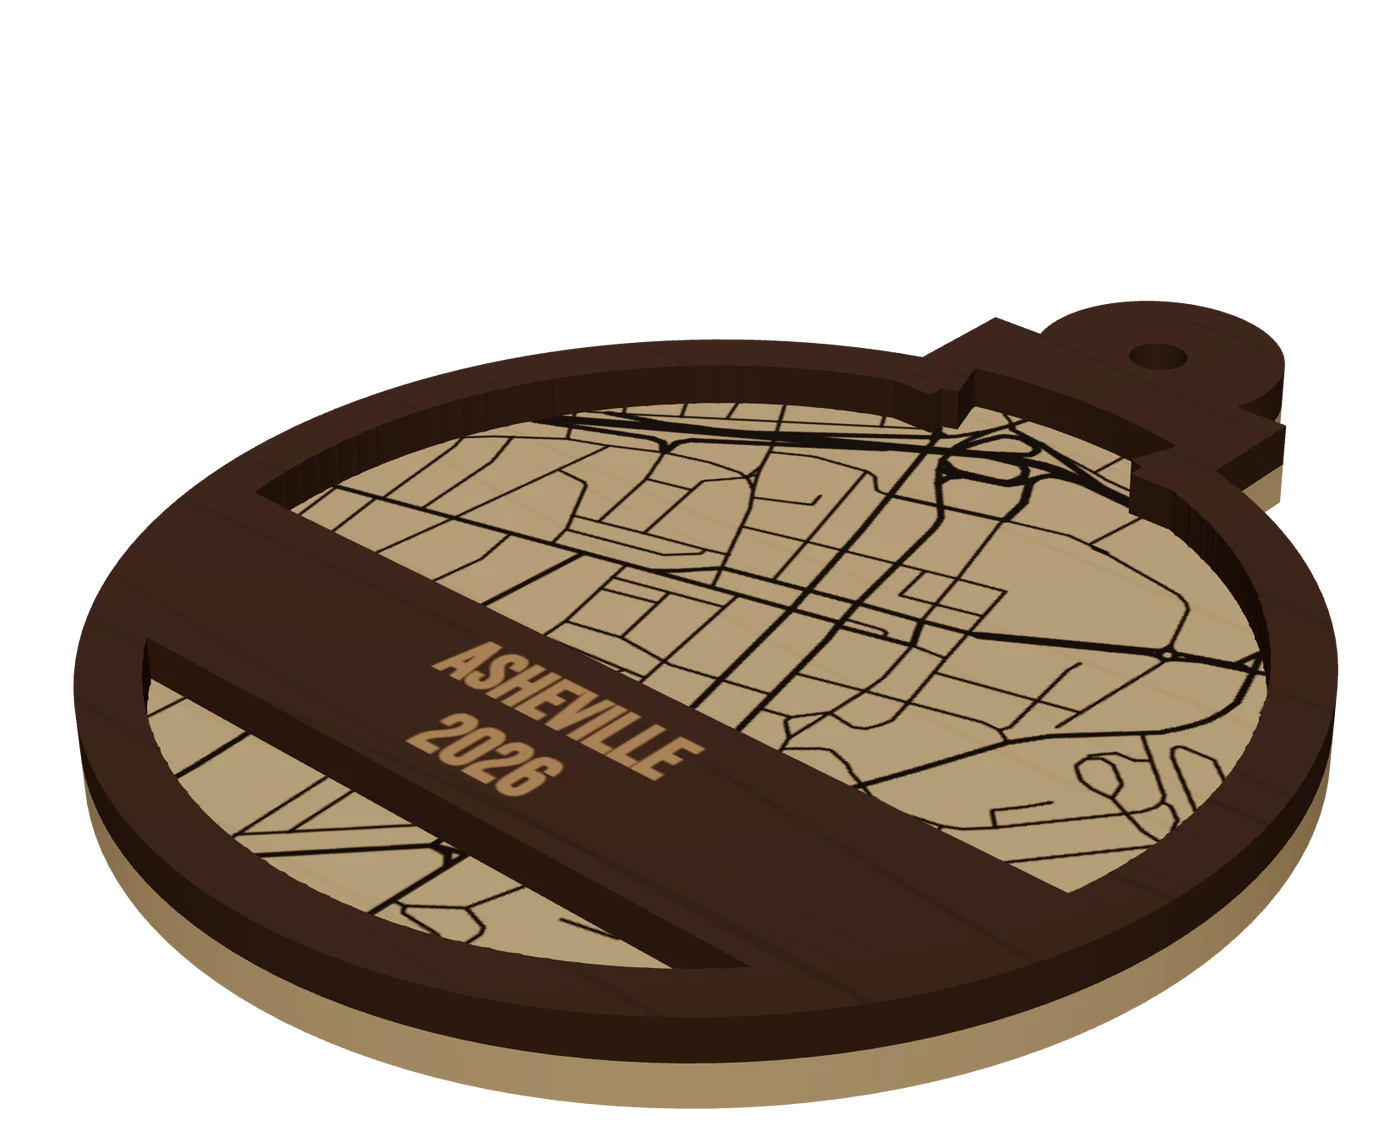 Pieces to makeMap ornamentsA 4 in layered hometown ornament with a name and a year. The map most customers buy first.
Make your first maps for glowforge file tonight.
Search the place, pick the piece, check it in 3D, download files that open in LightBurn, xTool Creative Space and Glowforge.
7 days free, then $12 a month. Cancel anytime. Or 10 maps for $10.
— more from MappSmith
Everything else this app gives you.
Free tools, libraries and guides — most of it works before you pay for anything.