Premium Map Finishing Techniques for Laser Cut Maps
These map finishing techniques are what separate a craft-fair map from one that sells framed. Masking, color, water, glue, edges and lighting each add a little. Some advice here comes from published tutorials, some from forum makers; we mark which is which. Test everything on scrap first.
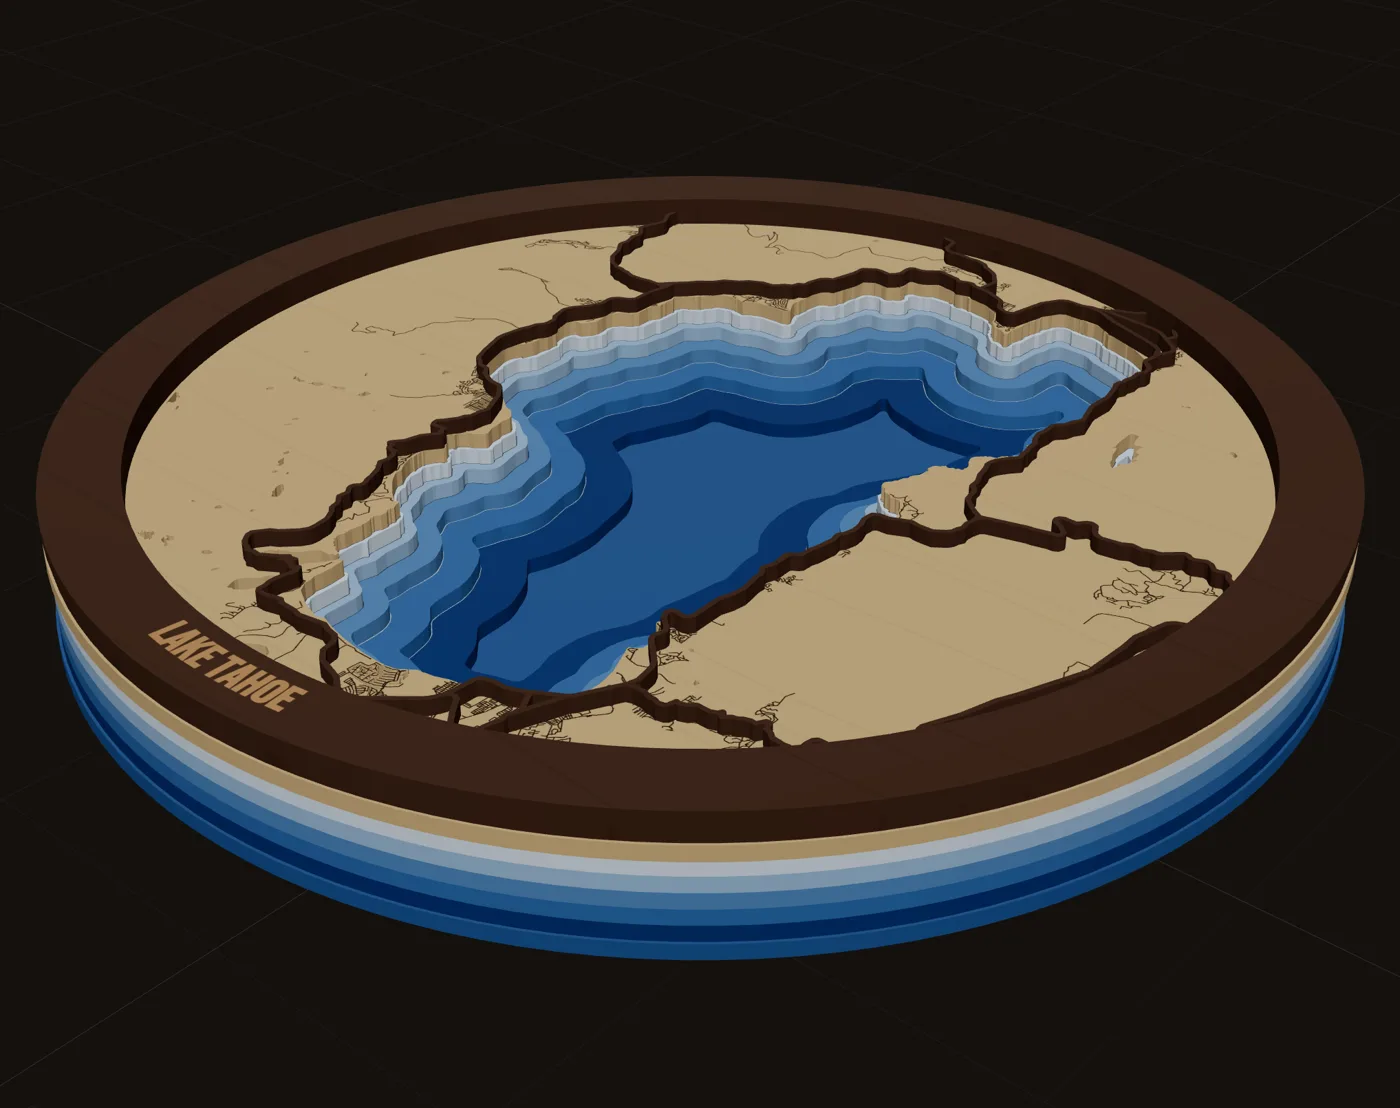
Masking against char
Smoke from engraving and cutting stains the surface around every line. On a map with hundreds of street cuts, that adds up to a brown haze. Masking stops it at the source.
- Mask the land plate before engraving and cuttingApply masking to the face. Delicate pieces then need no sanding afterward.
- Press it down hardBurnish the mask so it does not lift into the laser head as you cut.
- Peel with tapeOne tutorial pulls off all the little masking scraps in one swipe with duct tape.
Prep: removing smoke marks
If you did not mask, you have two options, and they depend on what comes next.
- Bare wood that stays bare: sand lightly. One lake map guide uses 150 grit to remove smoke staining.
- Pieces that will be painted: skip the sanding. Wipe the laser residue off with rubbing alcohol, then prime. The same guide says primer "seals the wood and helps bond the paint."
- Spray, do not brush, over raw ply. A brush drags soot across the surface.
Stain vs dye
Most color advice for laser plywood comes from maker forums, not lab tests. Treat this section as experienced opinion.
| Stain | Dye | |
|---|---|---|
| Grain | Sits more on the surface | Shows more grain |
| Risks | Uneven on cheap ply | Water-based raises the grain; alcohol-based shows lap marks |
| On pre-finished ply | Factory finishes can block it; stain after cutting | Same |
| Cost note | Cheaper than pre-colored ply, which forum makers priced at $15 to $16 a sheet | Same; some makers dye their own for this reason |
- Grade matters. Forum makers report BB-grade plywood takes stain fairly evenly and cheaper ply is "dodgy."
- Stain after cutting on any board with a factory finish. One thread found the finish blocked stain.
- Burning on pre-stained wood is likely the stain's binder, according to the same discussions.
Water: painted, acrylic or epoxy
Painted water
The simplest and most common. Use 1/8" MDF for the water backer because "thin plywood has a tendency to warp when painted on one side." Two coats of satin acrylic, sprayed. Paint before you glue anything on top.
Acrylic water
A blue or clear acrylic sheet as the water layer gives a glassy look with no paint. For acrylic set into wood or mirror acrylic over clear, size the inlay for the kerf so it fits snug. Acrylic needs its own test grid; do not reuse your wood settings.
Epoxy lakes
One build filled laser-etched waterways with two-part epoxy tinted with blue pigment powder, then through-cut and backlit them with standard LED strips. If you pour, follow your resin maker. As one river-table guide puts it: pour at most 2" per layer, expect about 6 hours of working time and 48 to 72 hours to cure. Map pours are far thinner than that, so read the product sheet for thin pours.
Alignment: keys, outlines and dowels
Layers that shift a millimeter during glue-up show a ledge around the whole edge. Four published fixes, from least to most effort:
- Dry-stack first. Check every sheet before any glue goes on.
- Etch the next layer's outline lightly onto the layer below, so you can see where it goes.
- Add dowel holes through the stack to stop rotation under clamps.
- Build keys into the layers, small tabs and slots that only fit one way.
MappSmith can put glue guides on relief sheets: a light line on each layer showing where the next one sits.
Glue: CA dots vs adhesive sheets
| Method | Where it shines | Watch out for |
|---|---|---|
| Thick CA glue in dots | Street layers: dots on wide intersections and the frame band | Drips; fumes; too much fogs the surface |
| Double-sided adhesive on the board before cutting | Thin street layers with many small pieces | Plan it before you cut; you cannot add it after |
| Yellow wood glue, brushed thin | Large solid plates, land to water | Keep it away from cutouts; squeeze-out into the water |
Press flat under weights with wax paper. One builder's warning is worth remembering: "clamps squeeze out more glue than you think."
Edges, sealing and backers
- Edges. Laser-cut edges are dark already. If the layers look patchy at the edge, darken them evenly with stain or a marker, tested on scrap. Or let a frame do the work: a cheap black metal frame "hides the imperfect edges."
- Sealing. A clear spray coat protects the surface from handling and evens out sheen between layers. Use the same finish on every sheet so nothing looks out of place.
- Backers. A solid back sheet stiffens the stack and stops warping. It is also a good place for a message, the date, or the OSM attribution engraved on the back.
- Back text reads backward unless mirrored. MappSmith engraves a back message on the bottom sheet, mirrored, so it reads the right way when you turn the piece over.
Hanging hardware and frames
How the piece hangs is part of how it sells. There is little published map-specific data here, so this is general shop practice.
- Small pieces: a keyhole slot cut into the backer, or a sawtooth hanger glued and pinned to it.
- Larger pieces: two hangers or a wire, so it hangs level.
- Ornaments: a cut hanging hole or loop and a ribbon. MappSmith's ornament gets a hanging loop on top unless you switch it off.
- Frames: a shadow-box frame with a glass or acrylic front protects the layers. One seller of finished maps uses a solid pine frame with an acrylic front.
A frame is also an upsell. Sellers who ship framed price it in. See adding laser maps to your offerings.
LED and edge-lit acrylic
Edge-lit acrylic turns a map into a night light. It suits star-map pairings and gift pieces. The technique comes from makers on the Glowforge and DigiKey forums.
- Engrave the back, mirroredEngrave the map on the back of a clear acrylic panel with the design mirrored, so it reads correctly from the front.
- Keep the bottom edge cleanThe light enters through the bottom edge. A clean cut edge carries more light.
- Set it in a baseForum makers mention cheap LED bases at about $10. Size the slot to the panel thickness plus a test fit.
- Or backlight a cut mapThrough-cut waterways can be lit from behind with LED strips, as in the epoxy waterway build above.
For layered mixed-material maps (acrylic water, wood land), see stacked maps.
A finishing order that works
Most finishing problems come from doing steps in the wrong order: painting after glue-up, staining over a factory finish, sealing before the color is right. Here is one order that avoids them. Adjust it to your materials.
- Mask the faces that will be engraved or stay bare.
- Engrave, score and cut each sheet, inside cuts first.
- Peel the mask. Clean smoke with a light sand or rubbing alcohol.
- Prime and paint the water backer; stain or dye the street layer; shade any depth layers from light to dark.
- Let everything dry fully, then dry-stack to check alignment and color together.
- Glue up from the bottom: land to water, then streets on top. Weight it flat.
- Seal with a clear spray coat, the same on every sheet.
- Engrave or attach the back message and attribution, add hanging hardware, and frame.
Questions makers ask
How do I paint water on a laser cut map without warping?
Use 1/8" MDF for the painted water backer instead of thin plywood, and spray two coats of satin acrylic rather than brushing. Paint it before you glue anything on top.
Should I use stain or dye on laser plywood?
Forum makers report that dye shows more grain, water-based dye raises the grain, and alcohol-based dye can show lap marks. Stain is more forgiving on BB-grade ply. Both are anecdotal, so test on scrap from the same sheet.
How do I get rid of smoke marks on laser-cut wood?
Prevent them with masking. Otherwise, sand lightly with 150 grit on pieces that stay bare, or wipe with rubbing alcohol and prime pieces that will be painted.
How do I keep layered maps aligned when gluing?
Dry-stack first, etch the next layer's outline onto the one below, and add dowel holes or built-in keys. Weight the stack under wax paper rather than clamping hard.
How do I backlight a laser map?
Engrave the map mirrored on the back of clear acrylic and set it in an LED base, or through-cut the waterways and light them from behind with LED strips.
Updated 2026-10-17
Sources (18)
- The Handyman's Daughter: How to make a laser cut city map
- Graphics Pro: Try this laser, a lake relief map
- The Shamblog: Making a laser cut topo map, the build phase
- Glowforge community: Laser-safe colorful wood dyes and stains
- Glowforge community: Painting or staining wood before using the Glowforge
- Sawmill Creek: Finish for laser engraving
- Glowforge community: Bathymetric map of Lake Murray
- Cuttle: New House Ornament (maple front, cherry backer)
- HackSpace: DIY illuminated waterways map
- Epodex: How to make a river table (pour depth and cure times)
- MIT DDF: built-in alignment keys between layers
- Dallas Makerspace show and tell: etching the next layer outline
- Glowforge community: 3D relief map with dowel alignment holes
- Glowforge community: Yet another edge-lit LED light
- Glowforge community: LED edge-lit trophies
- DigiKey forum: Precision inlay edge-lit display with the xTool P3
- CityWood: personalized custom wood map listing
- OSMF Attribution Guidelines
Read next
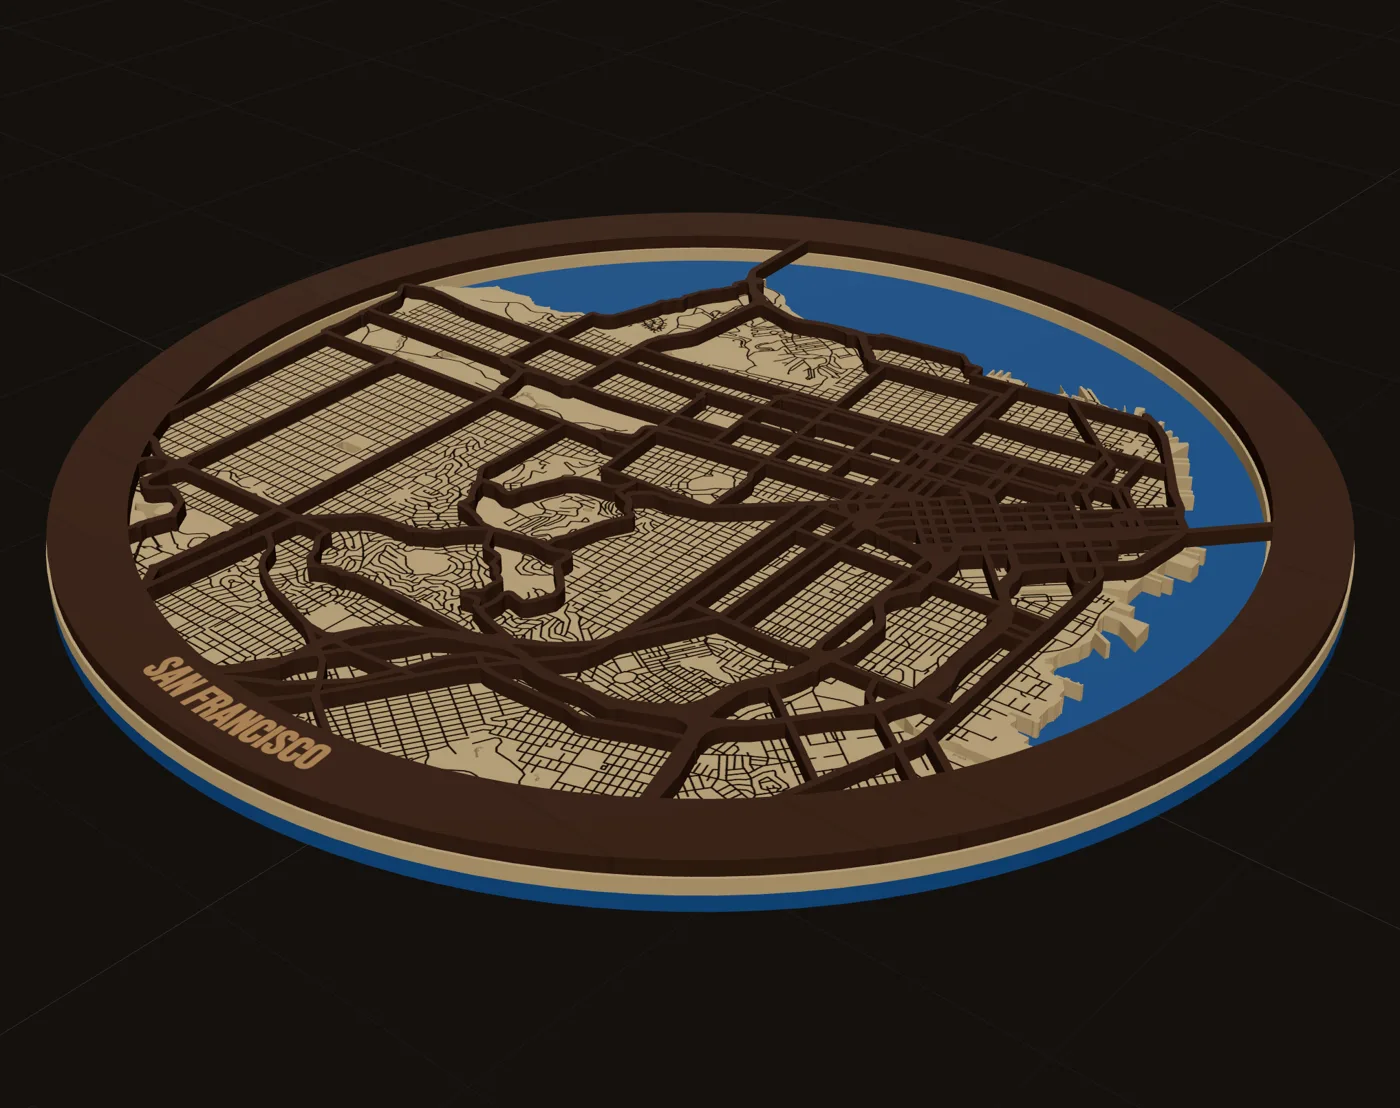 GuideHow to Make a Laser Cut Map: The Free Way and the Fast WayThis is how to make a laser cut map that holds together, reads at a glance and sells. We cover the free manual route with OpenStreetMap and vector software, the faster route in MappSmith, and everything after the file: crop, layers, wood, settings, glue and finishing. Use whichever route fits your shop. The craft is the same.
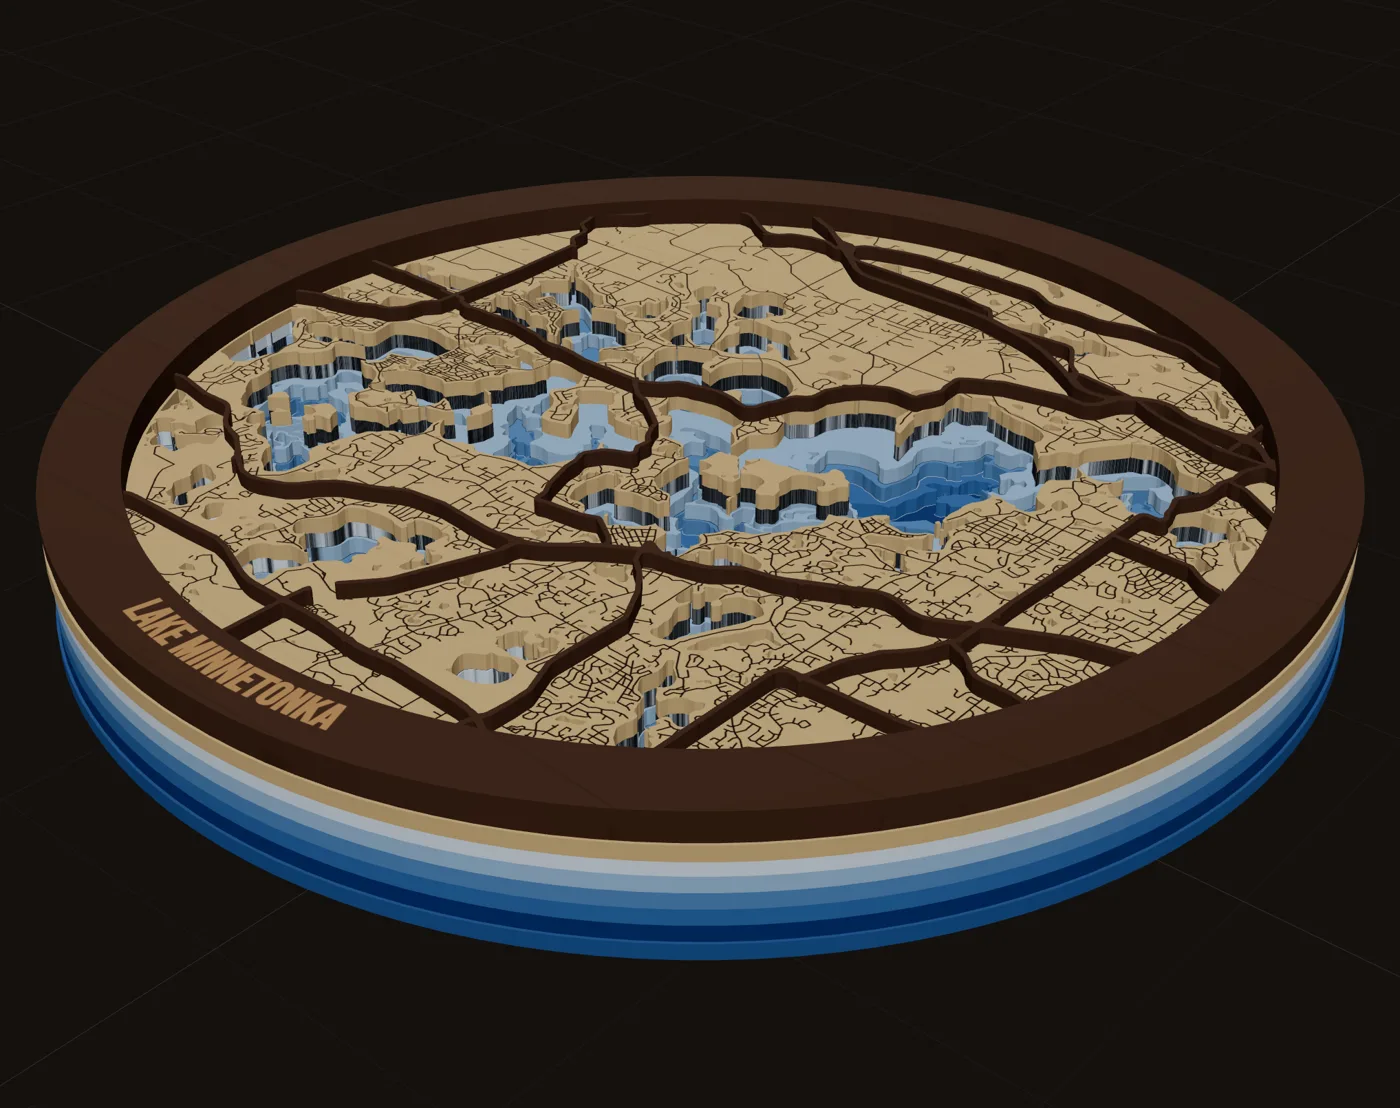 GuideDesigning Maps That Sell: Crop, Water, Roads and WordsDesigning maps that sell is mostly about leaving things out. A buyer has to recognize the place from across a room, then read the name, then notice the detail. This guide walks through the choices that get you there: crop, water, roads, words, shape, contrast and size.GuideLake Depth Maps Explained: Bathymetry for Laser MakersA lake depth map turns the bottom of a lake into stacked layers you can see and touch: shallow water near the shore, the deep hole in the middle. It is one of the most loved map gifts, and one of the easiest to get backwards. Here is how bathymetry works and how to stack it right.
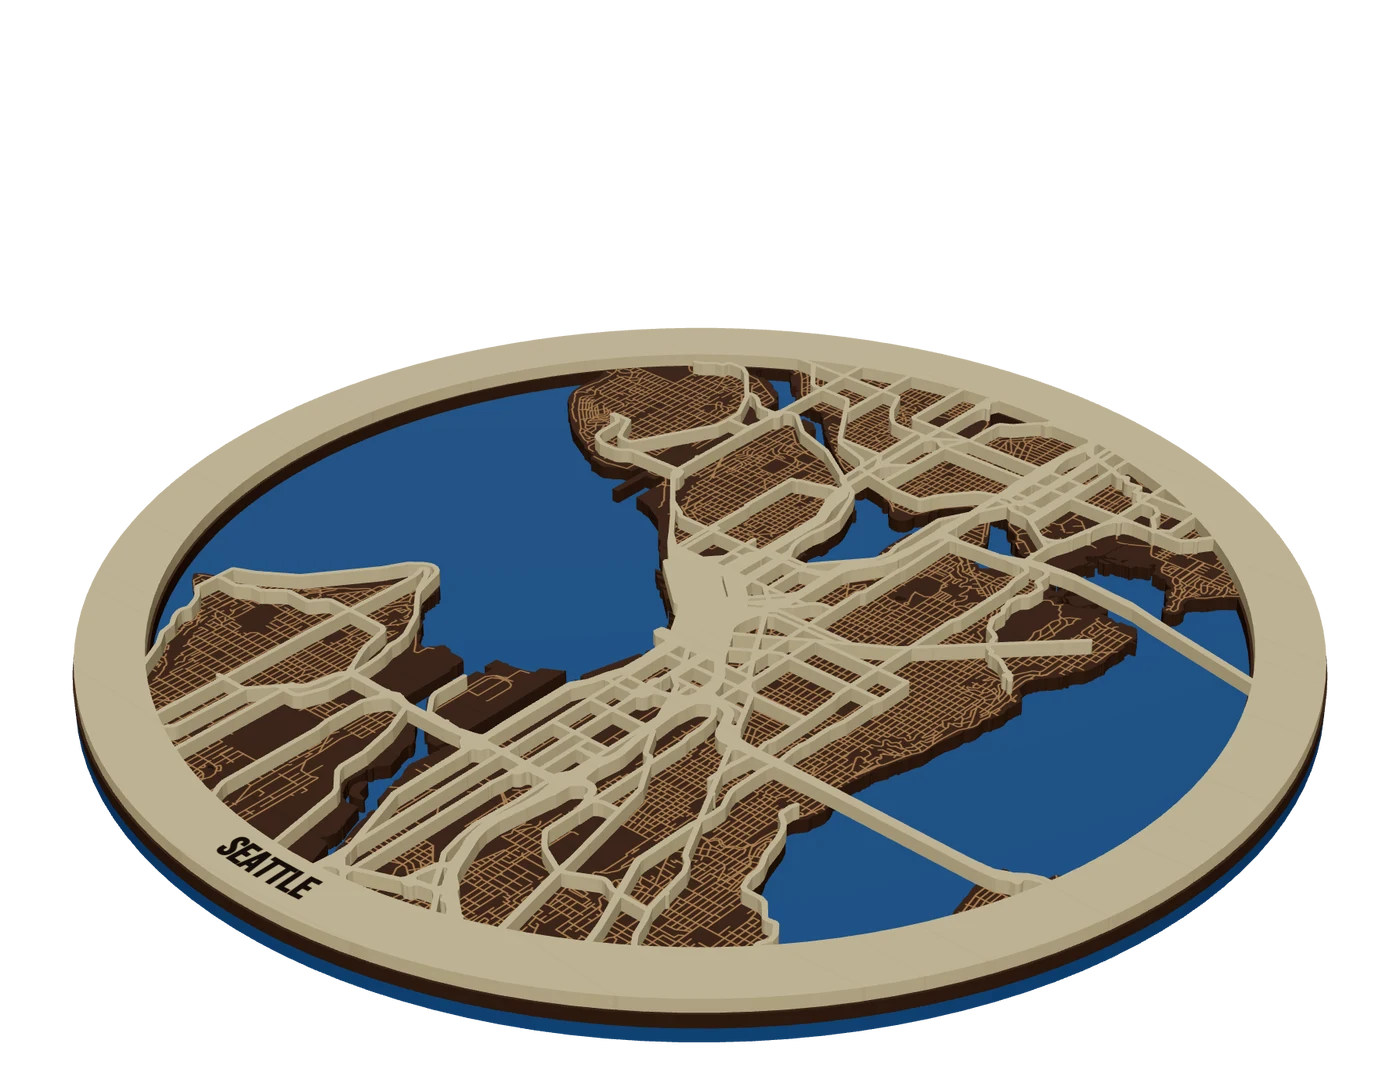 Pieces to makeStacked multi-material mapsMix woods and acrylics in one layered map: water through land holes, contrasting tops, planned thickness.
 Selling mapsAdding laser maps to your offeringsWhere to sell laser maps, a starter product ladder, pricing, turnaround and upsells.
Turn this into a file you can cut.
Every step above happens in one browser tab. Try it on your own hometown.
7 days free, then $12 a month. Cancel anytime. Or 10 maps for $10.
— more from MappSmith
Everything else this app gives you.
Free tools, libraries and guides — most of it works before you pay for anything.