Cutting a Map File: Layers, Kerf, Cut Order and Fixes
Cutting a map file is where good designs go wrong. Roads snap, pieces fall through the honeycomb, layers do not line up. This guide covers what is inside a layered map SVG, how line width relates to kerf, when to cut, score or engrave, and how to fix the common failures.
What is inside a layered map file
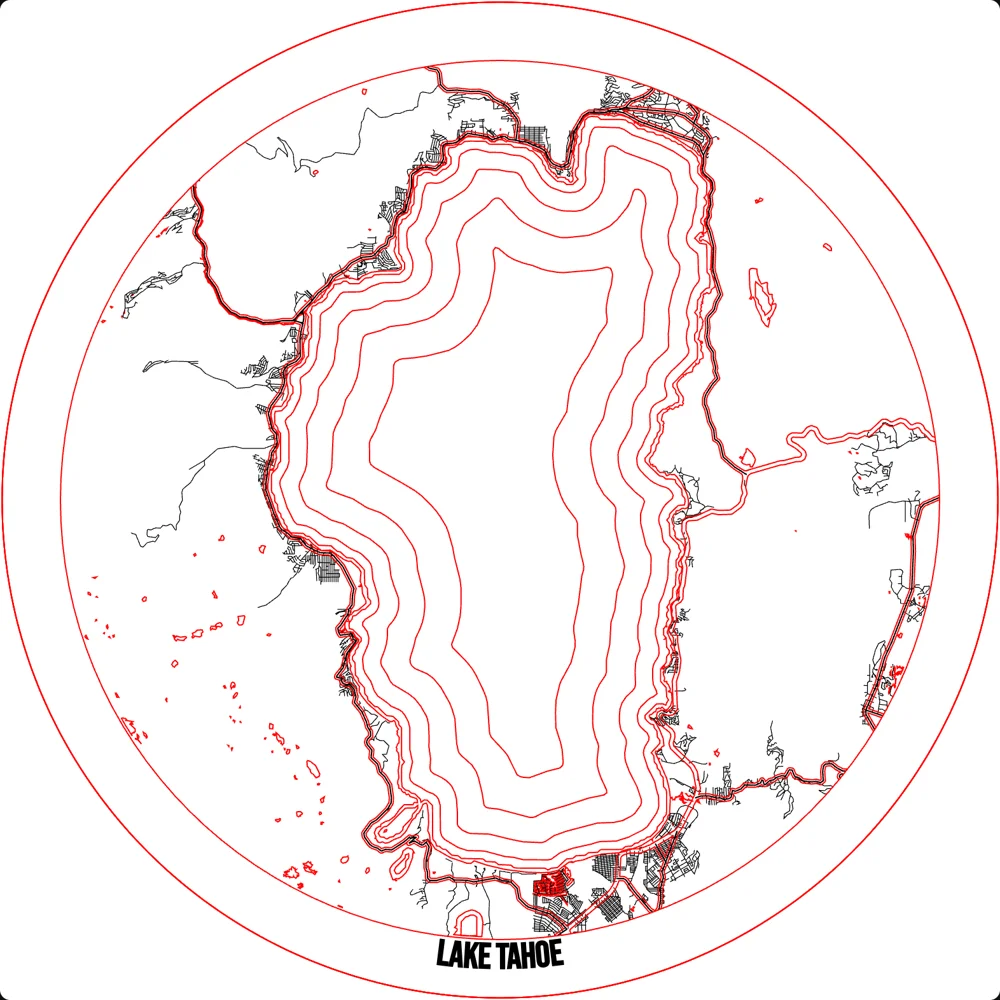
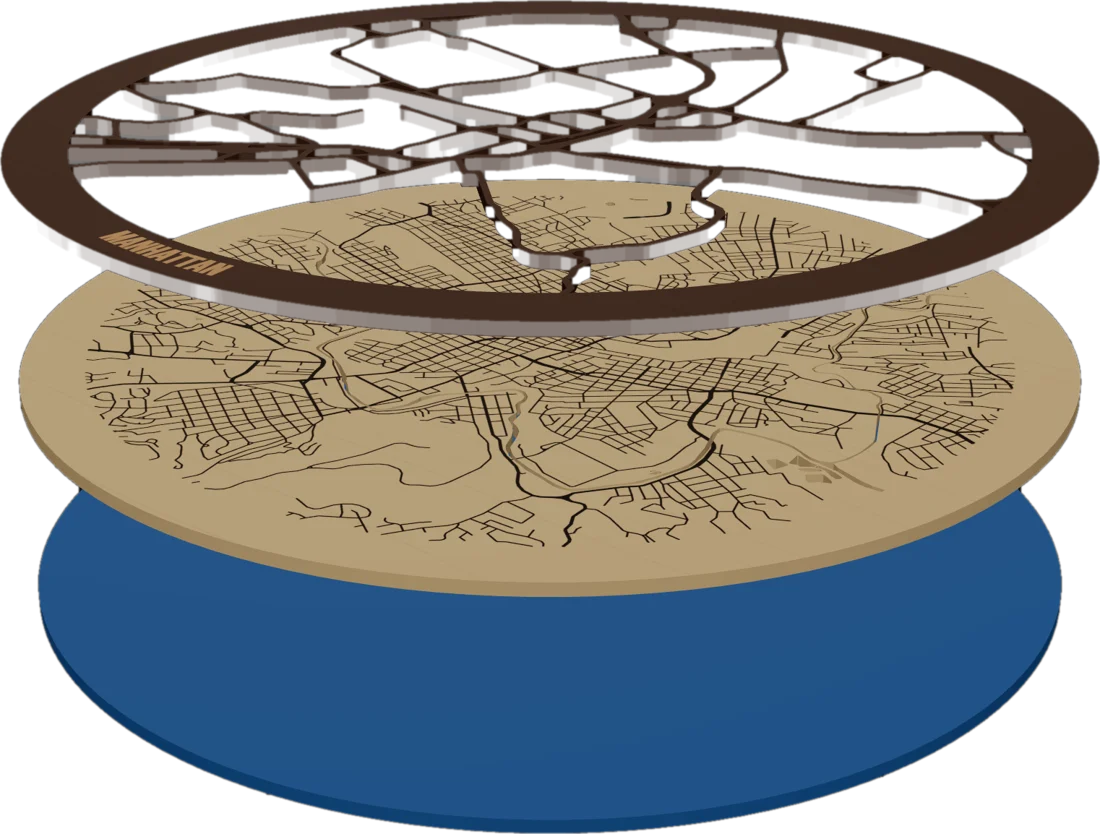
A layered map is not one file. It is one file per physical sheet, all drawn at the finished size and sharing the same outer shape so they stack. Inside each file, every line is tagged by what the laser should do to it.
- The outline. The outer shape of the piece. Always a cut, always closed.
- Cut lines. Closed paths that go all the way through: water edges, street strips, inner holes.
- Score lines. Light vector lines on the surface, used for minor streets, contours and guides.
- Engrave areas. Filled shapes burned into the surface: streets, text, art.
- Optional marks. Registration marks for print-and-cut, or glue guides showing where the next sheet sits.
The rule from one laser maker's island map guide holds for every map: vector only, closed paths for cuts, and one layer per material thickness.
Layer colors: cut vs score vs engrave
Laser software splits a file into operations by stroke color. Pick a scheme and never change it, so a file from last year still imports right.
| Operation | What it does | Typical use on a map | MappSmith color |
|---|---|---|---|
| Cut | Goes all the way through | Outline, water edges, street strips on the top sheet | Red #FF0000 |
| Score | Light line on the surface | Minor streets, contours, guides | Blue #0000FF |
| Engrave | Burns a filled shape into the surface | Minor streets as texture, names, art | Black #000000 |
In LightBurn, MappSmith puts score on its own engrave-type layer rather than the cut layer, so you can give it its own power and speed. The settings stored in the file are placeholders. Replace them with your own tested numbers. In the Glowforge app, the three colors come in as three separate steps.
Line width vs kerf
Kerf is the width of material the beam removes. A cut road strip loses kerf from both edges, so a road drawn at the width of your kerf can vanish completely. Features smaller than the kerf are lost.
- The range. Kerf runs from about .008" to .040" (roughly 0.2 to 1 mm) depending on process and material.
- Measure yours. Cut a 1" square and measure it. A result of 0.990" means a beam width of about 0.010".
- Settings change it. Slower speed or higher power widens the kerf, so measure at the settings you will actually use.
In MappSmith each road group and line feature has a line width from 0.05 mm to 3 mm. Engraved and scored lines can go thin. Cut streets need enough width to survive, and very thin cut lines snap.
Minimum feature size
The other side of kerf is tiny pieces. A map is full of them: little islands, pond outlines, slivers between two roads, on-ramps. Each one is a part that falls through the bed or burns away.
- Drop what will not survive. One island map guide puts it simply: "avoid extreme detail that will burn away."
- Smooth before you cut. A tracing tutorial smoothed the result to "eliminate tiny cuts like these onramps."
- Zoom to real size. View the file at 100% on screen. If a feature is hard to see there, it will be hard to cut.
- Use a smallest-piece filter where you have one. MappSmith's Terrain & Depth panel has a Smallest piece setting from 0 to 15 mm that leaves out pieces and holes below that size and tells you how much ground that is at your scale.
Floating pieces and bridges
A floating piece is any cut shape that touches nothing once it is free. On a street layer, that means a road that ends in mid-air, or an edge road that the crop cut off from the network.
- Add a frame bandA solid ring or border around the piece gives every road end something to join. Union the roads into it so they become one shape.
- Keep road groups togetherMap data changes a road's type along its length, for example where a highway becomes a ramp. If you cut one type and drop the next, the road ends in mid-air. Cut related types together.
- Bridge what is leftFor a stubborn island, draw a short strip to the nearest road or to the band, and union it in.
- Check before you cutLook at the street layer alone and ask of every strip: what holds this?
MappSmith does this check for you. Pieces-only layers are welded into one connected cut in the download, the welded preview shows exactly that, and the layer warns you if a piece is attached to nothing. If one still is, the download stops rather than give you a file that cuts into loose parts.
Cut order: inside first
Once a piece is cut free, it can drop or shift a hair. Anything cut after that lands in the wrong place. So the order is always:
- Engrave (the sheet is still whole and flat).
- Score.
- Inner cuts: road gaps, water edges, holes.
- The outer outline last.
Most laser software can order cuts inside-first automatically. Turn it on and check the preview once. If your machine does not, put the outline on its own layer and run it last.
Engrave or score the minor streets?
| Engrave | Score | |
|---|---|---|
| Look | Wider, darker, filled line | Thin crisp line |
| Time | Slower: the head rasters back and forth | Faster: one vector pass per line |
| Char and smoke | More; masking helps | Less |
| Best for | Bold neighborhoods, text, art | Dense grids, contours, quick orders |
One maker who switched found scoring was faster and made the roads stand out more. A common pairing from laser makers' own map tutorials is to cut the water and engrave the roads. Try both on a scrap of your crop and pick the one you like from across the room, not from six inches away.
Nesting several maps on one sheet
Ornaments, coasters and small gifts make money in batches. A 3.25" pitch nests about 18 round ornaments on a 12x20 sheet (our math: 3 across by 6 down).
- One material per sheet. Nest only layers cut from the same stock.
- Leave a margin and spacing. Pieces too close share a kerf and weaken.
- Group by operation. Run all engraving, then all scoring, then all inner cuts, then all outlines.
In MappSmith, Sheets lays several saved maps out on one piece of stock. Pick the stock size, margin and spacing, and it lists anything too big or unplaced in amber rather than dropping it. Sheets come with the plan or the free trial.
If one map is bigger than your bed, split it. One maker intersected a large map with rectangles in Inkscape and added snap marks to rejoin the tiles. MappSmith's map tiles product splits a map across boards that hang side by side, each with its own frame band.
Test cuts
- Material test gridFind cut, score and engrave settings on the exact sheet you will use. Plywood varies from pack to pack.
- Kerf squareCut a 1" square, measure it, and write the kerf on the sheet edge.
- Narrowest road testCut a small corner of the street layer with its thinnest road. If it snaps or burns away, widen that road group.
- Full dry run on cardboardRun the whole map on chipboard or cardboard. Stack the layers and check alignment before you spend wood.
Common failures and fixes
| Problem | Likely cause | Fix |
|---|---|---|
| Road strips fall out | Not joined to the network or the band | Add or widen the frame band; union road ends into it; bridge islands |
| Thin roads snap or vanish | Line width near or under the kerf | Widen that road group; drop the smallest roads to engrave |
| Layers do not line up | Different outlines, or the sheet moved | Same outer shape on every sheet; cut inside first; add alignment marks |
| Heavy char on the surface | Engrave too hot, no masking | Mask first; lower power; score instead of engrave |
| Sheet warped after painting | Thin plywood painted on one side | Use MDF for the painted backer |
| File takes forever to open | Huge export with every object | Crop tighter; delete features you will not cut |
| Tiny pieces drop through the bed | Islands and slivers in the data | Remove features below your minimum; use a smallest-piece filter |
For the bigger picture, start with how to make a laser cut map.
Questions makers ask
What colors should a laser map file use?
Any scheme works if you keep it consistent. MappSmith uses red #FF0000 for cut, blue #0000FF for score and black #000000 for engrave, so each lands on its own layer in LightBurn, xTool Creative Space or the Glowforge app.
How thin can a laser cut road be?
It has to be wider than your kerf, which runs from about 0.2 to 1 mm depending on process and material. A working rule is about twice your measured kerf. Test the narrowest road on your stock before cutting the full map.
Should I engrave or score streets on a map?
Score is faster and gives a crisp line. Engrave is bolder and slower and makes more smoke. For dense street grids, scoring is usually the better choice.
What order should I cut a map in?
Engrave first, then score, then inner cuts, then the outer outline last. Cutting the outline early lets the piece shift before the inside is done.
What is a layered map SVG?
A set of SVG files, one per physical sheet, all at the finished size with the same outer shape. Each file uses stroke colors to tell the laser what to cut, score or engrave.
Updated 2026-10-17
Sources (9)
- Creality Falcon laser academy: How to make island maps for laser cutting
- SendCutSend: What is kerf in laser cutting
- LightBurn forum: measuring beam width with a 1 inch test square
- The Handyman's Daughter: How to make a laser cut city map
- xTool: How to laser cut a map
- Glowforge community: Layered NYC map + tutorial
- Glowforge community: Using chipboard to dial in a London map
- Glowforge community: Big Paris map (splitting a map larger than the bed)
- Wood Art Supply: 3mm Baltic birch plywood, 12x20, pack of 20
Read next
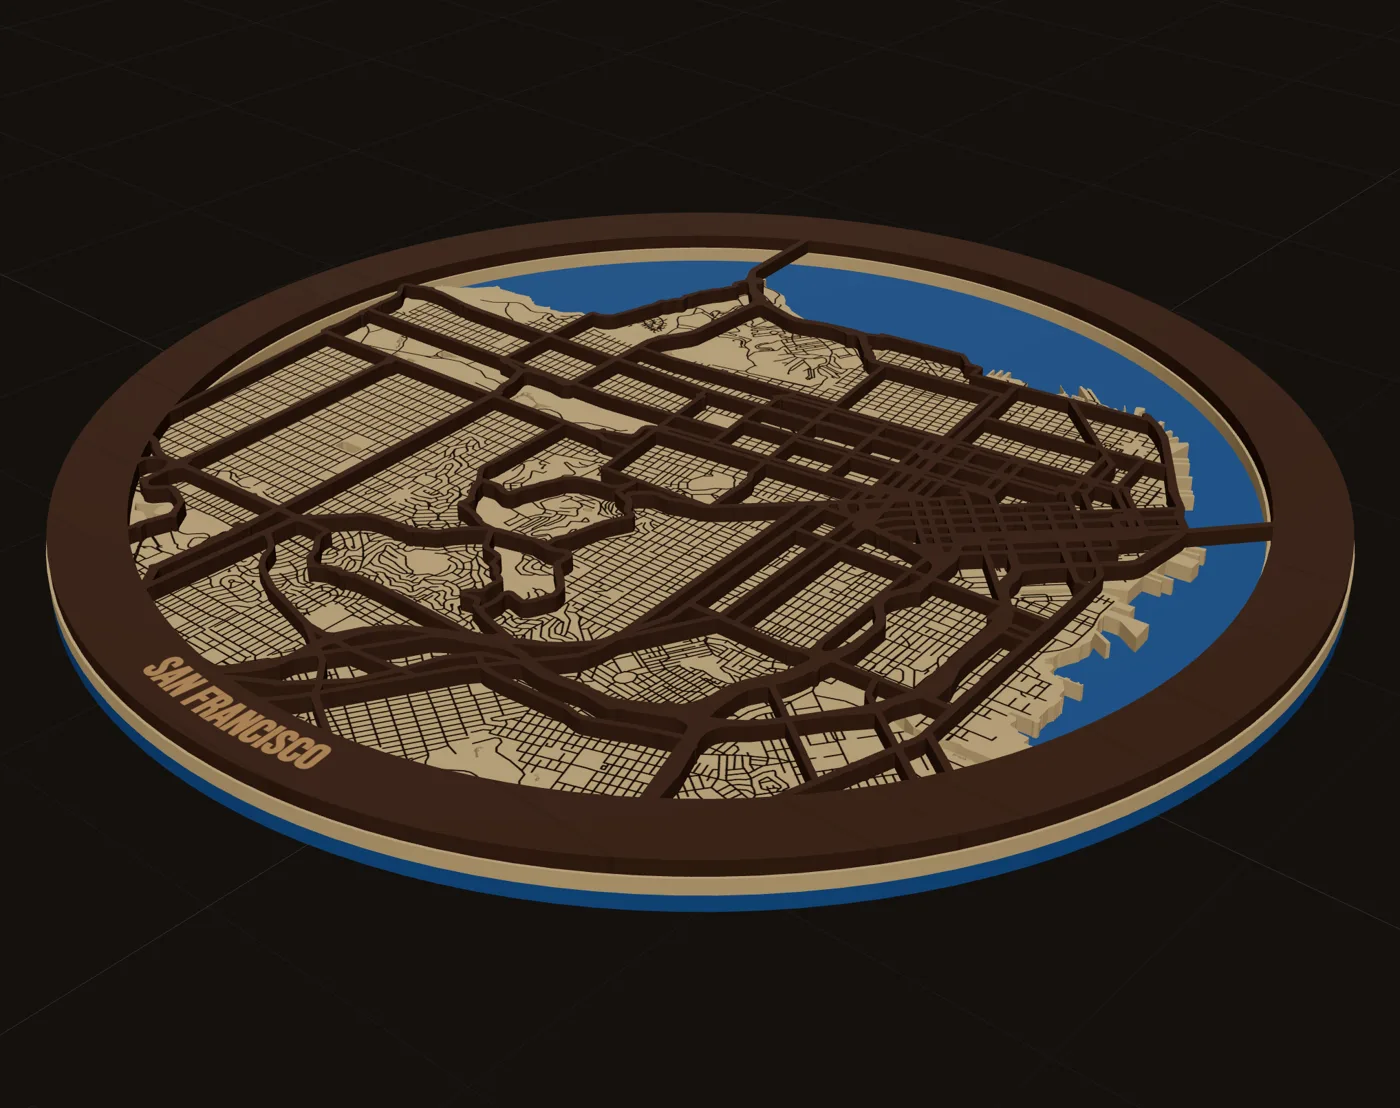 GuideHow to Make a Laser Cut Map: The Free Way and the Fast WayThis is how to make a laser cut map that holds together, reads at a glance and sells. We cover the free manual route with OpenStreetMap and vector software, the faster route in MappSmith, and everything after the file: crop, layers, wood, settings, glue and finishing. Use whichever route fits your shop. The craft is the same.
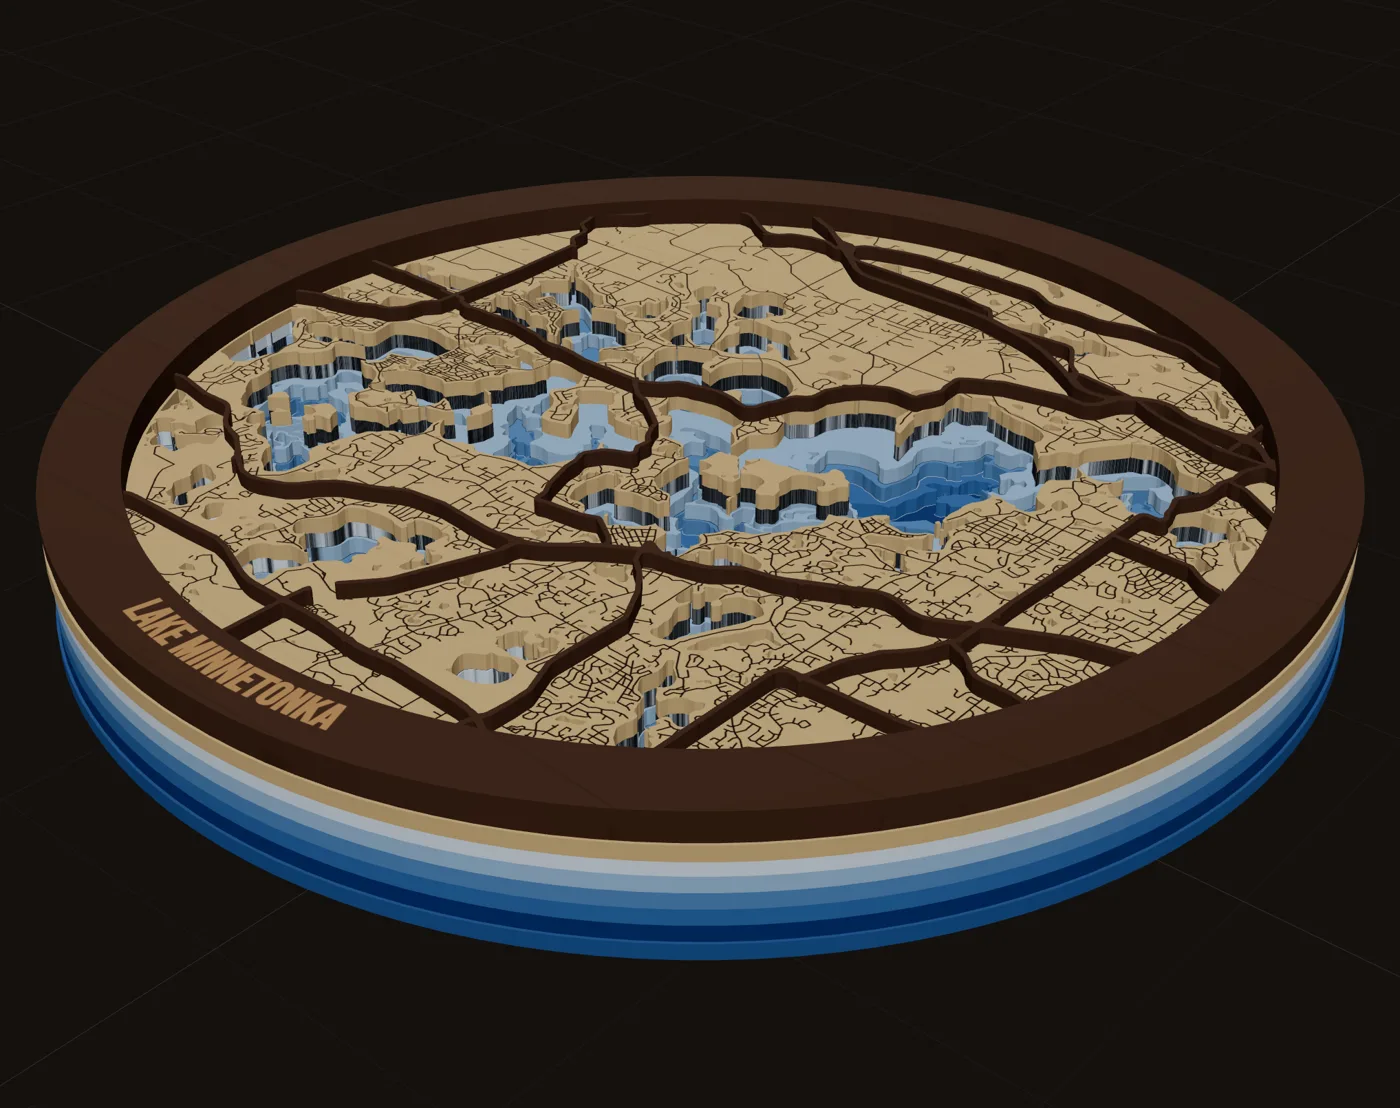 GuideDesigning Maps That Sell: Crop, Water, Roads and WordsDesigning maps that sell is mostly about leaving things out. A buyer has to recognize the place from across a room, then read the name, then notice the detail. This guide walks through the choices that get you there: crop, water, roads, words, shape, contrast and size.Your machineMaps for LightBurnNative .lbrn2 files with cut, score and engrave on separate layers, plus a layered SVG for every sheet.
 Your machineMaps for xToolNative .xs files for xTool Creative Space, one per layer, with cut, score and engrave already separated.Your machineMaps for GlowforgeLayered SVGs that load in the Glowforge app as separate steps, sized and tiled for the bed.
Turn this into a file you can cut.
Every step above happens in one browser tab. Try it on your own hometown.
7 days free, then $12 a month. Cancel anytime. Or 10 maps for $10.
— more from MappSmith
Everything else this app gives you.
Free tools, libraries and guides — most of it works before you pay for anything.