LightBurn map files, ready to run
The usual LightBurn map route is screenshots, image trace and a lot of hand coloring. MappSmith skips it. Tick LightBurn when you download and every physical layer comes as a native .lbrn2 file, with cut, score and engrave already on separate layers. You set power and speed. The geometry is done.
7 days free, then $12 a month. Cancel anytime. Or 10 maps for $10.
- Native file
- .lbrn2 per layer
- Also
- Layered SVG, DXF, PDF
- Cut
- Red #FF0000
- Score
- Blue #0000FF, own layer
- Engrave
- Black #000000, filled shapes
- Units
- mm at finished size
The manual LightBurn map route, and why it hurts
Most LightBurn map tutorials look like this: style a web map, export water, highways and arterials as separate PNGs without moving the map, image-trace each one in LightBurn, color each trace, build a frame, then fix the road pieces that turn out "too floppy" or float off as islands. It works. It just eats an evening per map.
I know HOW to cut them into layers but I have no idea how to make each layer or what to use.
A Glowforge forum member asking about layered maps
MappSmith starts from vector street data from OpenStreetMap, so there's no tracing. Each layer is drawn, welded and checked before it reaches LightBurn.
How the files come into LightBurn
In Production files, tick LightBurn. The zip holds one cut SVG per layer (always), plus the .lbrn2 for each layer, named with its material. A README lists every sheet and its material.
| In MappSmith | Color | In LightBurn |
|---|---|---|
| Cut | Red #FF0000 | Cut layer |
| Score | Blue #0000FF | A second engrave layer, not the cut layer |
| Engrave | Black #000000 | Engrave layer, as filled shapes |
Score is kept off the cut layer on purpose. On a stacked relief the glue guides are scores. If they cut, every sheet would be sliced along the outline of the sheet above. Engraved roads are joined into filled shapes before the file is written, so run that layer as a fill, not a line.
Check scale, kerf and cut order
- ScaleFiles are drawn in millimetres at the finished size. Measure the frame in LightBurn against your order. Registration marks, if on, sit in a margin outside the piece, so the file is larger by that margin.
- KerfCut a 1 inch test square and measure it. A 0.990 inch result means a 0.010 inch beam. Kerf runs about 0.2 to 1 mm depending on process and material. Thin streets below it vanish.
- Kerf offset where it mattersFor inlays or tight fits, use a kerf offset in that layer’s cut settings. For most map layers it isn’t needed.
- Cut orderEngrave and score before cut, and inner shapes before outer ones, so a piece doesn’t drop before its details are done.
- Test cheapRun the first copy on cardboard or chipboard.
If a file will not open
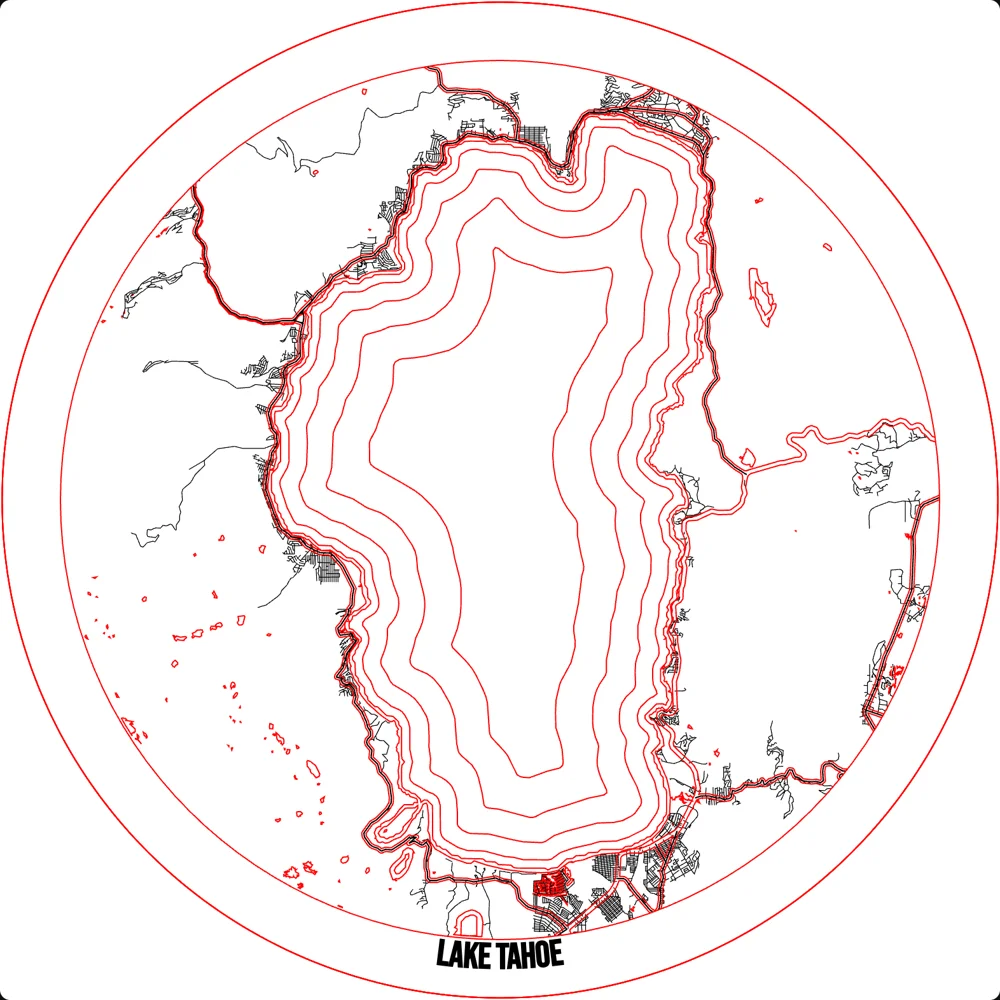
If a native file can't be written for a layer, the zip says so and includes that layer's SVG. Import the SVG instead: the colors land on separate layers the same way. MappSmith writes engrave as black (#000000), score as blue (#0000FF) and cut as red (#FF0000) in every cut file.
For print and cut with LightBurn's camera, choose "Red + blue crosshairs" registration marks. In the cut file they sit on a non-burning layer, so they never cut.
A LightBurn map job, start to finish
- Open one layerEach .lbrn2 is one sheet of one material. The material is in the file name.
- Set the three layersCut, engrave (filled roads, text) and the second engrave layer for scores. Use your own tested settings.
- Place on the stockFrame the job on the material. Keep clear of clamps and the bed edge.
- Run, then the next sheetSwap material, open the next file, repeat. Sheets for stacked reliefs are numbered from the bottom.
- Dry-stack, then glueLine the frame bands up. On reliefs, follow the scored glue guides.
Running a batch of ornaments or coasters? Build one sheet in MappSmith Sheets with your stock size, edge margin and spacing. You get one file for the whole sheet instead of copy-pasting in LightBurn. Every format choice (LightBurn, xTool, DXF, PDF) is remembered on your computer, because it's a property of your shop, not of one map.
Common map problems on a LightBurn machine, and the fix
| Problem | Likely cause | Fix |
|---|---|---|
| Streets vanish or snap | Line width below your kerf | Raise that road group’s width, or engrave it instead of cutting |
| Street pieces fall out | Not joined to the frame band | MappSmith won’t export them. Add a road group or widen the band |
| Char on delicate pieces | Smoke on the face | Mask the land layer before engraving and cutting |
| Map bigger than the bed | Size too large | Use map tiles, each with its own band |
| A street or lake is missing | OpenStreetMap data gap | Check the place before cutting; fixes in OSM reach MappSmith over time |
Questions makers ask
Does MappSmith export native LightBurn files?
Yes. Tick LightBurn in Production files and each layer comes as a .lbrn2, alongside the SVG.
Why is score on an engrave layer?
So you can give it its own power and speed and it never cuts through. Glue guides on stacked pieces are scores.
Will it set my power and speed?
No. The settings in the file are placeholders. Set them for your machine and material, and test on scrap.
Are the files to scale?
Yes, millimetres at the finished size. Registration marks, when on, add a margin outside the piece.
Can I still use SVG in LightBurn?
Yes. The SVG is always in the zip and its colors separate cut, score and engrave.
Sources (6)
- The Handyman's Daughter: layered city map in LightBurn on an xTool P2
- Glowforge Owners Forum: GIS software or tips on layered maps
- SendCutSend: what is kerf in laser cutting
- LightBurn forum: measuring kerf with a test square
- Glowforge Owners Forum: chipboard to dial in a London map
- LightBurn documentation
Keep going
 GuideCutting a Map File: Layers, Kerf, Cut Order and FixesCutting a map file is where good designs go wrong. Roads snap, pieces fall through the honeycomb, layers do not line up. This guide covers what is inside a layered map SVG, how line width relates to kerf, when to cut, score or engrave, and how to fix the common failures.
 Selling mapsMap making for laser engraversHow makers build map files by hand today, where it hurts, and the shorter route.
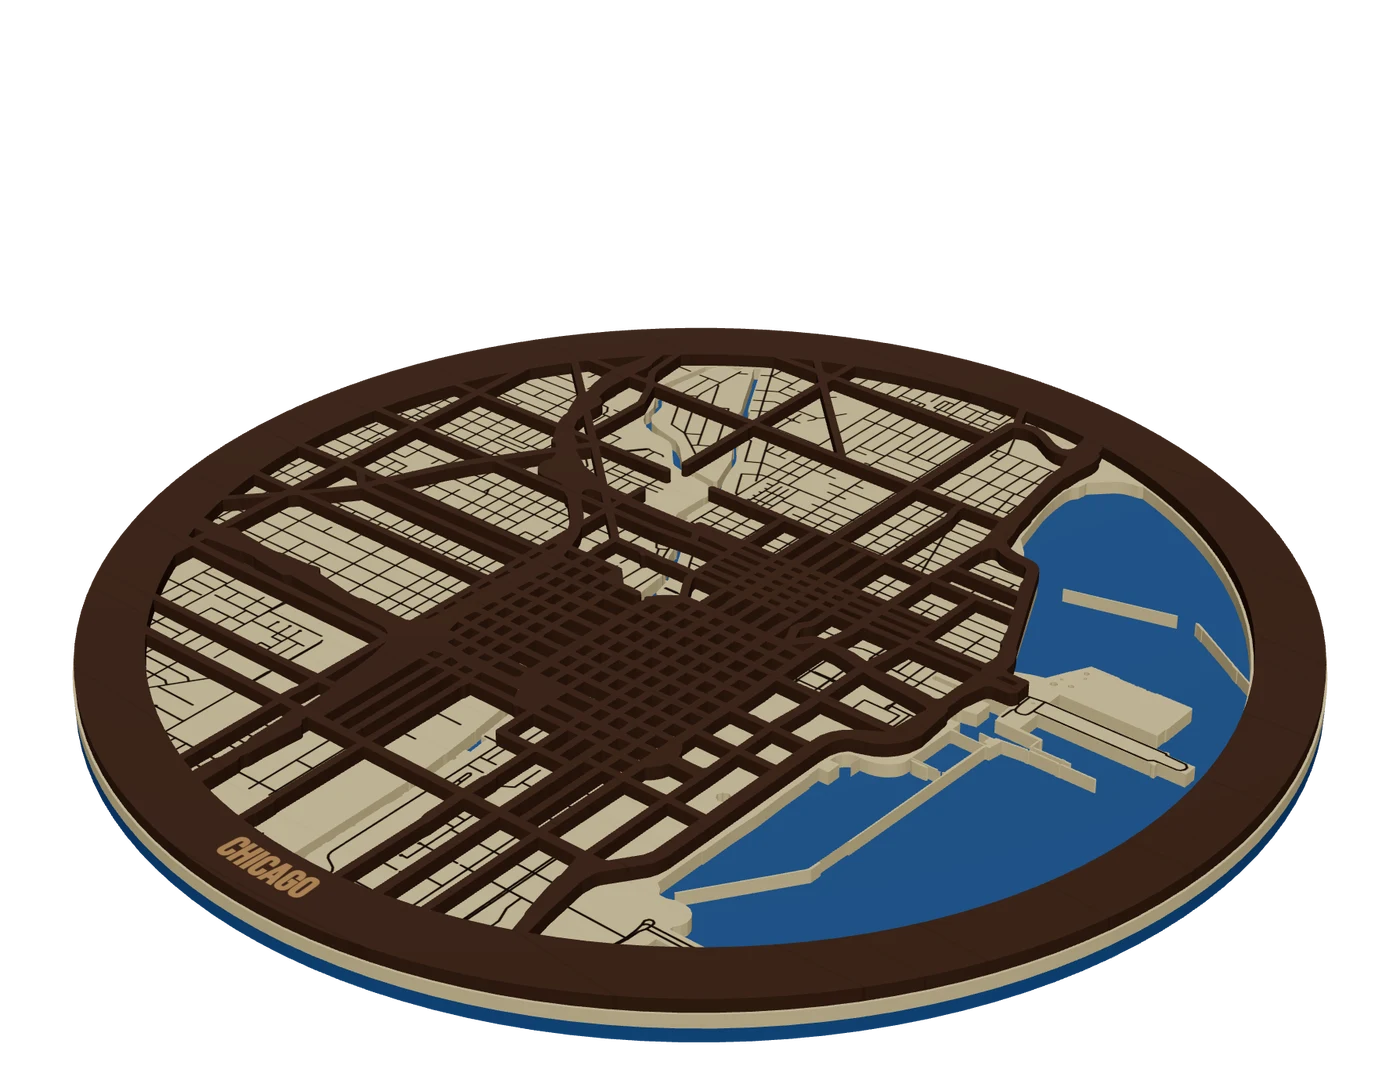 Places to mapCity street mapsLayered city maps with real street hierarchy, water showing through and streets that never fall out.
 Your machineMaps for xToolNative .xs files for xTool Creative Space, one per layer, with cut, score and engrave already separated.
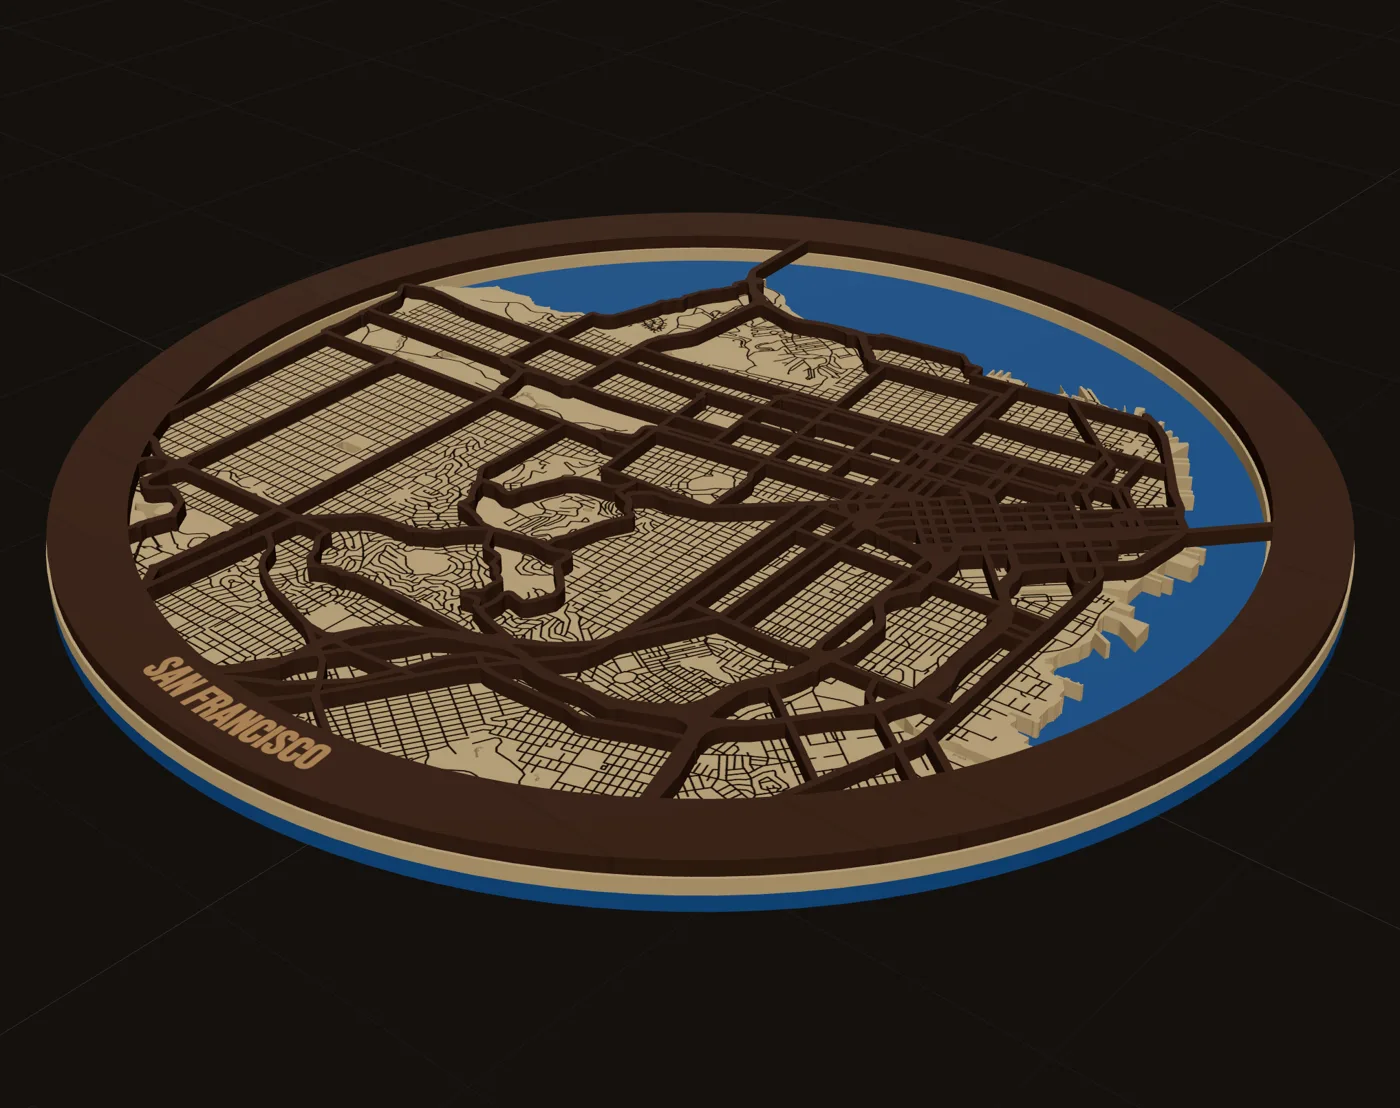 Your machineMaps for GlowforgeLayered SVGs that load in the Glowforge app as separate steps, sized and tiled for the bed.
Make your first maps for lightburn file tonight.
Search the place, pick the piece, check it in 3D, download files that open in LightBurn, xTool Creative Space and Glowforge.
7 days free, then $12 a month. Cancel anytime. Or 10 maps for $10.
— more from MappSmith
Everything else this app gives you.
Free tools, libraries and guides — most of it works before you pay for anything.