Common DTF & DTG headaches
If you print on shirts, you’ve fought these.
Most failed prints aren’t the printer’s fault — they’re the artwork’s fault. Here’s what’s costing you film, ink, reprints, and the occasional refund.
Sound familiar?
You shouldn’t have to fight your separation software just to print a clean shirt.
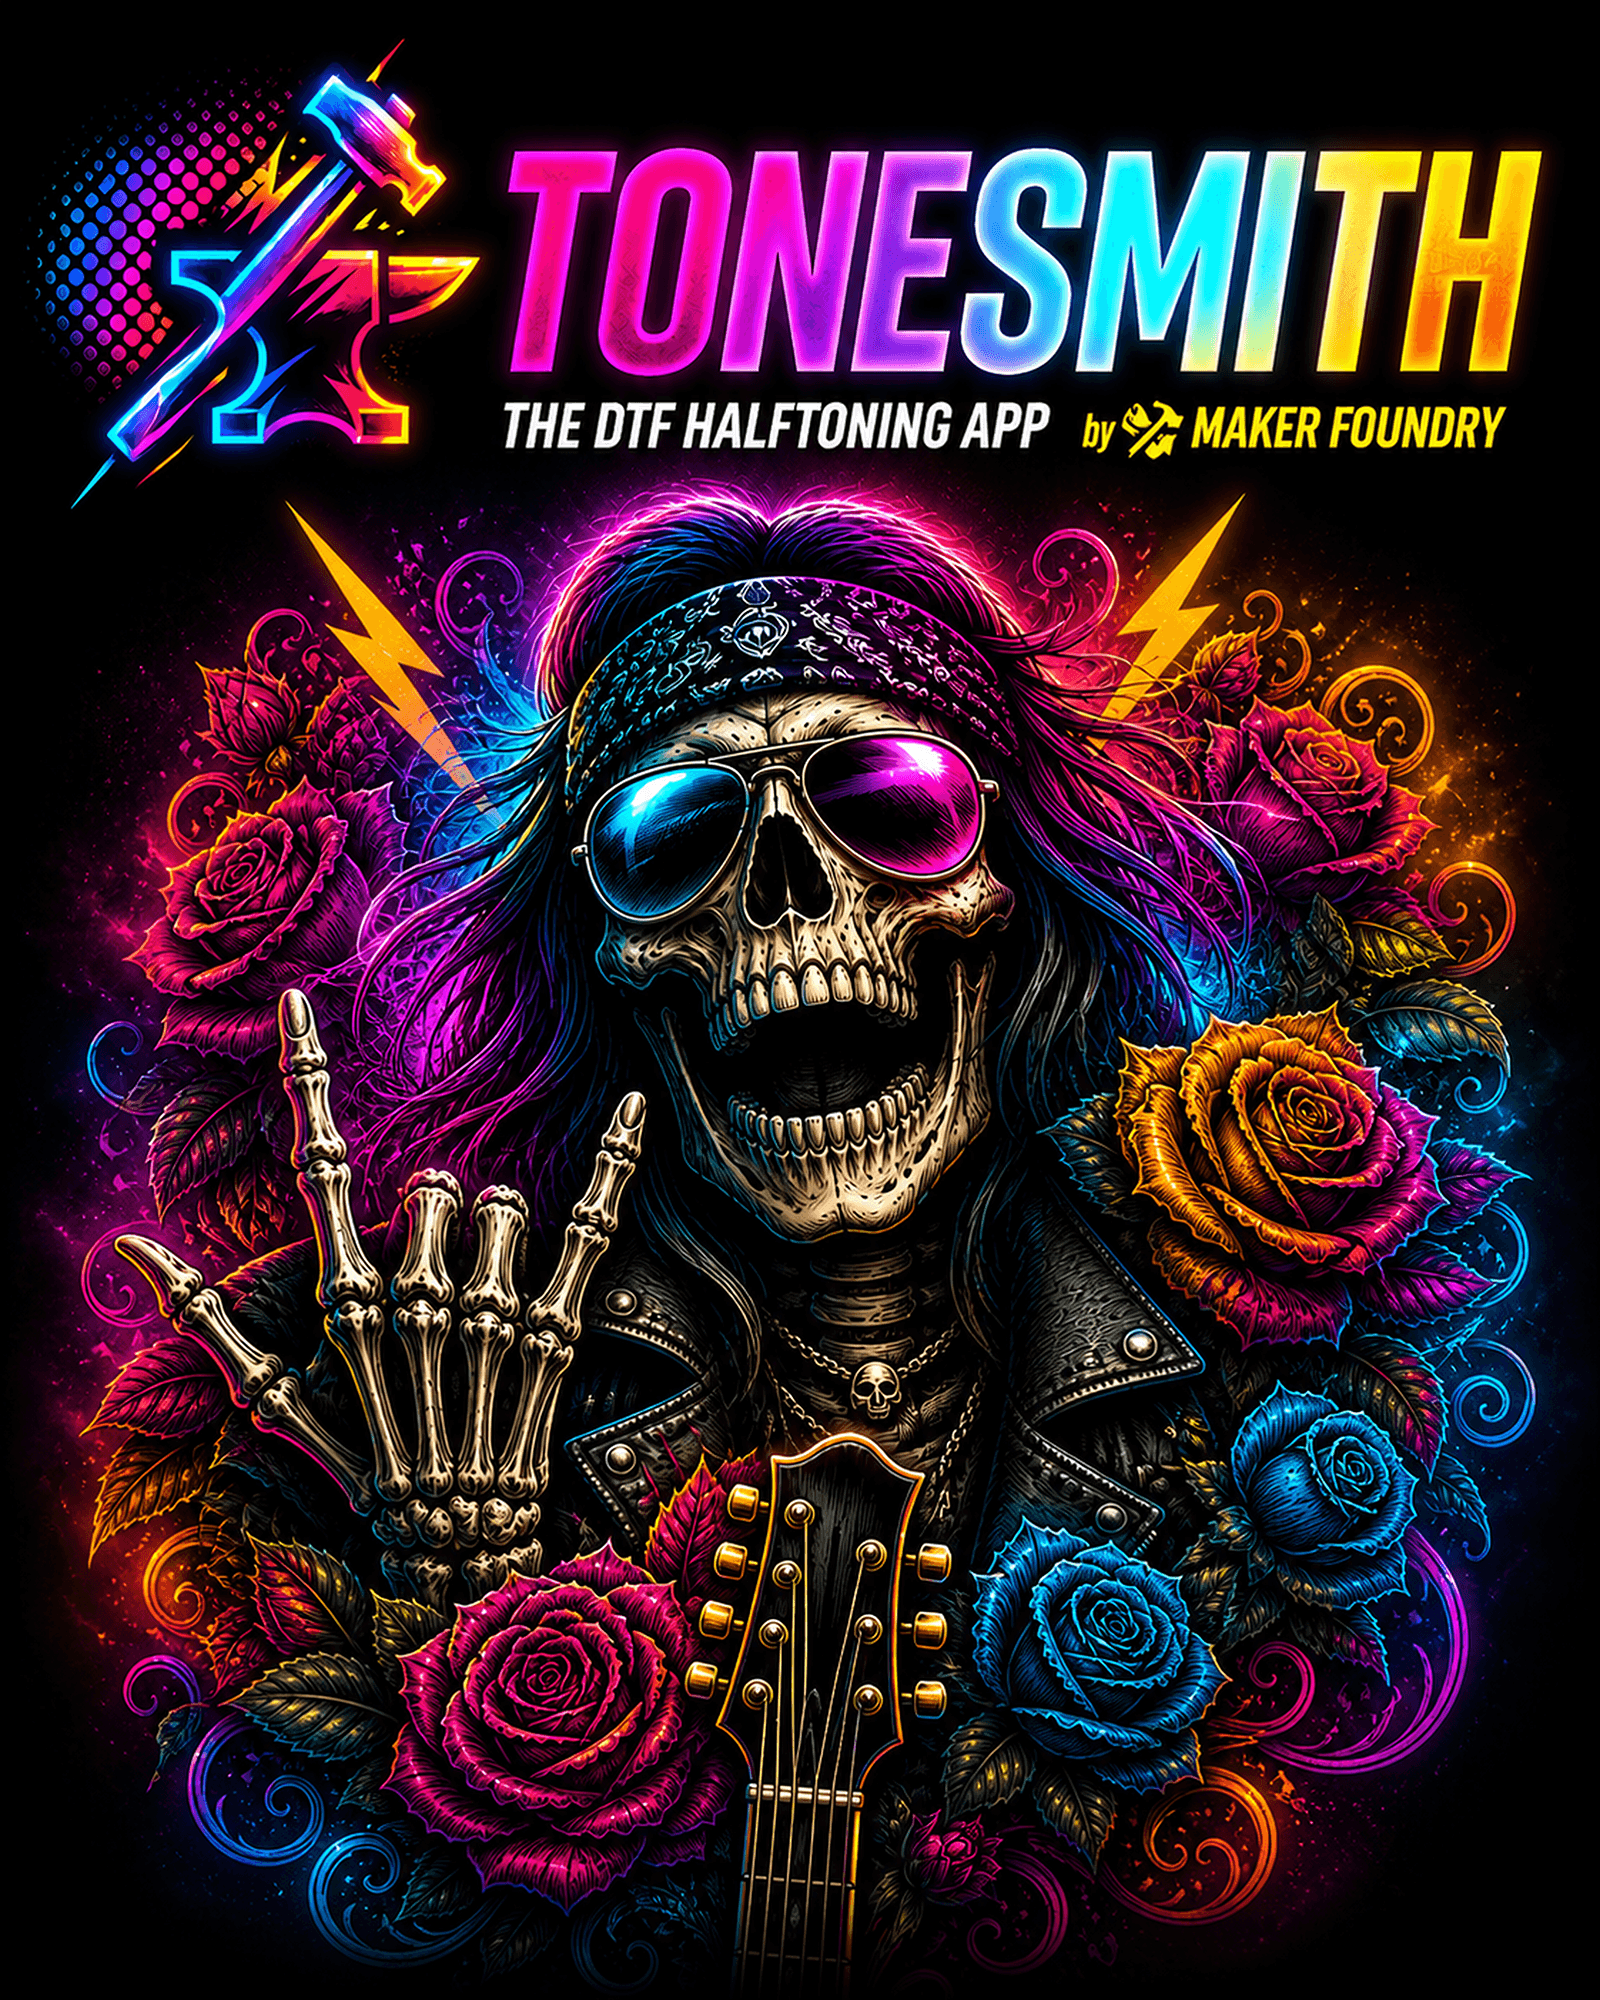
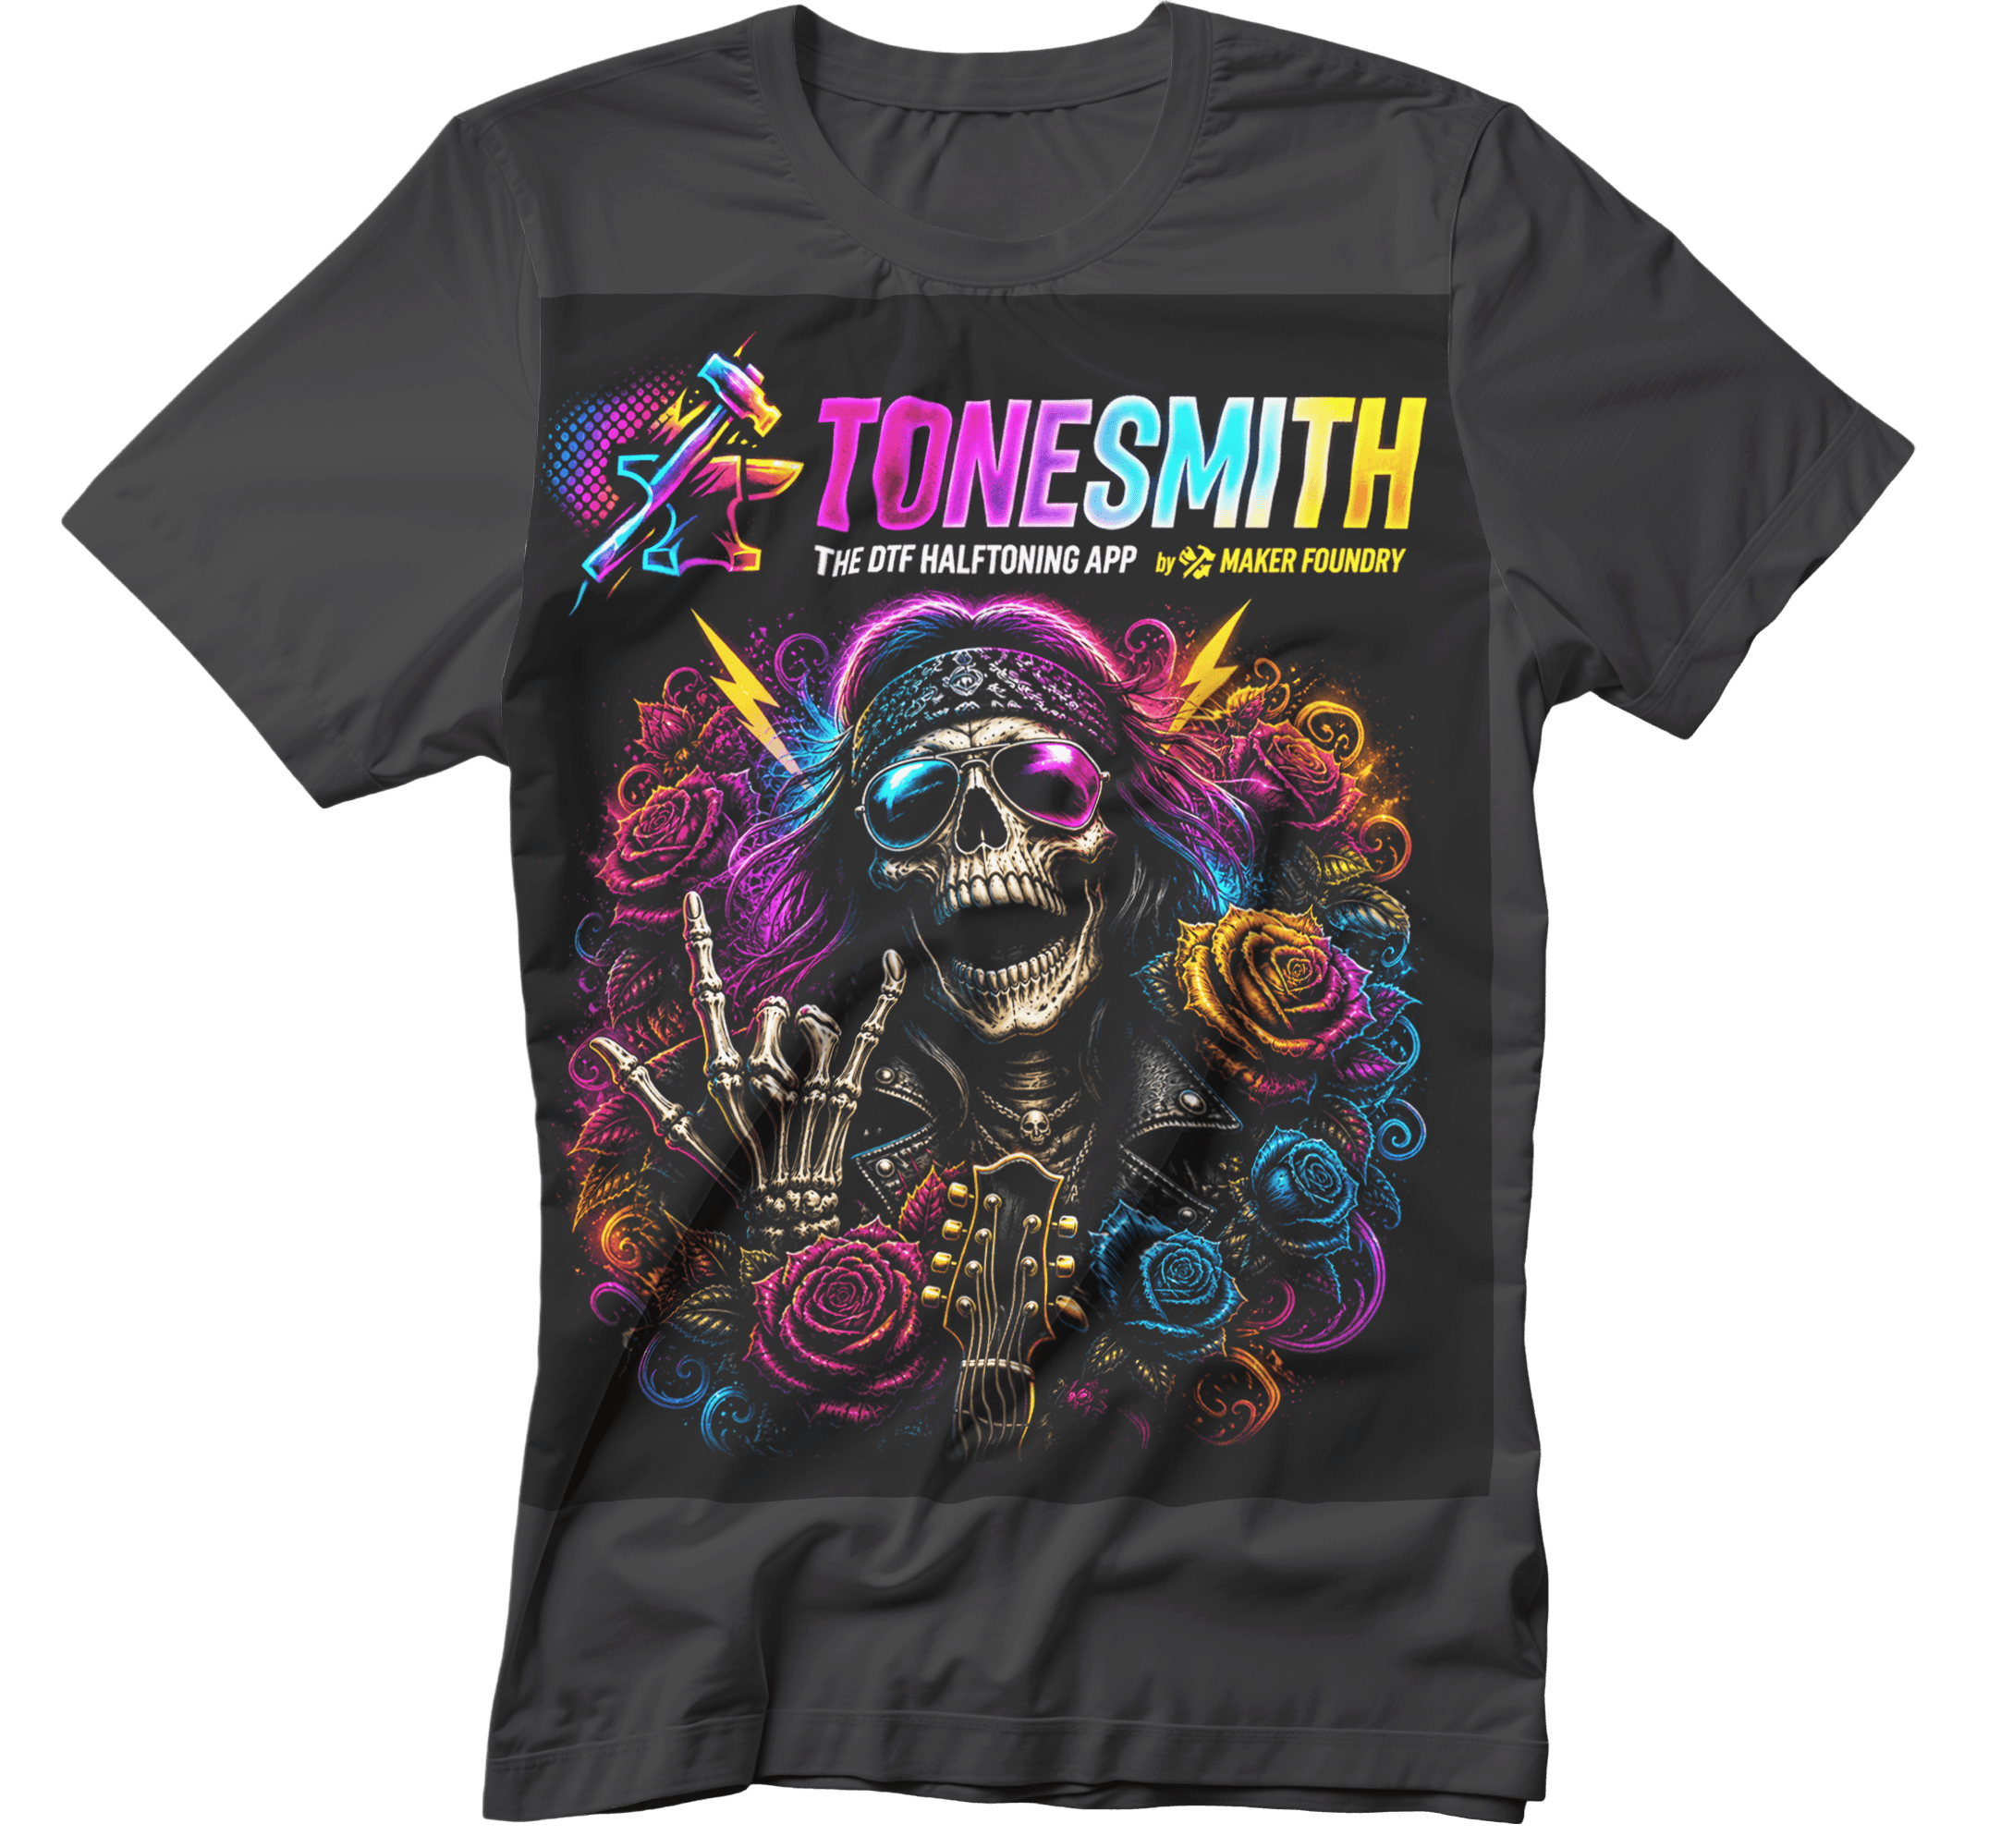
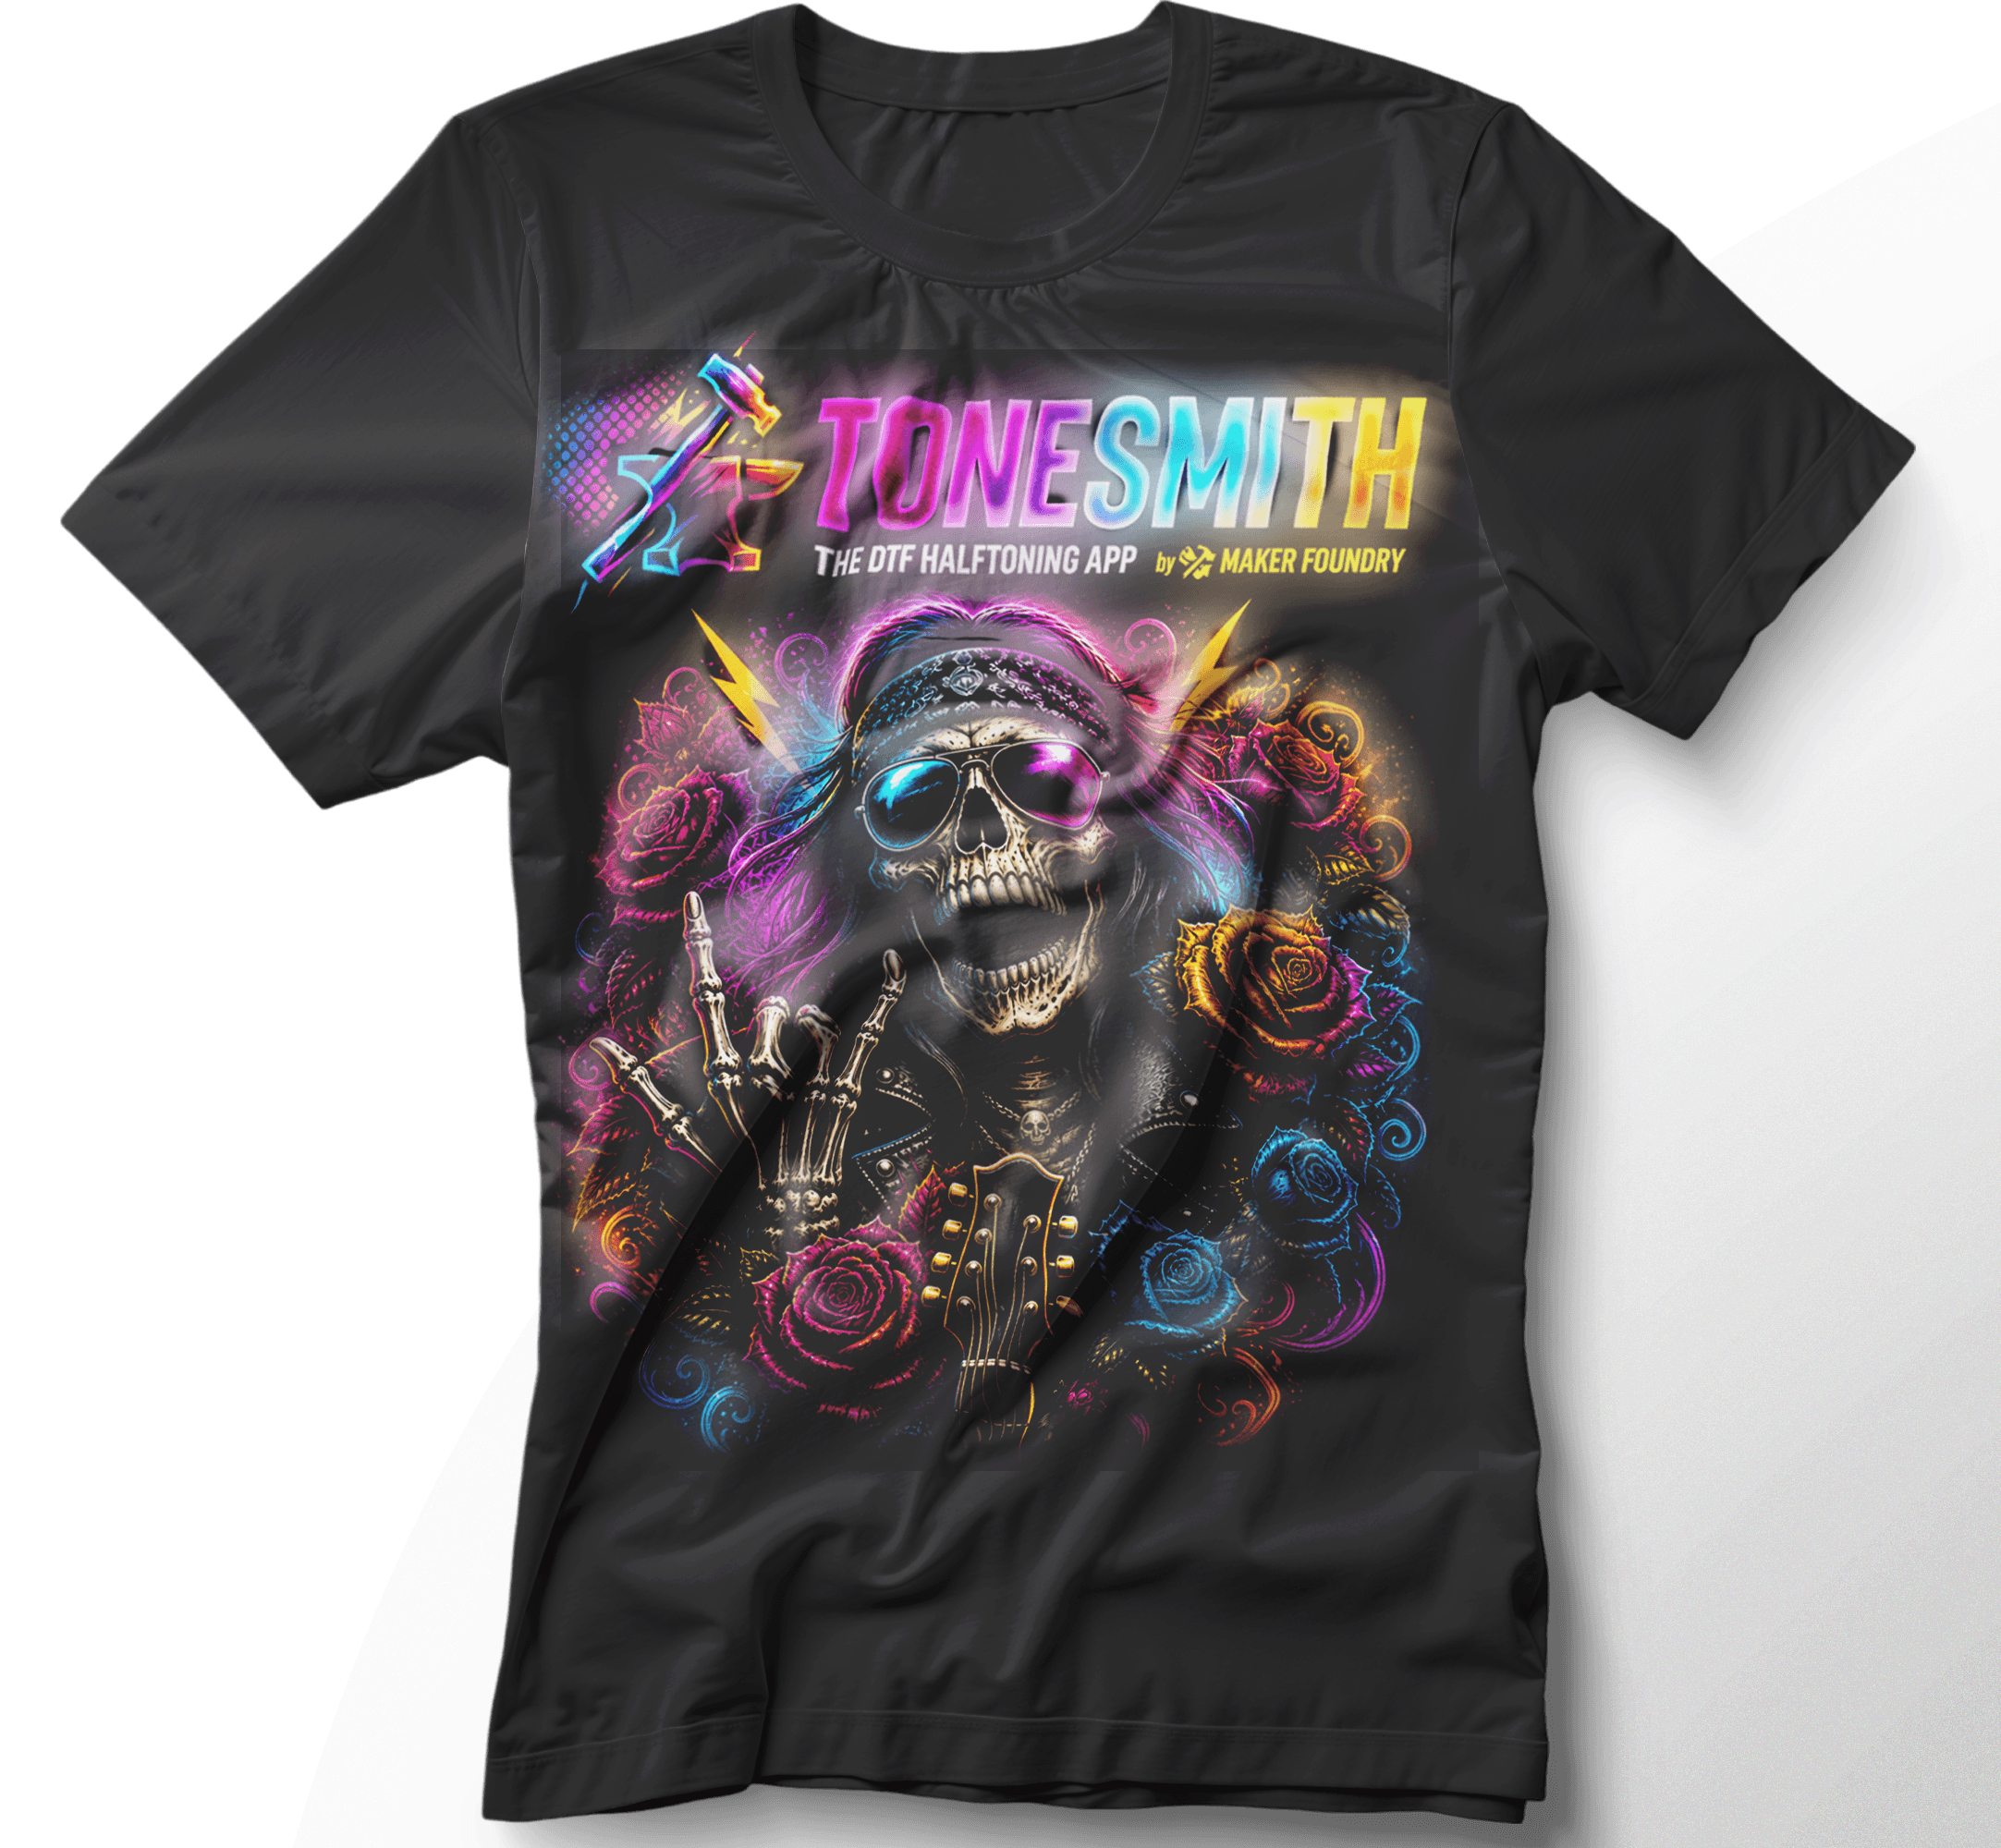
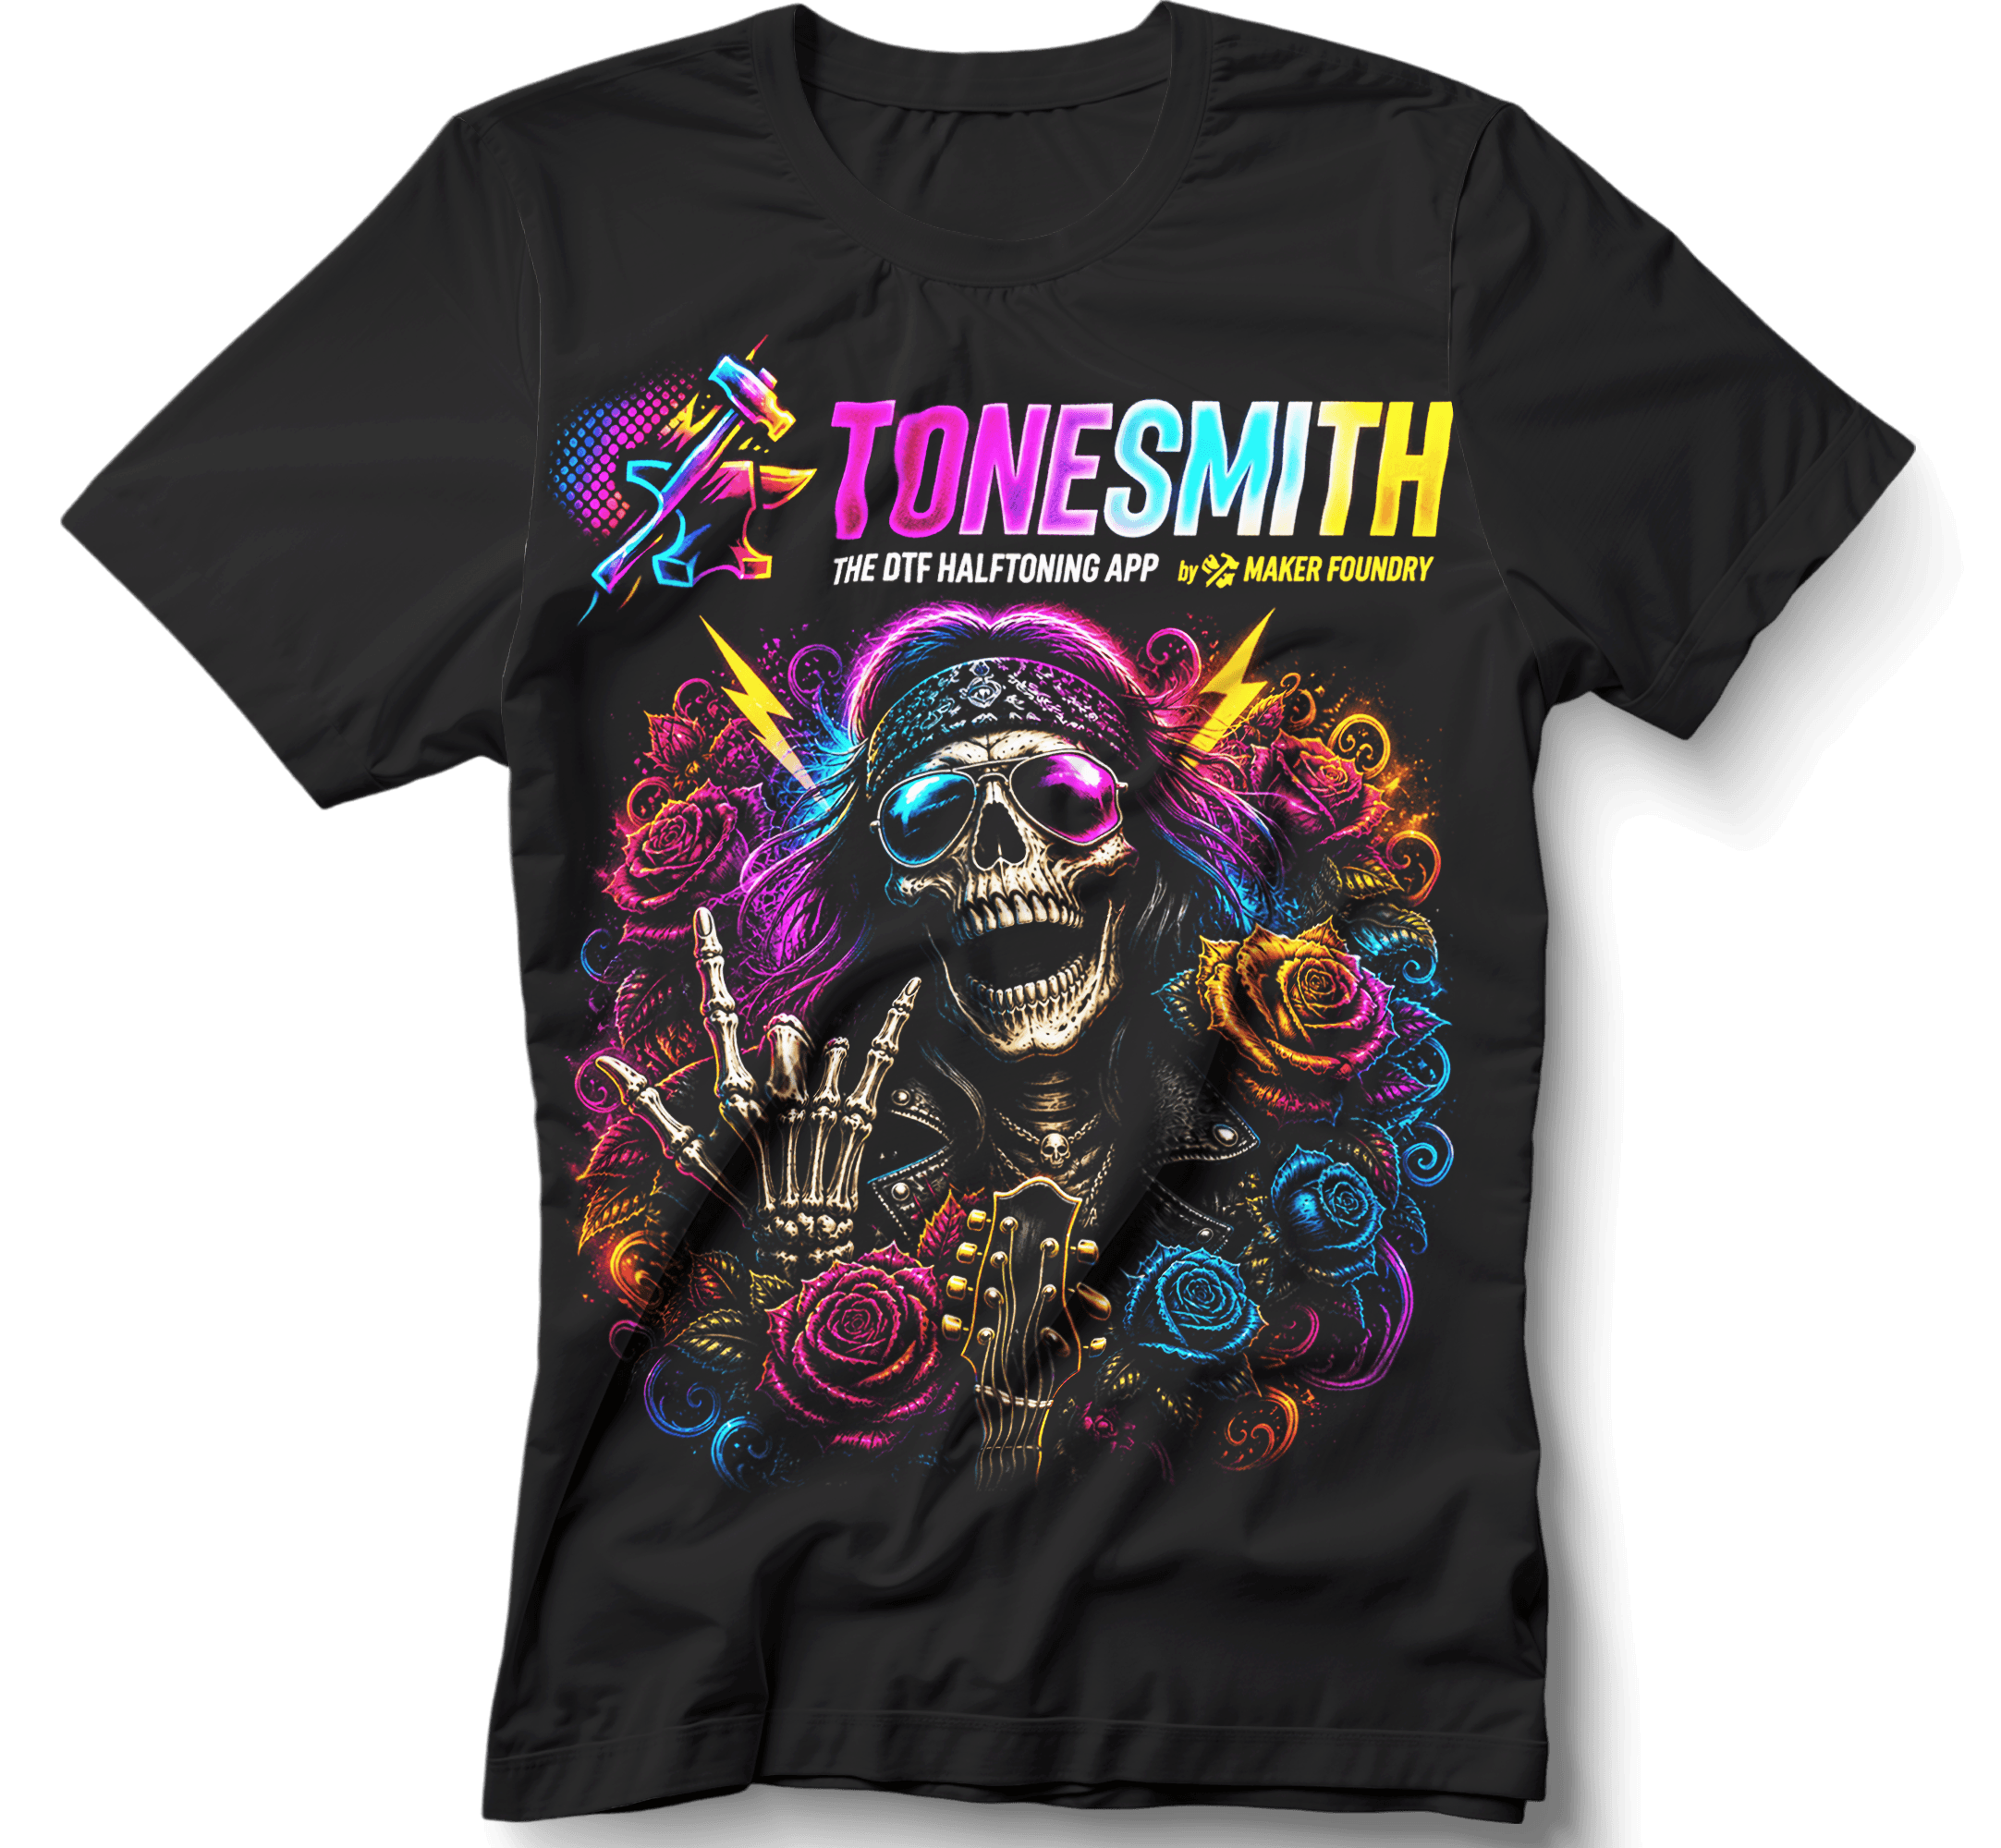
You took the order. Customer’s happy with the mockup. You press the shirt and it comes off the platen with a black box around the design — or a milky halo glowing around every soft edge. Now it’s a reprint. Or worse, a refund.
You’ve tried every Photoshop tutorial on YouTube. You’ve paid an artist to clean up files. You’ve spent hours wrestling with masks, levels, and channel ops just to get one customer’s design halftoned correctly — and you still hold your breath every time it goes through the printer.
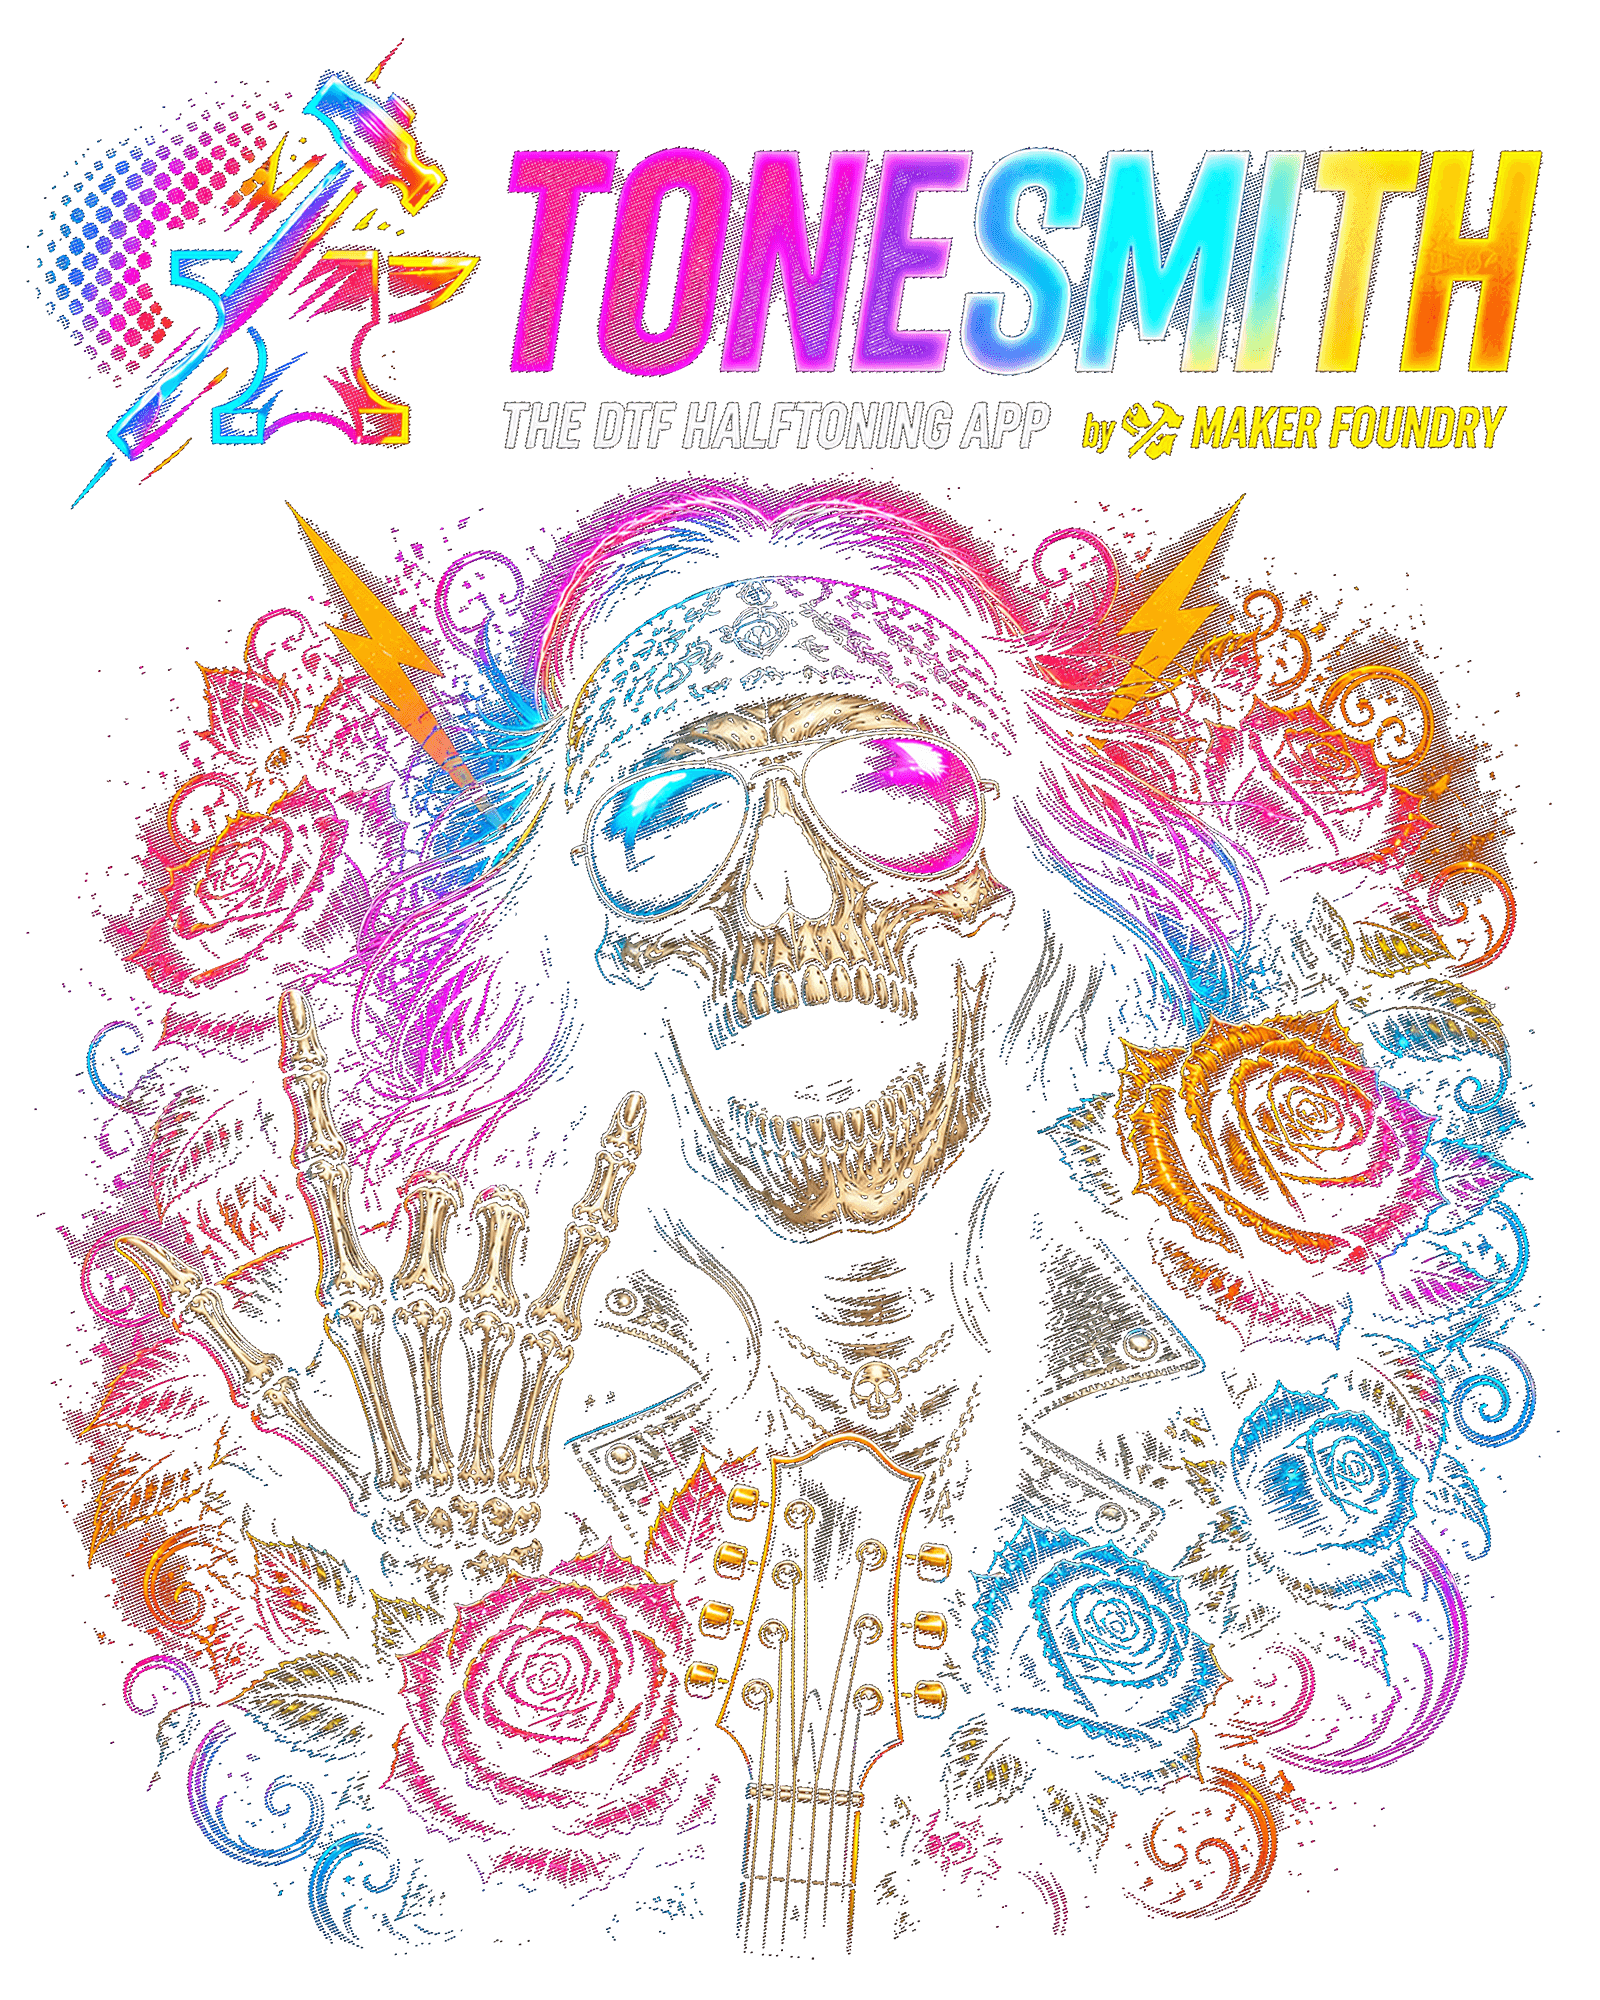
The truth most printers learn the hard way: most failed prints aren’t the printer’s fault. They’re the artwork’s fault. Bad masks, bad halftones, no proper underbase — that’s where the white haze and black boxes come from. And no amount of expensive ink fixes a bad separation.
That’s exactly why we built ToneSmith. By printers, for printers. So you stop fighting your prep software and start printing.
Card required to start · Cancel anytime · 30-day money-back guarantee
The ToneSmith Engine
Built for garment printing. Not retrofitted from a photo editor.
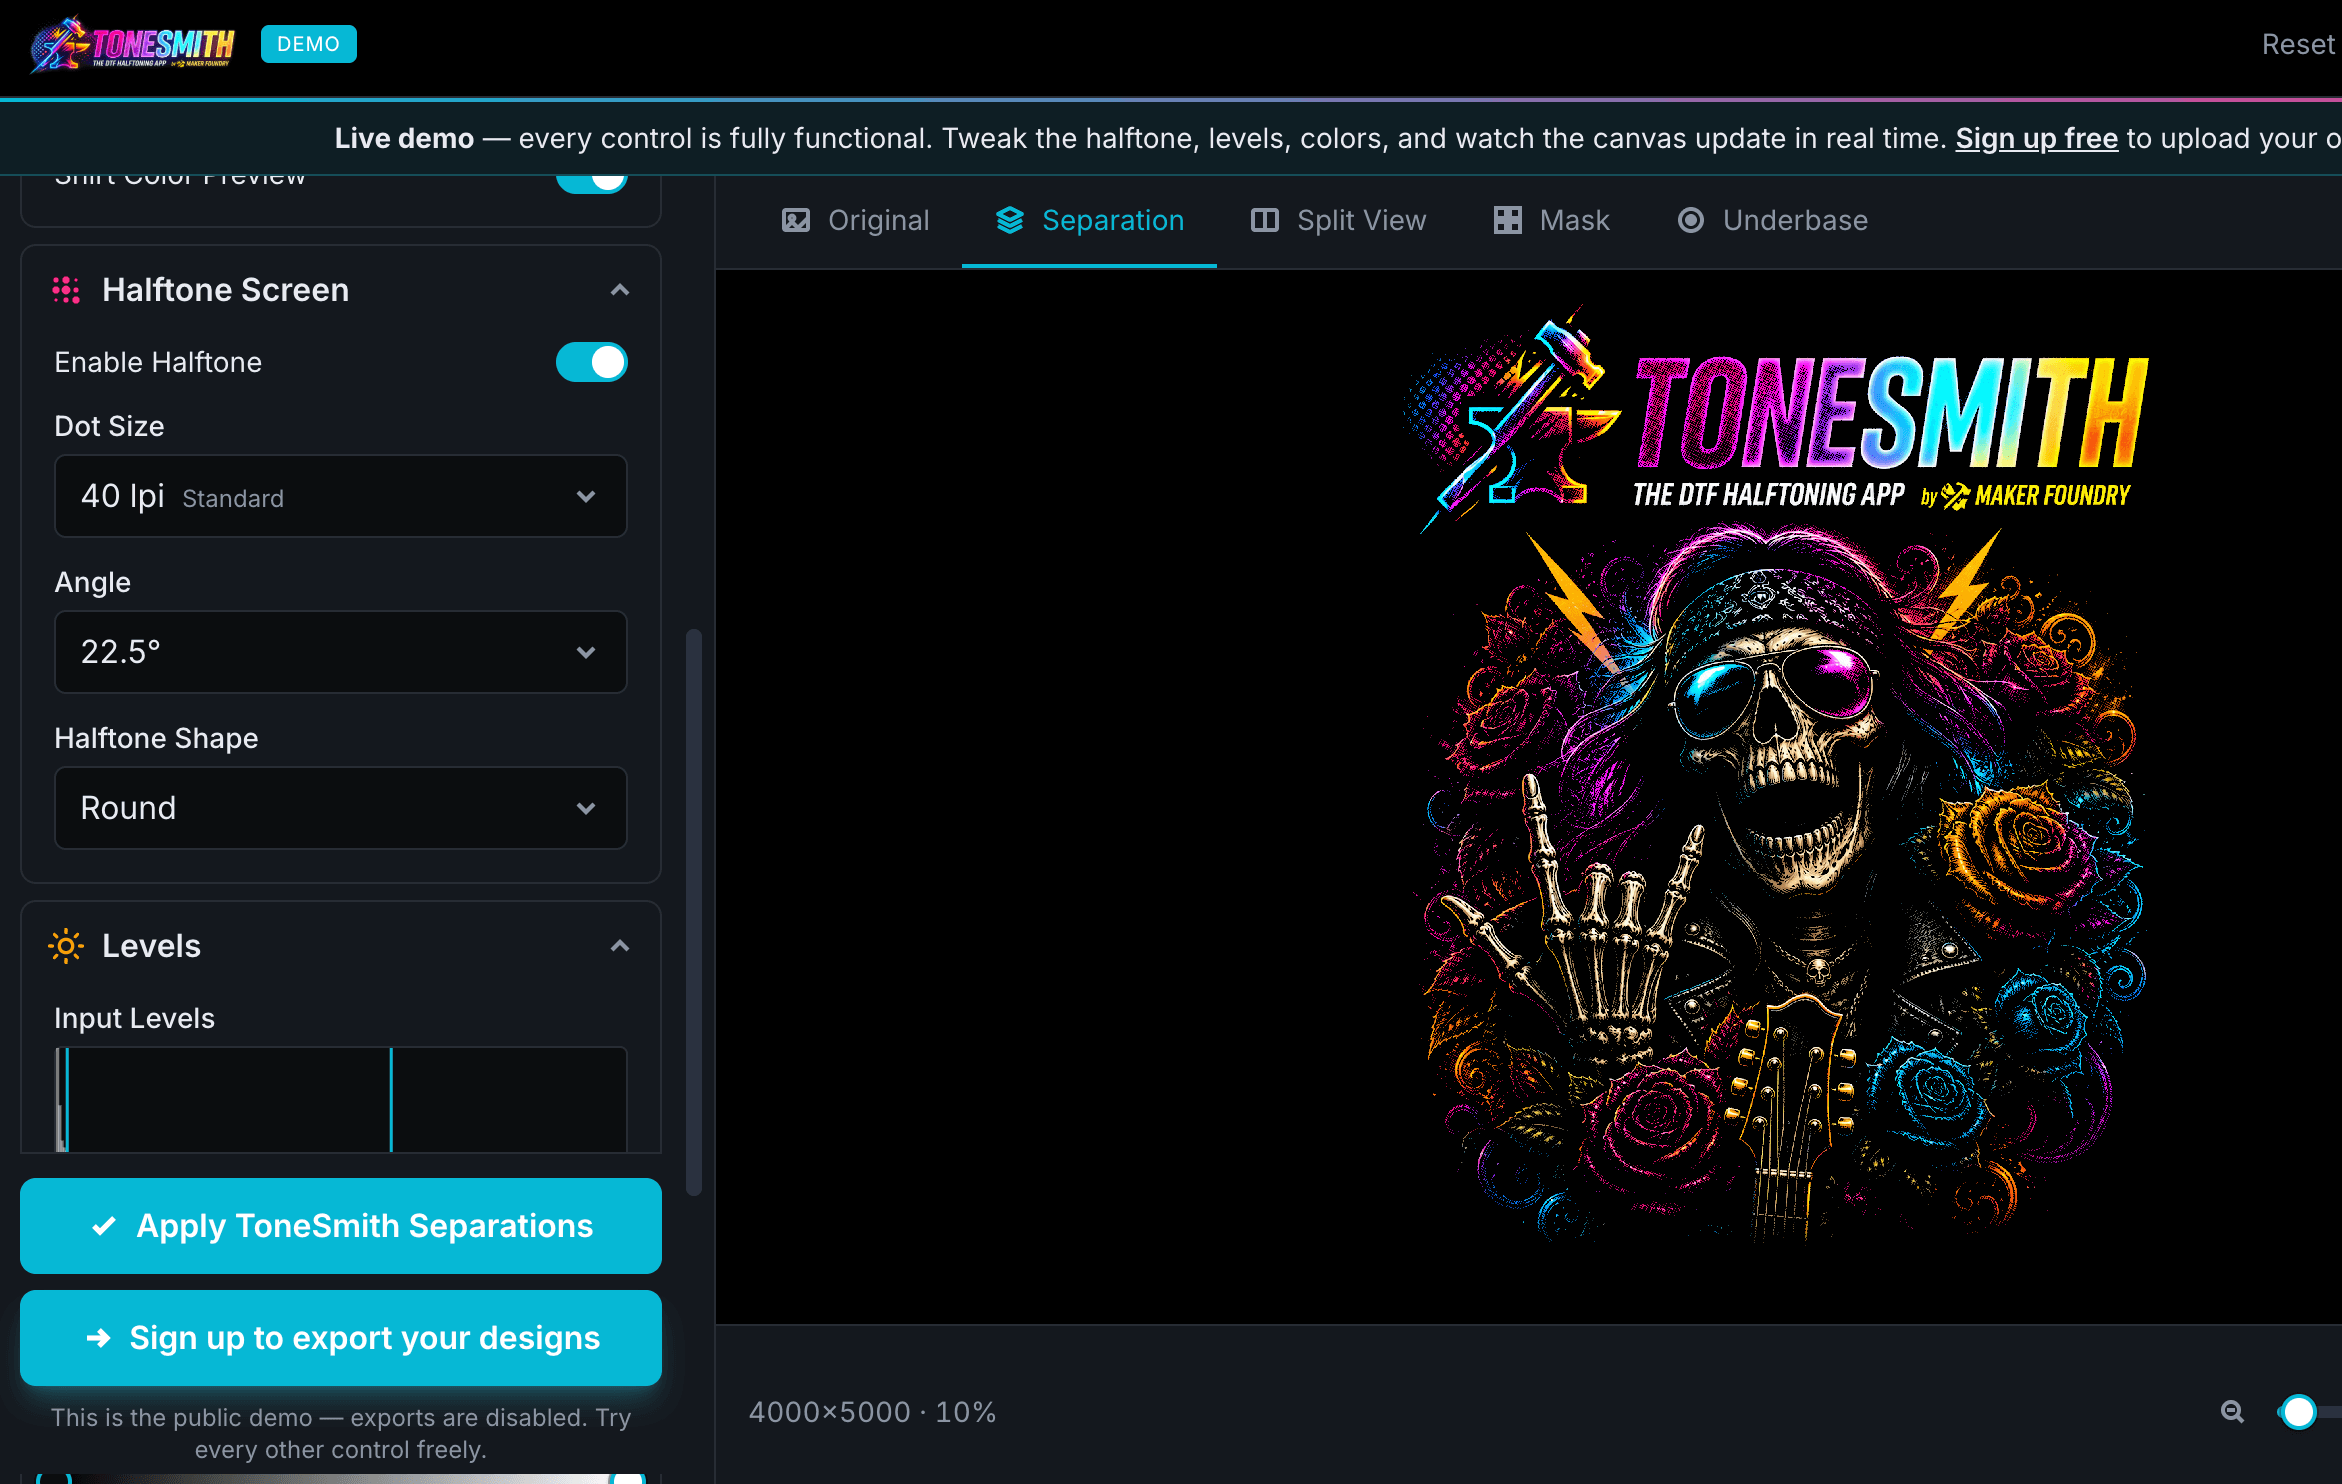
Every control was designed for one job — turning customer artwork into print-ready DTF and DTG separations as fast as possible. Here’s what’s running under the hood.
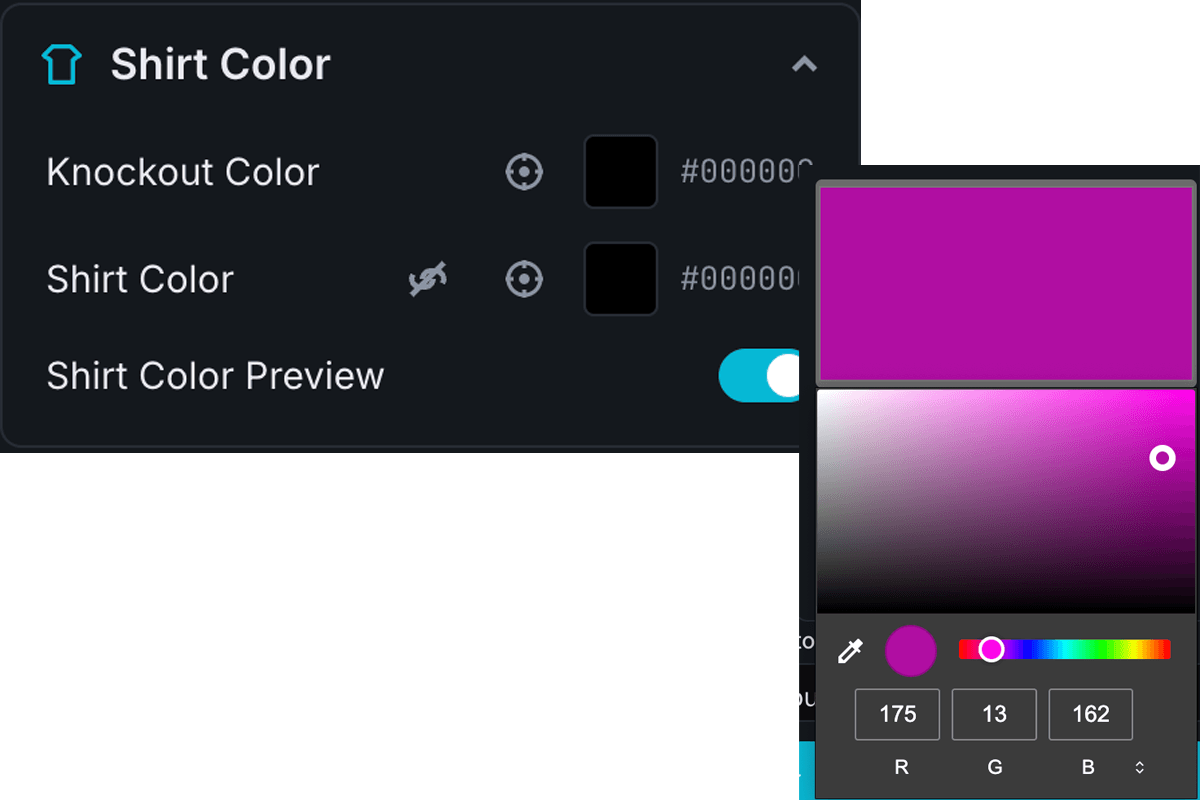
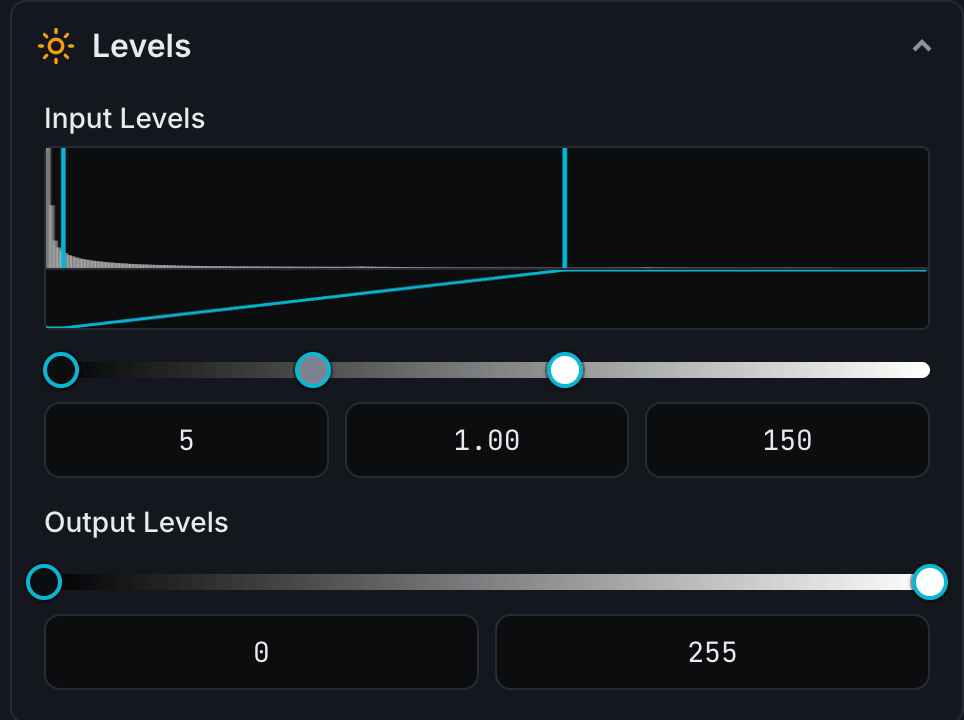
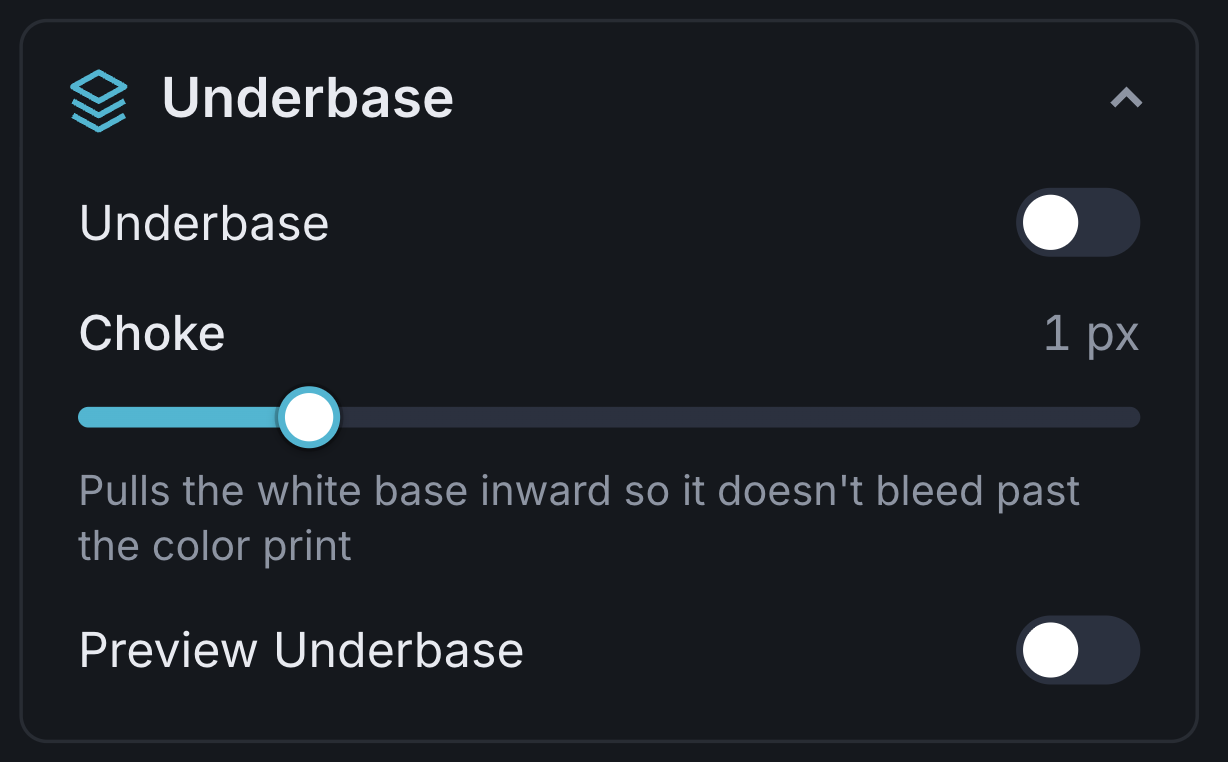
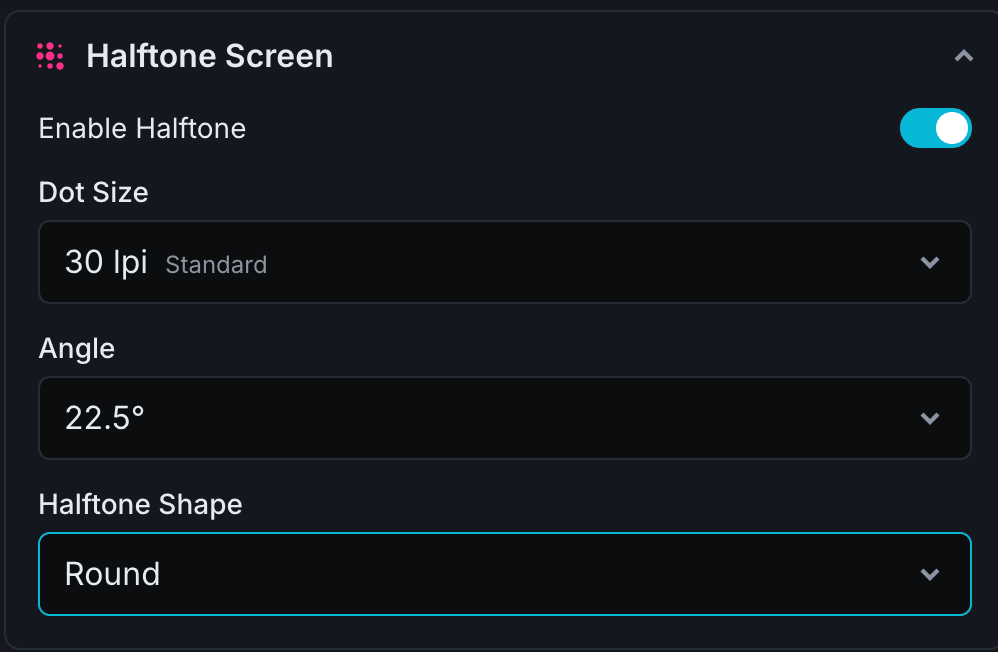
Features
Everything a print shop needs.
Nothing it doesn’t.
Built by people who’ve spent too many late nights running Photoshop scripts. Every control here exists because a real print shop asked for it.
How it works
From artwork to press in three steps.
Inside the editor
Five views. One source of truth.
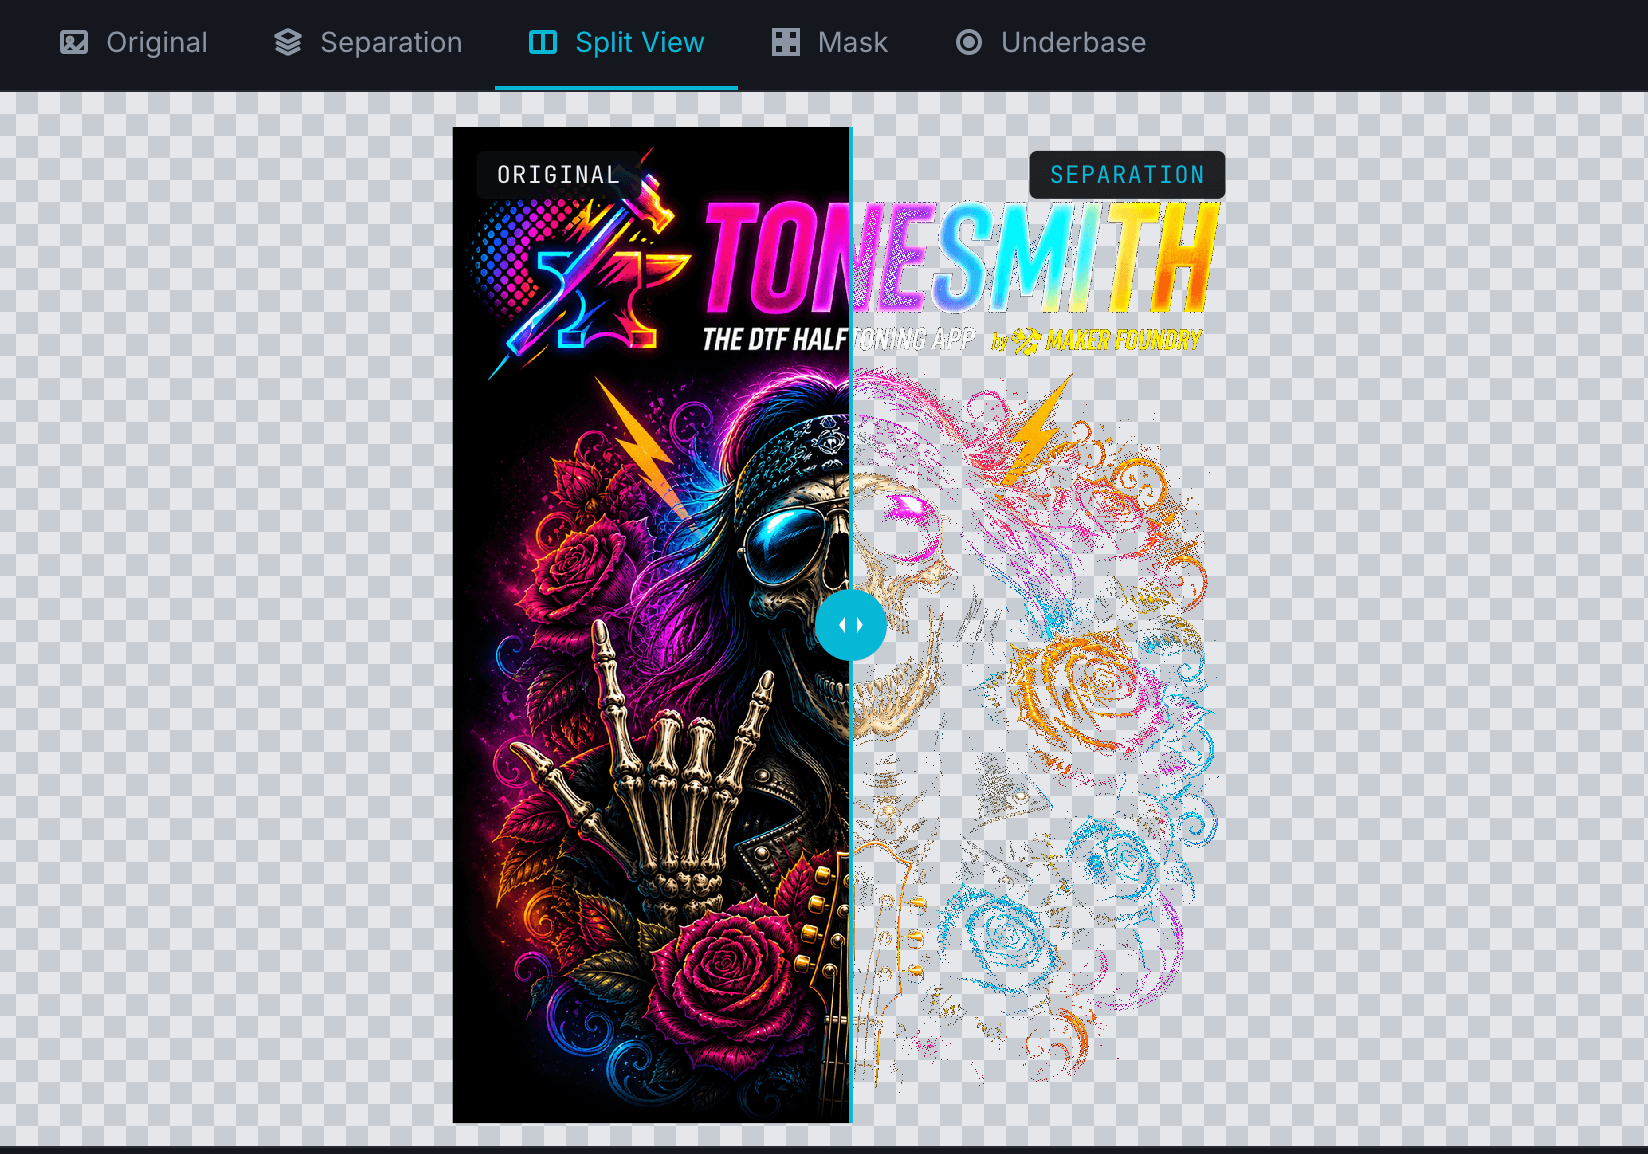
Tap a tab to see exactly what you’ll see in the editor — original artwork, halftone separation, before/after slider, isolated mask, white underbase. Toggle Shirt Color Preview on any halftone view to see how it looks on the shirt.
Every tab, the Slider and the Shirt Color Preview toggle work here exactly as they do in the editor — or with your own artwork.
See it in action
A 60-second walkthrough.
Watch a real artwork go from upload to printed-ready in under a minute.
Before vs after
Most shops are still doing this the hard way.
ToneSmith collapses what used to take a senior artist 30 minutes into something a print-shop owner can do between orders.
The old way
- Spending hours separating artwork in Photoshop before every order
- Paying a freelance artist to clean up files just to break even on the job
- Wrestling channels, masks, and curves layers for results you still cross your fingers on
- Wasting film, shirts, and ink on prints with black boxes and white halos
- Reprinting orders, refunding customers, losing time you can't bill back
- Hoping the press matches the mockup — and finding out after you've pressed 50 shirts
Burned time. Lost money. Frustrated customers.
The new way
- Drop artwork, dial three sliders, export print-ready PNG in under 60 seconds
- Web app + Photoshop plugin — same engine, work however you already work
- Live halftone preview at the actual shirt color, before you press a single shirt
- Auto-generated white underbase with proper choke — no more white haze
- Lossless 300 DPI output your RIP reads natively, every time
- Ship more orders, refund fewer customers, keep more profit per print
Faster prep. Cleaner prints. More profit per job.
Built for
Every shop that prints on fabric.
Does it only work on black shirts?
Nope — works on any shirt.
ToneSmith automatically removes background colors and builds the right underbase whether you’re printing on white, black, or anything in between. Same workflow, every garment color.
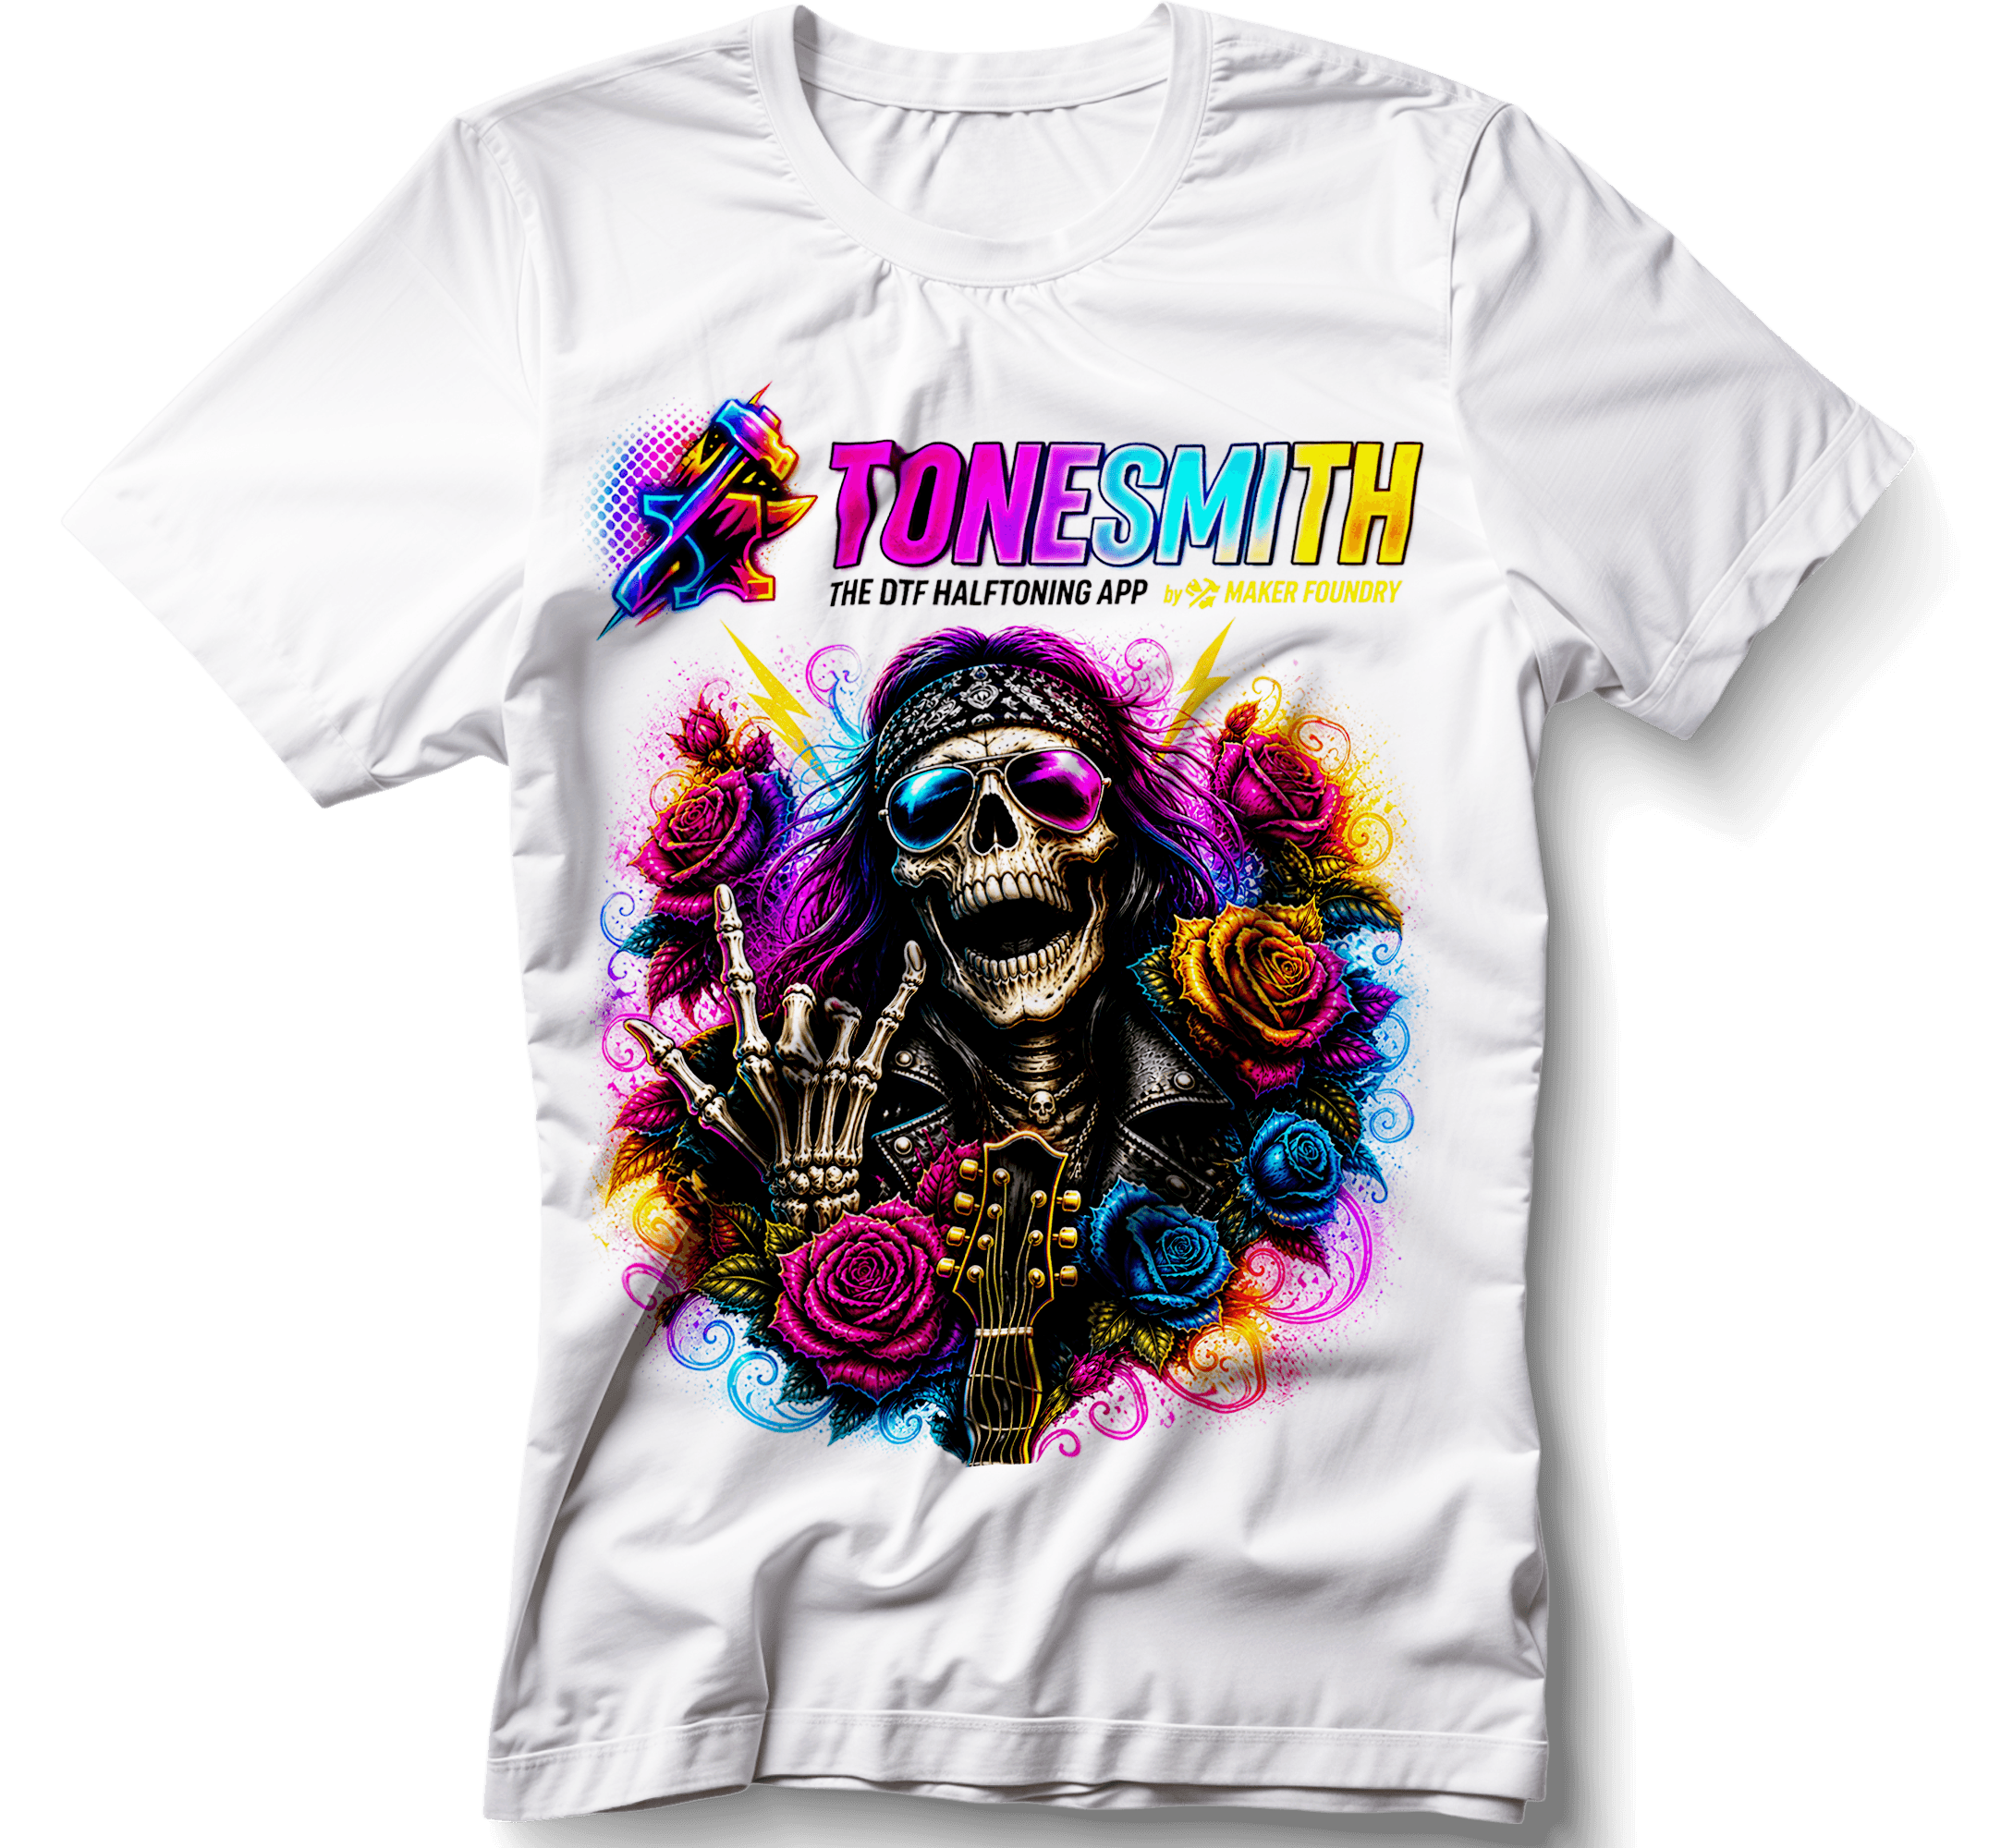
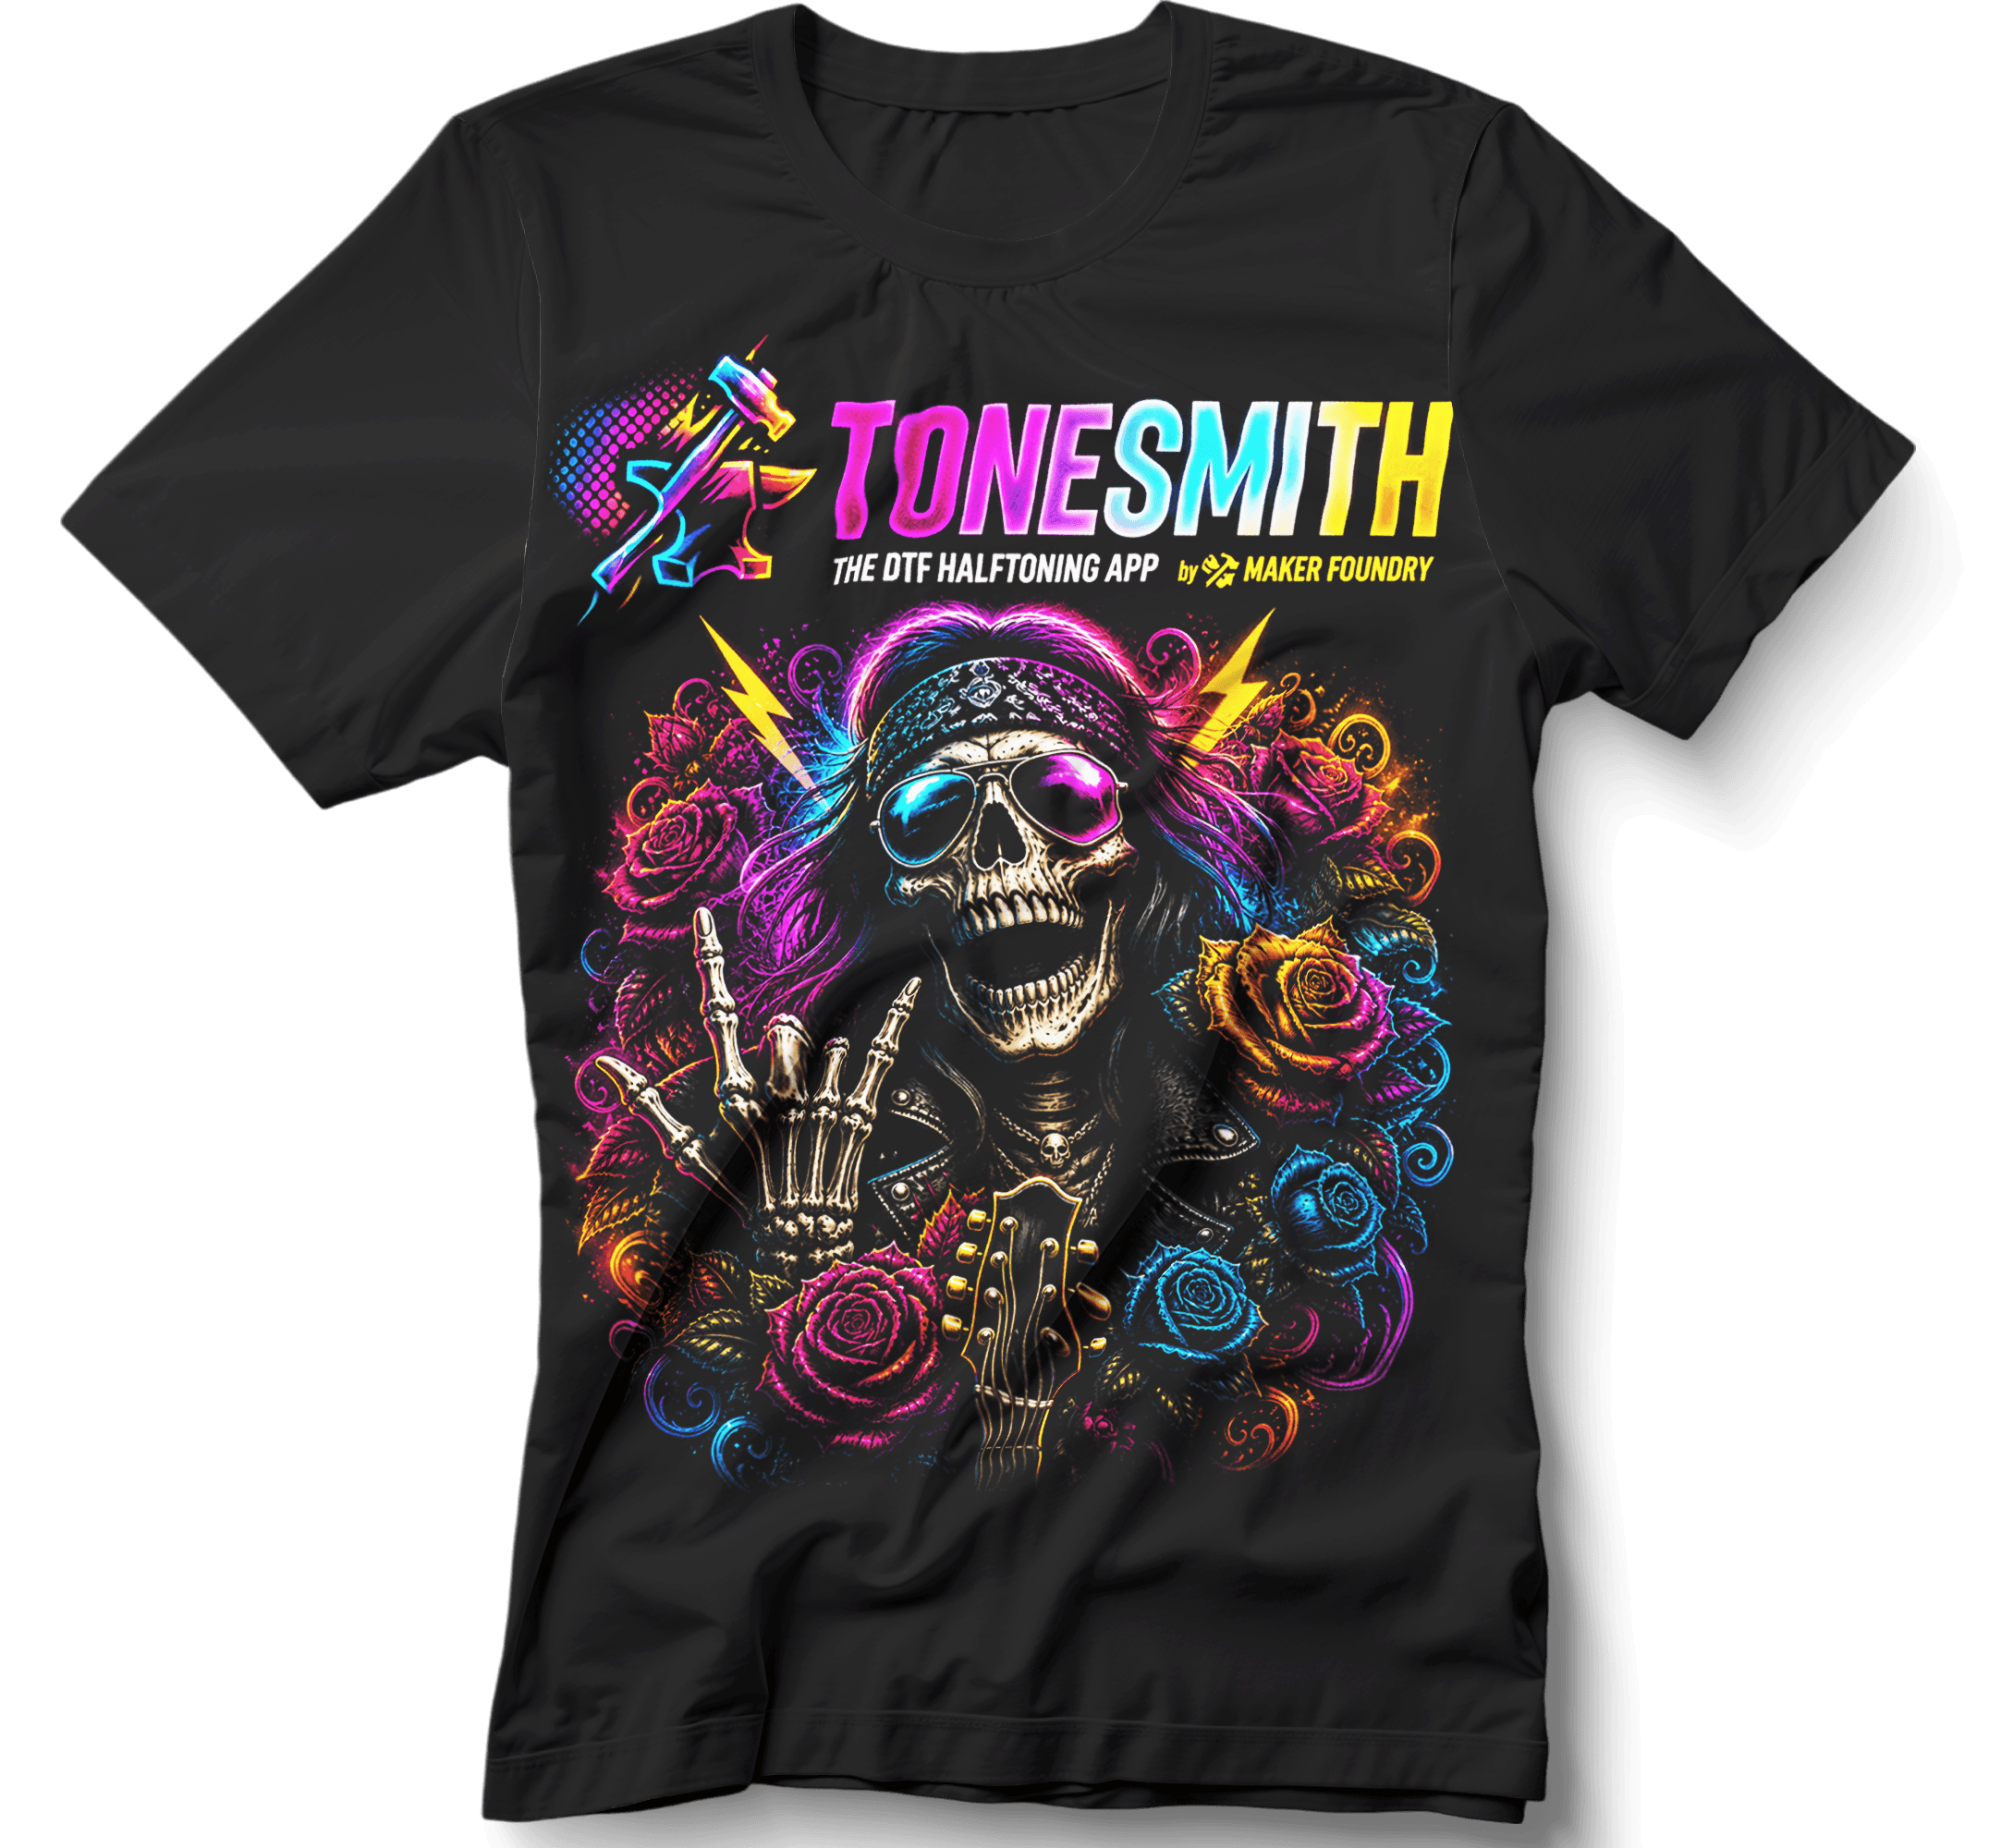
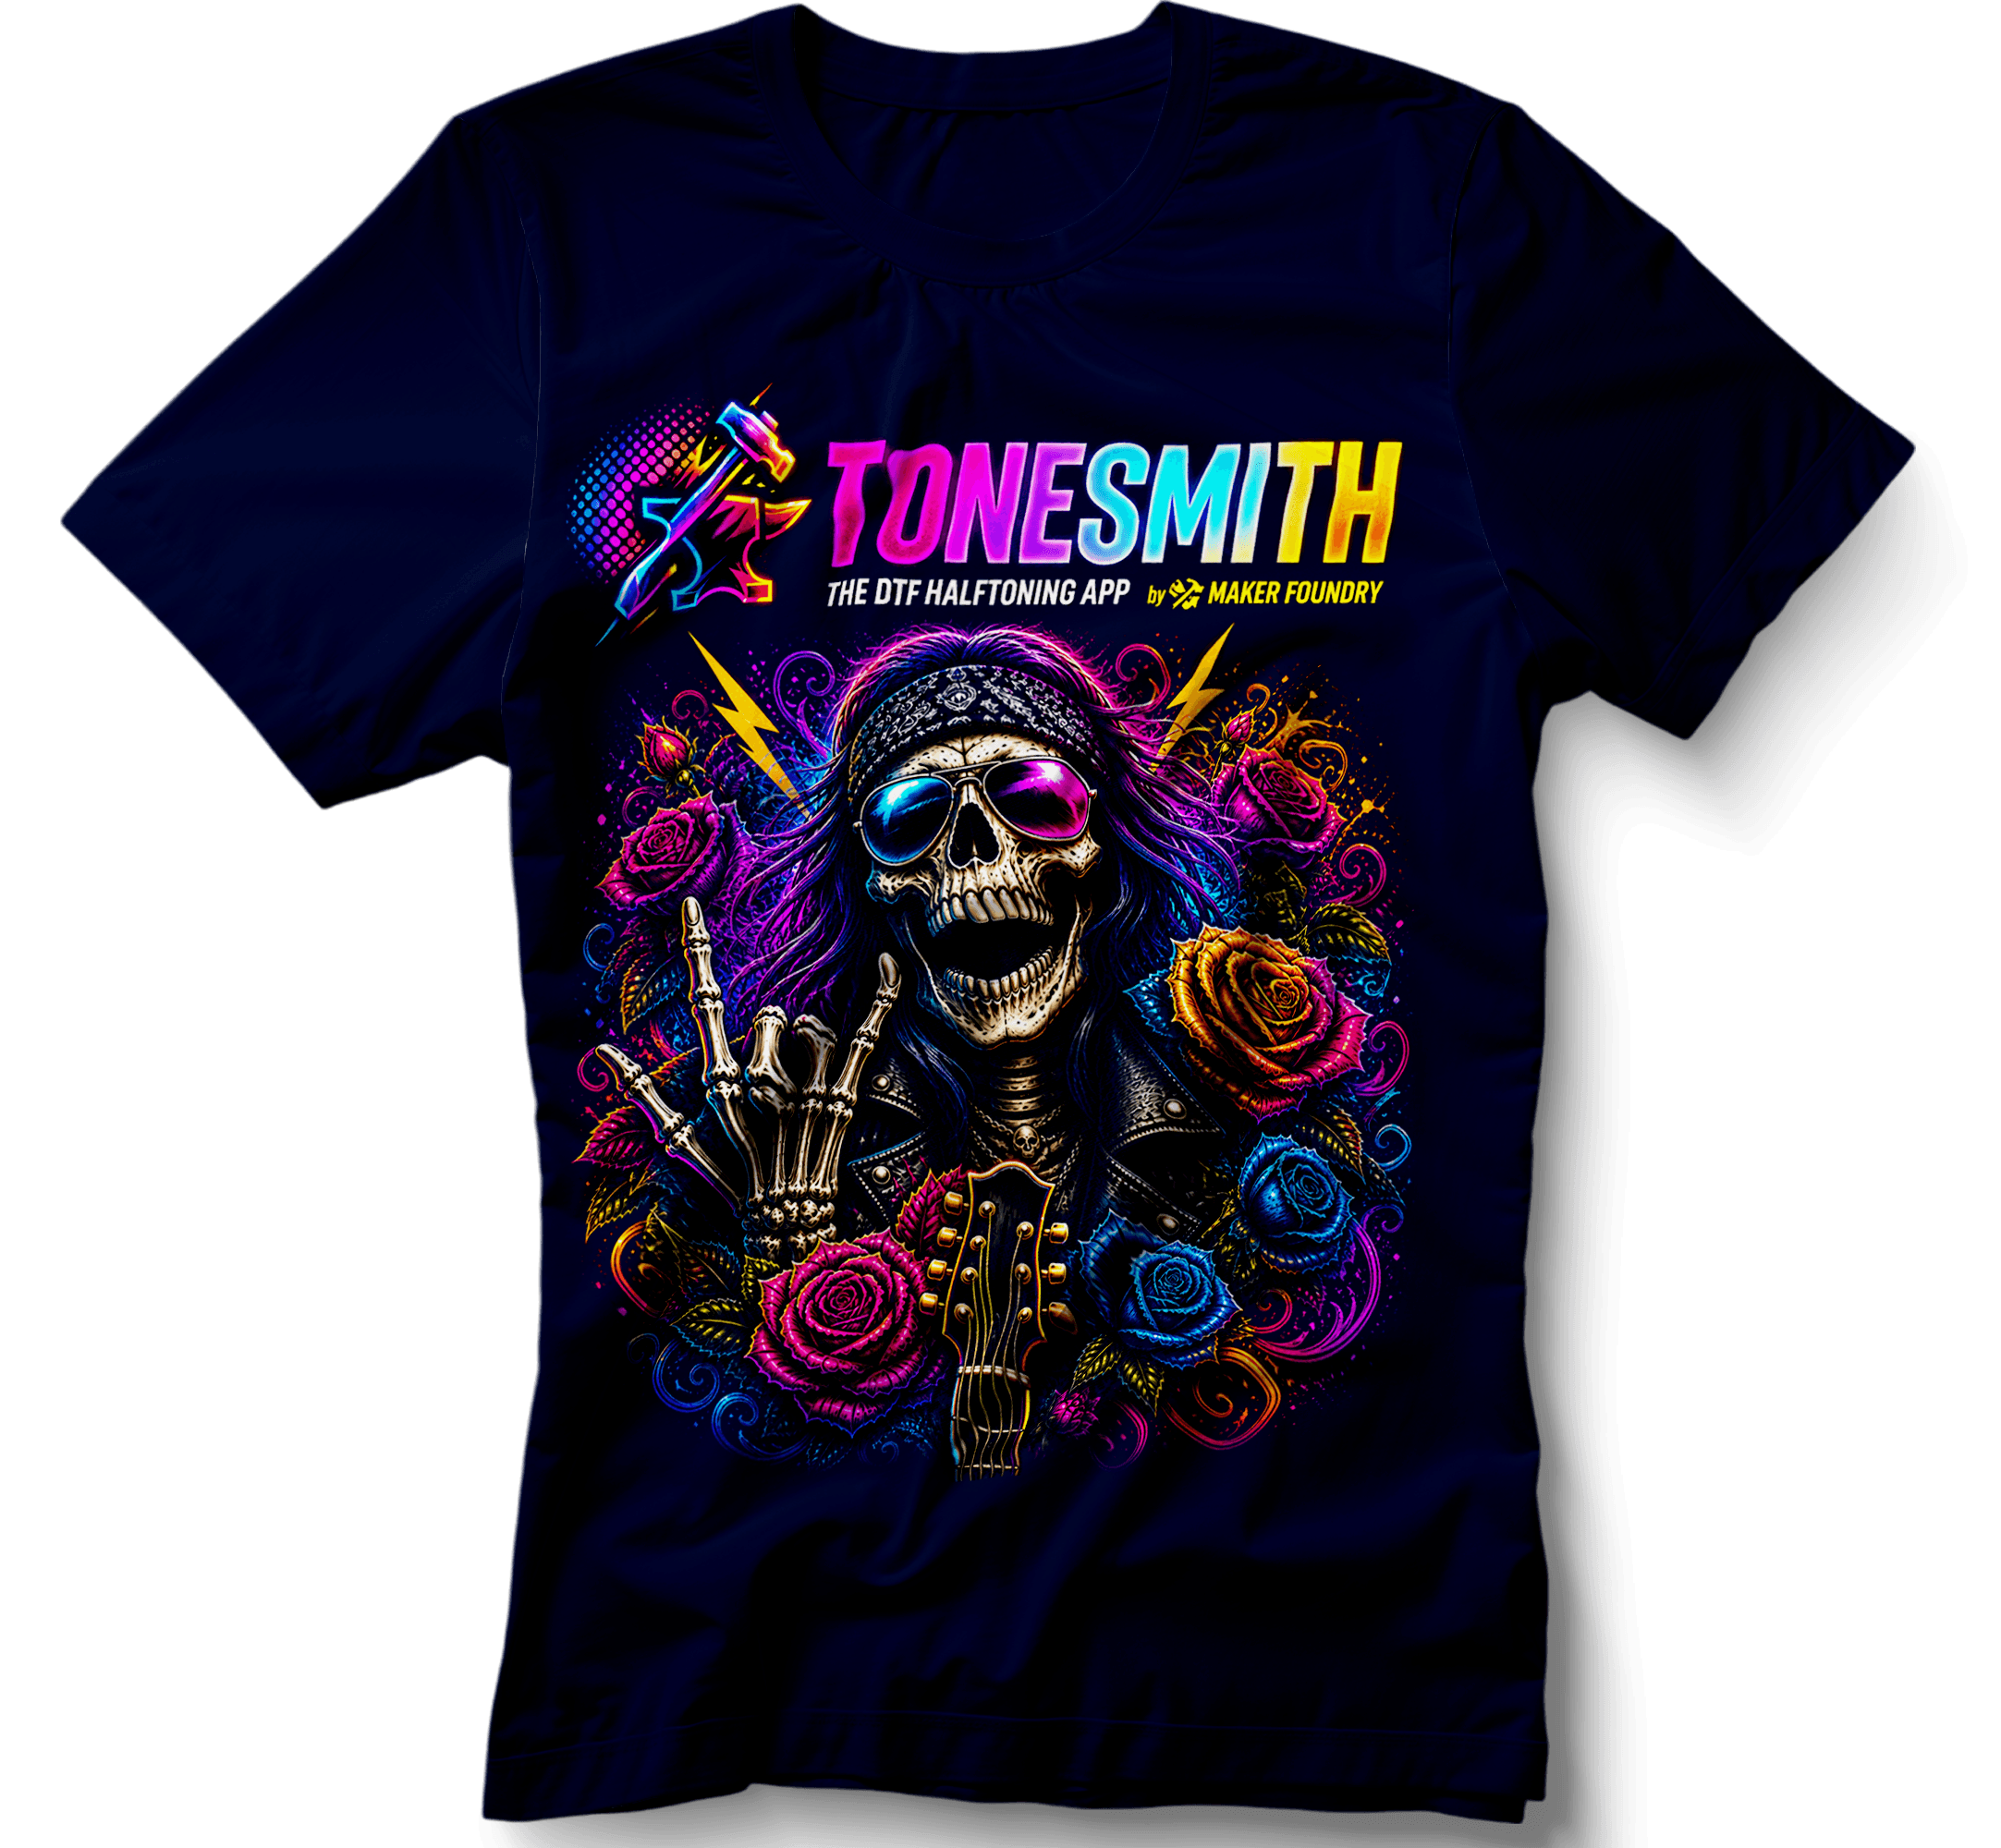
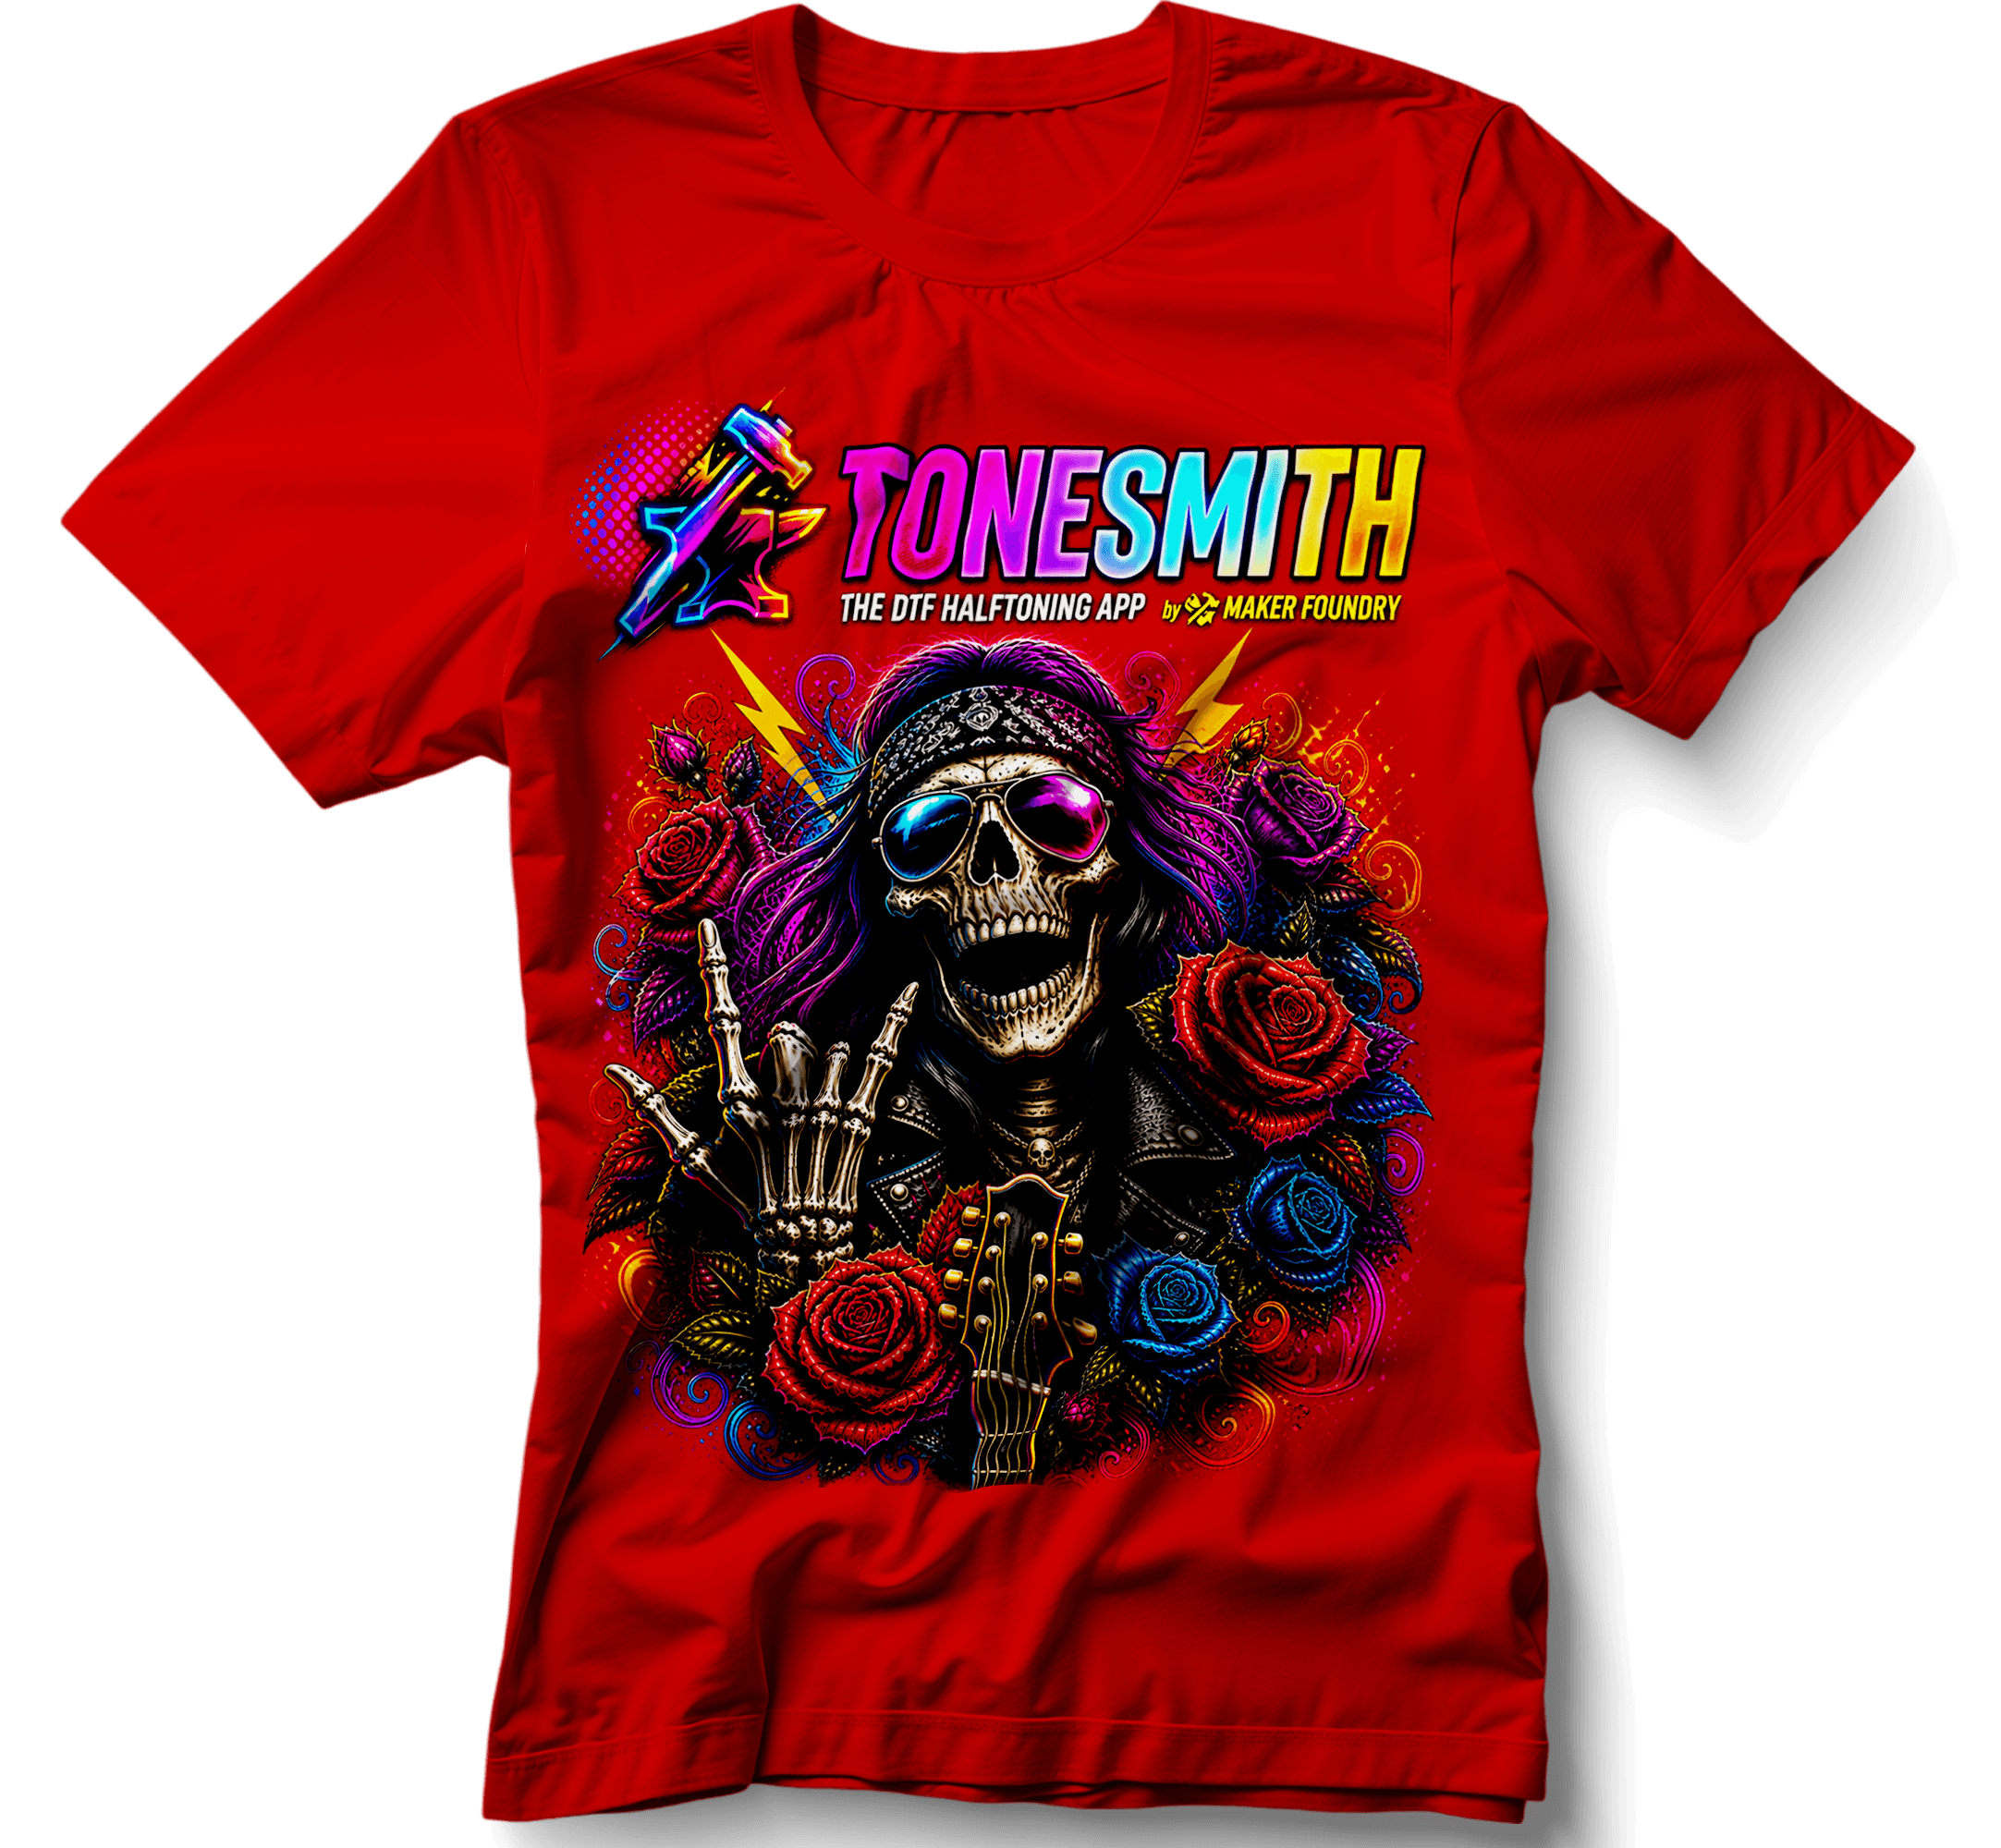
Knock out the shirt color, build a properly-choked white base, export print-ready PNGs at 300 DPI — same three steps for every color of shirt you stock.
Who built this
Print-shop owners building tools for print-shop owners.

We’re Maker Foundry — and yeah, we actually print. Our retail brand Marked & Made is a working personalization shop pumping out DTF orders every single day. We’ve fought every black box. We’ve reprinted every white-haze disaster. We’ve stayed up too late wrestling Photoshop curves layers when we should’ve been sleeping.
We tried every separation tool on the market. They were either too expensive, too dated, too buried in tutorials, or just didn’t get the small-shop workflow. So we built our own — first for ourselves, then for the rest of the maker community we already support through Maker Foundry.
ToneSmith is the tool we wished existed when we were starting out. Fast, modern, honest pricing, no upsell maze, no community paywall. Just clean separations and time back in your day.
What printers are saying
Real shops. Real results.
Print-shop owners and operators who switched to ToneSmith and aren’t going back.
FAQ
Questions before you start?
Do I need Photoshop to use ToneSmith?
No. The web app runs in any modern browser and produces the same print-ready output. The Photoshop plugin is included in your subscription if you'd rather work inside Photoshop, but it's optional.
How does the free trial work?
You enter a card to start, get 7 full days of unlimited access, and aren't charged until day 8. Cancel anytime in your account dashboard before then and you won't be billed.
What file types can I upload?
PNG, JPG, and WEBP — up to whatever resolution your browser can handle. Most print shops use PNGs at the native artwork resolution. ToneSmith resizes to 300 DPI on export.
Will the halftone match my RIP software?
Yes. Output is 8-bit RGBA PNG with 300 DPI metadata embedded — your RIP reads it natively. Halftone math follows standard amplitude-modulated screen logic. Round, ellipse, diamond, square, and line shapes are all available.
Can I cancel anytime?
Yes, one click in your account dashboard. We use Stripe's customer portal so you have full control — change plans, update payment, or cancel without writing us an email.
Does my artwork stay private?
Absolutely. Every pixel is processed locally in your browser. Your artwork never touches our servers, never gets uploaded, never gets stored.
Is the gang sheet builder really included, or is it a separate add-on?
Really included — same plan, same price, no extra fee. Sign in and you'll see both the halftone editor and the gang sheet builder available from the same account. Standalone gang sheet tools typically run $10–30/month on their own; with ToneSmith you get them as one bundle.
Can I send my halftoned design straight to a gang sheet?
Yes. The editor has a "Send to Gang Sheet" button that hands the finished separation directly to the gang sheet builder in a new tab — no manual file shuffling. Drop in the rest of your designs, hit Auto Nest, and export.
How big a gang sheet can I export?
Whatever your printer accepts. The builder will tile-split sheets that exceed safe browser memory (typically anything past ~60" at 22" wide × 300 DPI) into multiple PNGs that line up edge-to-edge — drop them into your RIP in sequence and print.
Is the Mockup Studio really included, or is it a separate charge?
Really included — same plan, no add-on fee. Standalone mockup tools like Placeit run $14–15/month on their own. With ToneSmith you get the full garment mockup studio bundled with your subscription. Sign in and you'll see Mockup Studio alongside the halftone editor and gang sheet builder.
Can I send a finished separation straight into Mockup Studio?
Yes. Once you've run your halftone separation in the editor, click 'Preview in Mockup Studio' from the export menu. Your design loads directly onto a garment — choose your color, add a background, export a client-ready mockup without ever leaving ToneSmith.
What is the Effects Studio?
It's a live, non-destructive effects editor for your already-finished artwork. Stack grunge and distress, vintage fades, halftone-pattern textures, and gradient recolors — then send the styled result to the halftone editor, gang sheet, or mockup studio. It's included with every web-app plan (not the plugin-only ToneSmith Lite).
How is the Effects Studio different from the halftone editor?
The halftone editor separates and halftones artwork for print. The Effects Studio styles a finished design — grunge, texture, vintage looks, recolor — without halftoning anything. They hand off to each other both ways: style in Effects Studio, then send to the editor to halftone for print.
Will the grunge and distress effects cause white haze on my DTF prints?
No. The Grit grunge brushes and the Crisp tool produce binary-clean alpha — every pixel is fully there or fully gone, with no semi-transparent edge pixels. That's exactly what prevents the white halo around DTF transfers.
— more from ToneSmith
Everything else this app gives you.
Free tools, libraries and guides — most of it works before you pay for anything.